Tag Archives: cauliflower

Fall Sheet Tray Salad ~*Cranberry Bog Blog*~

16 Nov

IMG_2106Every few months I get a package with a Cranberry Bog Blogger Recipe Challenge. I usually receive a few ingredients and a recipe, but for this month the challenge was turned around and I had to come up with my own recipe using the ingredients in my mailer.

Fall Cranberry Bog Blogger Challenge: We’ve provided a few ingredients you may not typically think of when serving cranberries – and we challenge you to use them all in one cranberry-inspired holiday dish! Show us your chops by making a main course, side dish or dessert that includes the surprise ingredients you’ll find in your package arriving in the mail this week.

The ingredients: cannellini beans; whole berry cranberry sauce; quinoa; sage

I worked with what I know best, the warm grain salad. This time, I made a sheet tray style salad. Continue reading

Advertisement

Cauliflower “Rice” Sauté: Food For the Summer-Fall Transition

25 Sep

Processed with VSCOcam with f2 preset

Making Cauliflower Pesto a few weeks ago turned me on to a whole world of cauliflower possibilities.

My post-pesto experiment? Rice! Or couscous, or whatever you want to call the small, fluffy tufts of pulsed, grated cauliflower.

The below links provided me with some background and technique on making grain-like cauliflower salads:

The Kitchn provides an easy how-to tutorial on cauliflower couscous

Food52 makes an easy spiced couscous with cumin, za’atar, and lemon

Joy the Baker turns colorful cauliflower  into a rice burrito bowl

The First Mess knows how to make a mean “rice and peas” with all of the best crunchy elements

Clearly, I wanted to be among those in the use-cauliflower-like-a-grain club. So, I picked out the biggest head of cauliflower at the farmer’s market and set to work.

An efficient person would likely use a food processor or blender to pulse the cauliflower into tiny pieces. I, on the other hand, used my box grater, justifying the mess I made all over the counter and the floor as a yearning for the old-fashioned and an excuse to exercise my arm and core muscles. To make less of a mess when grating my hand, try setting the box grater in a large bowl to catch fly-away cauliflower bits.

The cauliflower “rice” can be eaten raw, but I prefer it lightly sautéed.

Use the “rice” plain as a bed for a curry, or stir the “rice” into some seasonal vegetables and add-ins to create a full meal.

I cooked up some onion with zucchini, corn, and tomato, and mixed in the cauliflower “rice” with some chili powder, paprika, and my friend Amy’s uncle’s special Maryland spice blend (you can use something like Old Bay). Shave some Parmesan on top if you want. I took this for lunch every day this week, sometimes adding a little avocado or hummus on top to make things interesting.

Cauliflower is hot, hot, hot right now, as it should be. Jump on board.

Cauliflower “Rice” Sauté: Food For the Summer-Fall Transition

1/2 very large or 1 regular size head of cauliflower

1 tablespoon oil, olive or canola

1 small onion, chopped

1 small zucchini, chopped small

1/2 cup small tomatoes, sliced in half or quartered

1 ear corn, sliced off the cob

1 teaspoon each: chili powder, paprika, Old Bay

salt and pepper, to taste

optional: fresh grated Parmesan cheese and/or hot sauce

Wash the cauliflower and take off the stalk and leaves. Cut or tear the cauliflower into large florets. In batches, pulse the cauliflower florets until finely chopped and they look approximately the size of rice or couscous. **You can also use a box grater to grate the florets by hand. You should get about 4 cups, more or less. Set the “rice” aside.

In a large skillet, heat the oil over medium-high heat. Add the onion and sauté for 2-3 minutes. Add the zucchini, corn, and tomatoes and sauté for another 5 minutes.

Slowly toss the cauliflower “rice” into the skillet with the spices. Continue cooking everything for another few minutes. Taste and add salt and pepper as needed. Finish with Parmesan and/or hot sauce.

Spaghetti with Cauliflower Pesto

6 Sep

Processed with VSCOcam with f2 preset

She’s a beaut, right?

Obviously I could not resist lugging home a head each of orange and purple cauliflower on top of my already heavy farmer’s market haul of melon, tomatoes, summer squash, eggs, and my newest obsession, maple cream!

I am such a sucker for roasted cauliflower. I love how it gets those golden-brown roasted marks, and packs a salty, slightly oily bite. But, it is important to try new things, and there is SO much happening with cauliflower these days.

I thought about making a purple cauliflower soup or a cauliflower gratin, but, desperate to hang on to the summer, I was not yet ready to dive into those cozier, creamier fall foods. After tossing around ideas of the ever-trendy cauliflower rice/couscous, cauliflower pizza crust, and cauliflower pasta sauce, I turned to my trusty food maven, Deb Perelman, who has a recipe in her cookbook for…CAULIFLOWER PESTO.

Processed with VSCOcam with f2 preset

Cauliflower pesto is made with raw cauliflower pulsed in a food processor (I took the Italian grandmother way/the hard route and hand-chopped/used my blender) and combined with a separate pulsed mix of brine-y, pesto-y ingredients: capers, garlic, Parmesan, pine nuts, herbs. Continue reading

Creamy Cauliflower Pasta Sauce

3 Aug

IMG_1271

I recently made the Peas and Shells Alfredo from the Smitten Kitchen Cookbook. Of course, it was outstanding, and dinner was ready by the time the shells finished boiling.

I try, however, to save a heavy pasta cream sauce for those special comfort dinners. Today’s recipe is a riff on that heavier sauce. There’s still shells, there’s still peas, but no cream! The sauce is thickened with boiled and pureed cauliflower, and wow is it good.

Cauliflower is part of the cruciferous vegetable family, along with broccoli, kale, collards, and cabbage. It is a rich source of vitamins C and K, thus providing antioxidant and anti-inflammatory benefits! You can read more about cruciferous veggies here.

To make this pasta sauce, cauliflower gets boiled and pureed in a blender with milk (you could use non-dairy milk to make the sauce vegan). Added to a saucepan with some nutritional yeast, a little garlic, salt, pepper, and a dash of hot sauce, you would never know there was a vegetable hiding in all of that goodness.

I’ve heard the buzz about making mashed cauliflower. It is supposed to be a great alternative to starchy mashed potatoes. Even Bill Clinton agrees. Maybe as the season turns to fall I will experiment with cauliflower mashes…

Until then, this cauliflower cream sauce hits the spot. I used 1% milk (cow’s milk), which allowed my sauce to still fit the healthy bill without compromising on a creamy, luxurious taste. If you still want a little more decadence, you could always stir in a small pat of butter and a grate of cheese to the sauce. I won’t tell if you won’t…

Creamy Cauliflower Pasta Sauce

adapted from Baker Bettie 

serves 8

**NOTE: I recommend preparing the sauce and saving leftovers in a tupperware.  Cook the pasta as needed, to order. It tastes fresher.

1 head of cauliflower 

2 cups of milk 

3 cloves garlic, minced

2 tablespoons nutritional yeast

salt and pepper

1 lb of pasta (I used various pasta shapes throughout the week with this sauce: shells, angel hair, and egg noodles)

vegetables of choice (I used some frozen peas and a few fresh cherry tomatoes)

optional: fresh basil, dash of red pepper flakes, pat of butter, grate of cheese…

Bring a large pot of water to a boil. While the water is heating up, chop the cauliflower into florets. Boil the cauliflower for 15 minutes, or until very tender. Strain the cauliflower.

In batches, place the cauliflower in the blender with the milk (I did this in 2 batches). Blend until very smooth. Pour the mixture into a saucepan over medium heat. Add the garlic, nutritional yeast, and salt and pepper to taste.

Bring some more water to boil and cook your pasta until al dente (if using frozen peas, add them to the boiling water during the last 2 minutes of cooking). Combine the pasta, peas and tomatoes, and sauce. Toss with your favorite accouterment and enjoy!

Spanakopita with Harissa/Bengali-5-Spice Roasted Cauliflower

17 Apr

Spanakopita. Spinach Pie. Feta + Spinach wrapped up in flaky filo. Served up with some harissa and bengali-5-spice roasted cauliflower. Roasted cauliflower pairs swimmingly with any dinner. Easy and healthy. I had leftover harissa from when I made a variation of Heidi’s Harissa Noodles. I had leftover bengali-5-spice from when I roasted these nuts. Bam! to using leftover spices and sauces.

I’m totally into spanakopita. These tasted so savory and lovely. Not to toot my own horn or anything, but I think I made a darn good meal.

Making spanakopita would be a great dinner party idea or date night activity, and even a way to involve the kiddos with making dinner. While I was perfectly capable of doing everything myself, it would have been nice to have an extra pair of hands to help pass the filo sheets, brush with butter, and fill and roll. Filo dough dries out quick, so just remember to be efficient when time comes to fill and roll. And you can always patch things up or just discard a sheet of filo if it rips.

Feta and spinach are the stars here. Onion adds a deeper flavor. Nutmeg gives it that cozy comfort hint. The egg makes it all stay rich and together. Butter for brushing. Lemon for squeezing. Salt and pepper for good measure.

Above you see the filling all mixed together and ready to go.

Filling gets placed on the bottom center of the rectangle of filo (2 sheets).

Edges get folded in (“hot dog” style as some call it).

Folding upward in an attempt to make a triangle. I had issues with this because I’m not great with geometry. Let’s see how you fare.

I wholly approve of round-shaped spanikopita. Any shape you make them, these darlings taste so friggin’ dang good!

Spanakopita

adapted from David Lebovitz

makes 8-10 triangles (I got 10)

2 tablespoons olive oil

1 medium onion, peeled and chopped

1 clove garlic, minced

1 10-oz package frozen spinach, thawed in the fridge overnight and then drained (you could use fresh, too, if you prefer)

1 8-oz block feta cheese

big pinch of freshly grated nutmeg

fresh ground pepper

1/2 of a lemon, juiced

1 egg

2 oz butter, melted

1/2 of a 16 oz box (1 package) of filo dough, thawed in the fridge overnight

Before beginning, make sure that the spinach is defrosted and drained (I broke the spinach up with my hands, set it in a strainer, and pushed down with paper towel to ensure that it was fully drained). Also, melt the 2 oz of butter either in a little pan or in the microwave and set aside while you prepare everything else.

Heat the olive oil in a skillet. Add the onion and saute until translucent, about 5-7 minutes. Add the garlic clove and saute for 1 minute more. Add the spinach and stir until everything is mixed together and cooked through, about 2-3 minutes. Turn off the heat and set aside to cool down a bit.

In a bowl, crumble the feta and add grated nutmeg, fresh pepper, lemon, and a tiny pinch of salt (remember, feta is already quite salty). Stir together. Add the spinach and onions and stir everything together. Taste and adjust seasonings. Stir in the egg until everything is mixed together.

Now comes the tricky part. Take a dish towel and get it damp with water. Unroll the filo dough and cover it with the damp dish towel.

Working quickly, take one layer of filo out, brush it lightly but thoroughly with melted butter. Lay another sheet of filo on top and brush it with butter as well. Spoon about 1/4 cup of filling onto the bottom center, about 1-inch from the edge. Roll the two edges over the filling (lengthwise) to encase the filling. It should look like a long rectangle with the filling at the far end. Brush the exposed surface of the filo with butter and fold one corner diagonally over the filling, then continue folding keeping the triangle shape and brushing the exposed surfaces of the filo with butter, until you have a neat triangle (I did not get neat triangles, but I had nice shapes that encased my filling anyway). Brush the top with butter and set on a baking sheet in the freezer.

Continue making more spanakopitas with the remaining filling. Once all the spanakopitas are frozen, store them in a freezer bag until ready to bake. If well-wrapped, they’ll keep for a couple of months.

To bake the frozen spanakopita, preheat the oven to 350F and put the frozen triangles on a baking sheet, then brush each with butter. Bake for 30 minutes, or until deeply-golden brown. If you’re baking them without freezing them first, they’ll take less time to bake, so check them before the recommended baking time.

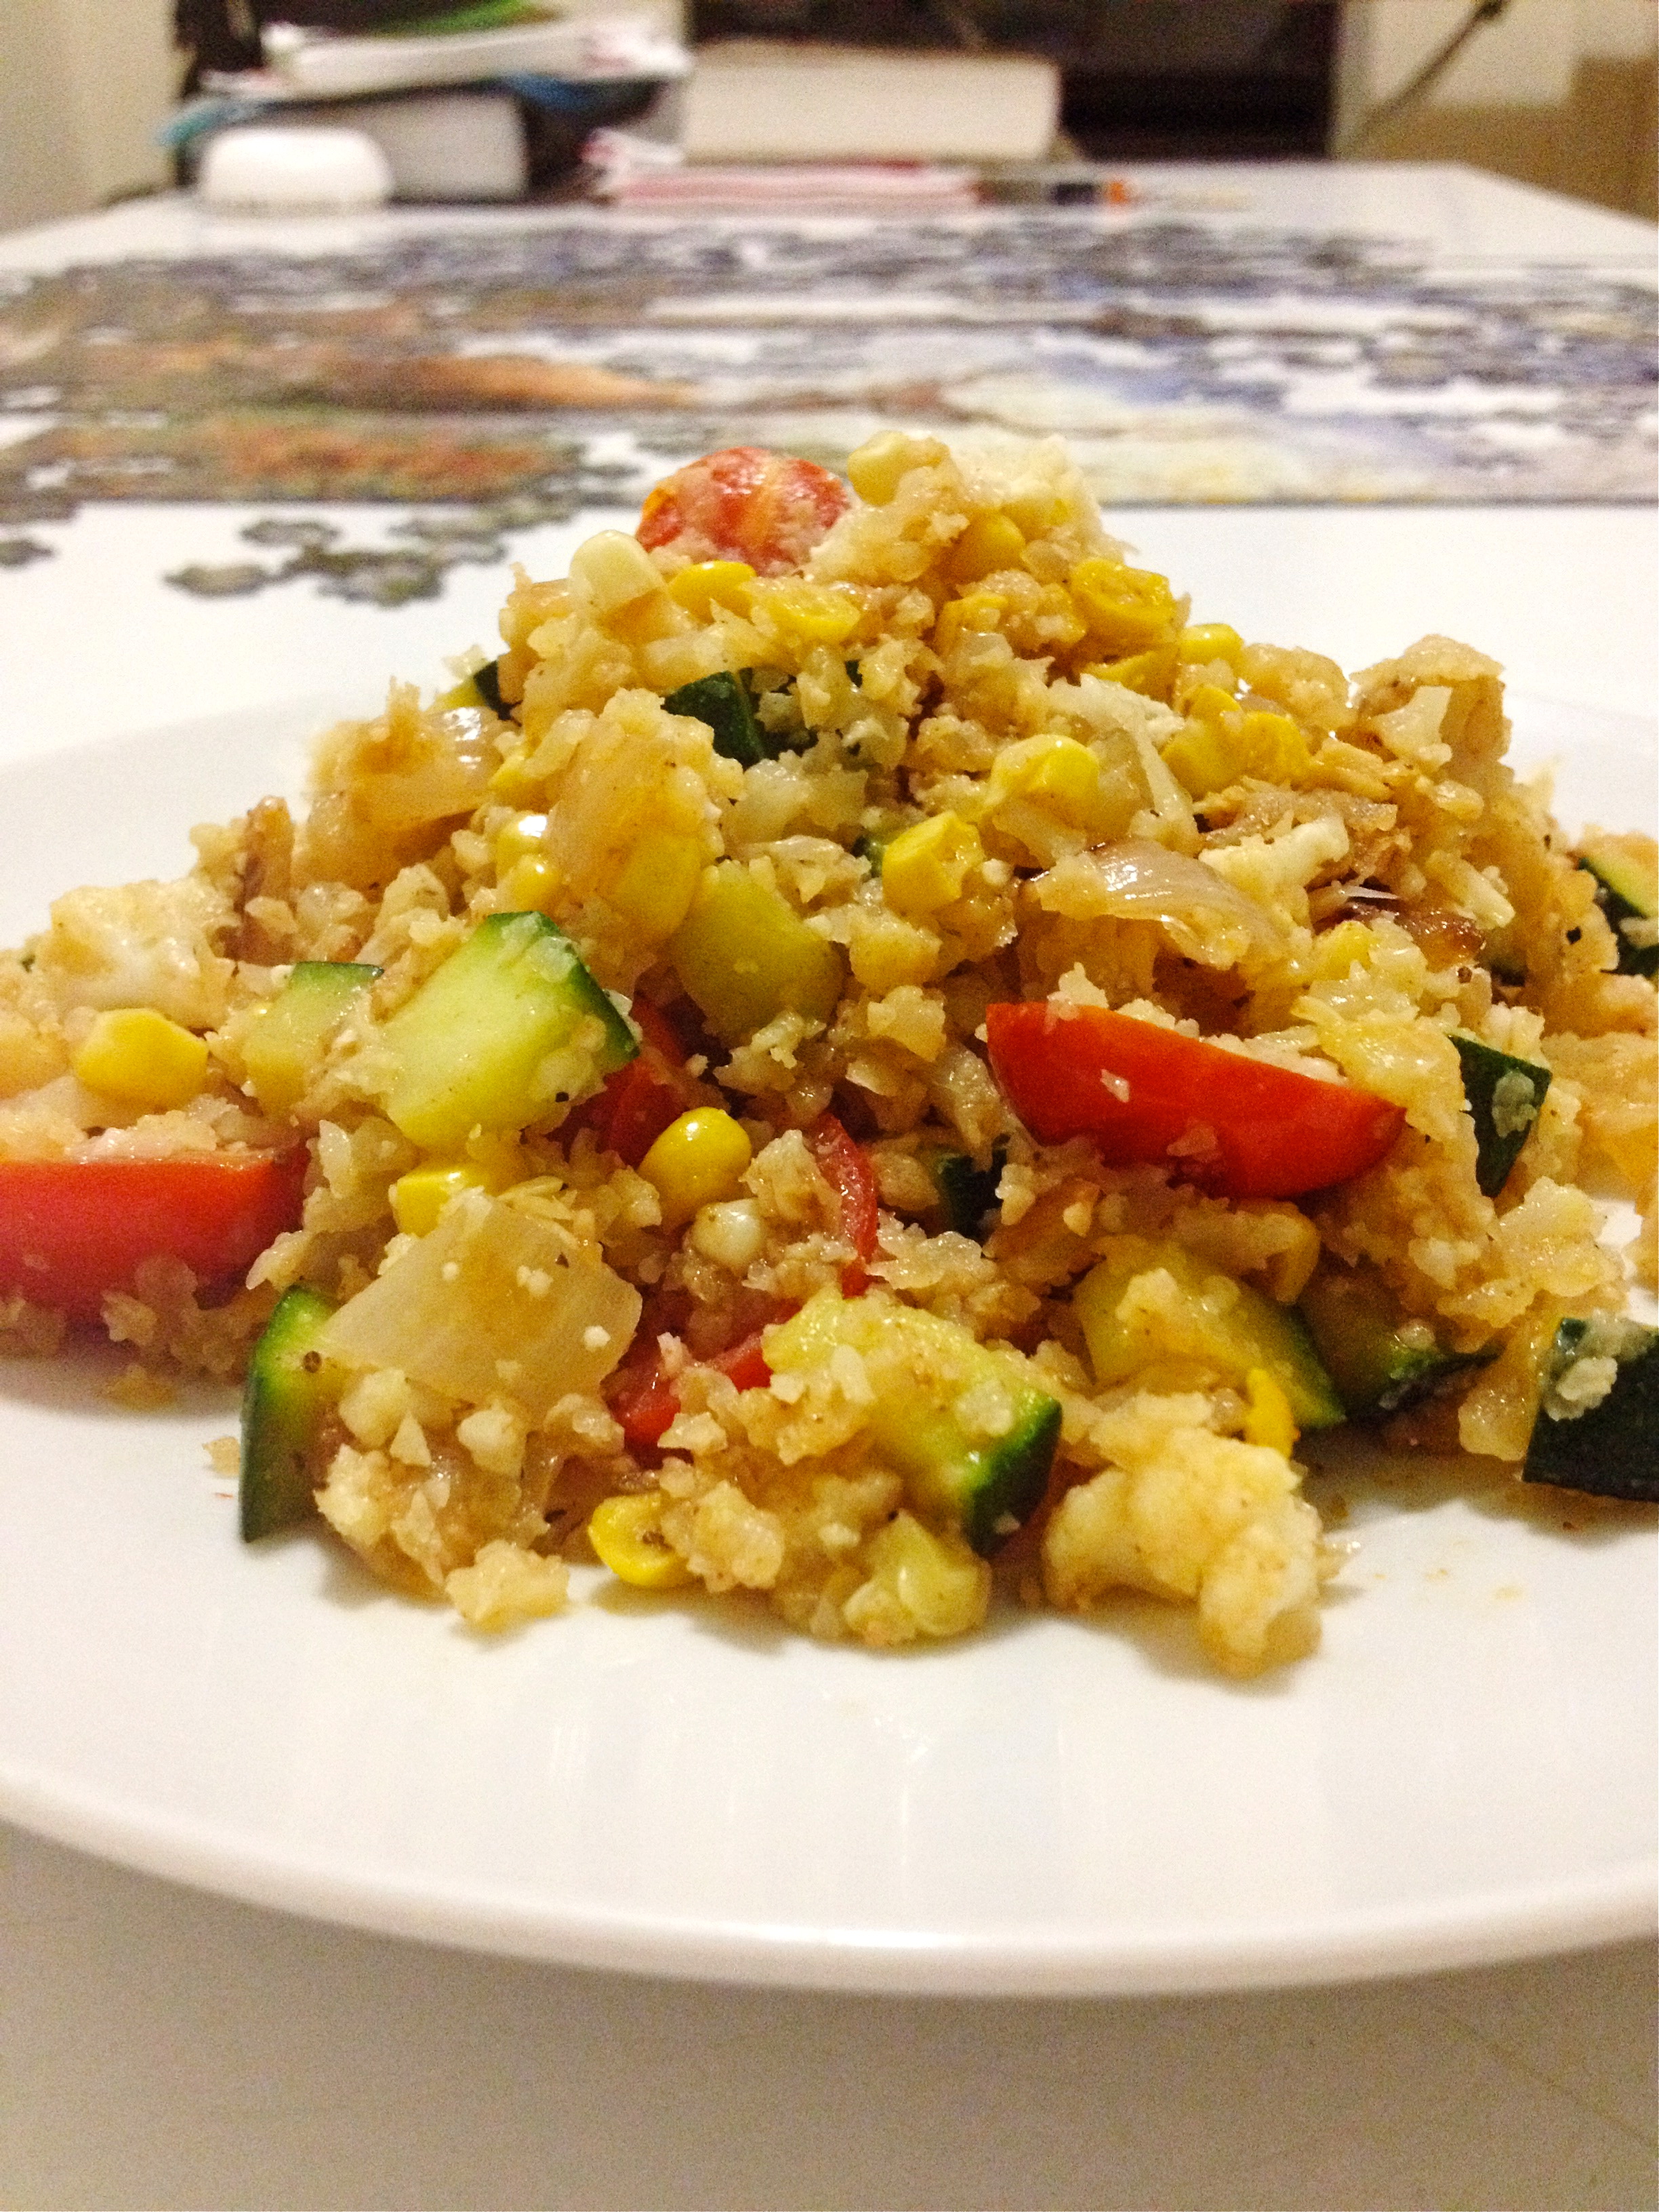
Harissa & Bengali-5-Spice Roasted Cauliflower

1 head of cauliflower, chopped

1 tablespoon harissa (I bought mine at Whole Foods)

1 tablespoon olive oil

1 teaspoon bengali-5-spice (see my recipe here)

few pinches of salt

Heat the oven to 350 degrees F.

Mix together cauliflower with harissa, olive oil, bengali-5-spice, and salt. Spread onto a parchment lined baking sheet and roast for about 35-45 minutes, stirring once or twice while baking.