Tag Archives: quick

Bon Appetit’s Chickpea, Barley, and Feta Salad

17 Jul

Processed with VSCOcam with f2 preset

My pantry is filled with grains. Grains in various packages–bags, quart containers, boxes, tupperware, and random bulk-bin bags. Grains in various amounts–a nearly full container, half empty, one or two servings left, and a serving that requires more math to calculate liquid-to-grain ratios than I would like to think about.

In my pantry I have: amaranth (I’ve been checking this post out for how to use my amaranth. I want to try popping it), bulgur (that one is in the fridge for some reason), three different kinds of oats, about two servings-worth of farina, polenta, grits, barley, a cupful of arborio rice, couscous, short grain brown rice, jasmine rice, farro, roasted buckwheat grouts (aka kasha), a handful of egg noodles, angel hair, and spaghetti. I recently polished off the quinoa and the millet, and I am exercising serious restraint not to buy more before I finish off some of my other grain odds and ends. Those darn odds and ends. At least grains have a long shelf life.

Looks like Amanda Hesser and I are on the same wavelength, though. She recently prepared lunch for her kids by using up the “various inconvenient amounts” of grains lying around. She boiled them one at a time in the same pot and, like magic, lunch was packed and pantry space was created and only one pot was dirty.

The upshot of all of this pantry overload is that overtime I built myself a arsenal of healthy, quick (and not-so-quick) pantry grains for that perfect throw-together meal. I just need a better system for storing, organizing, and keeping track of all the grains.

Processed with VSCOcam with f2 preset

One of the many grains in my pantry is barley. I bought the barley in the winter when I made this creamy chicken soup, and it’s about time that I use it again. Let’s take barley’s “heft and chew” from winter stew to summer salad.

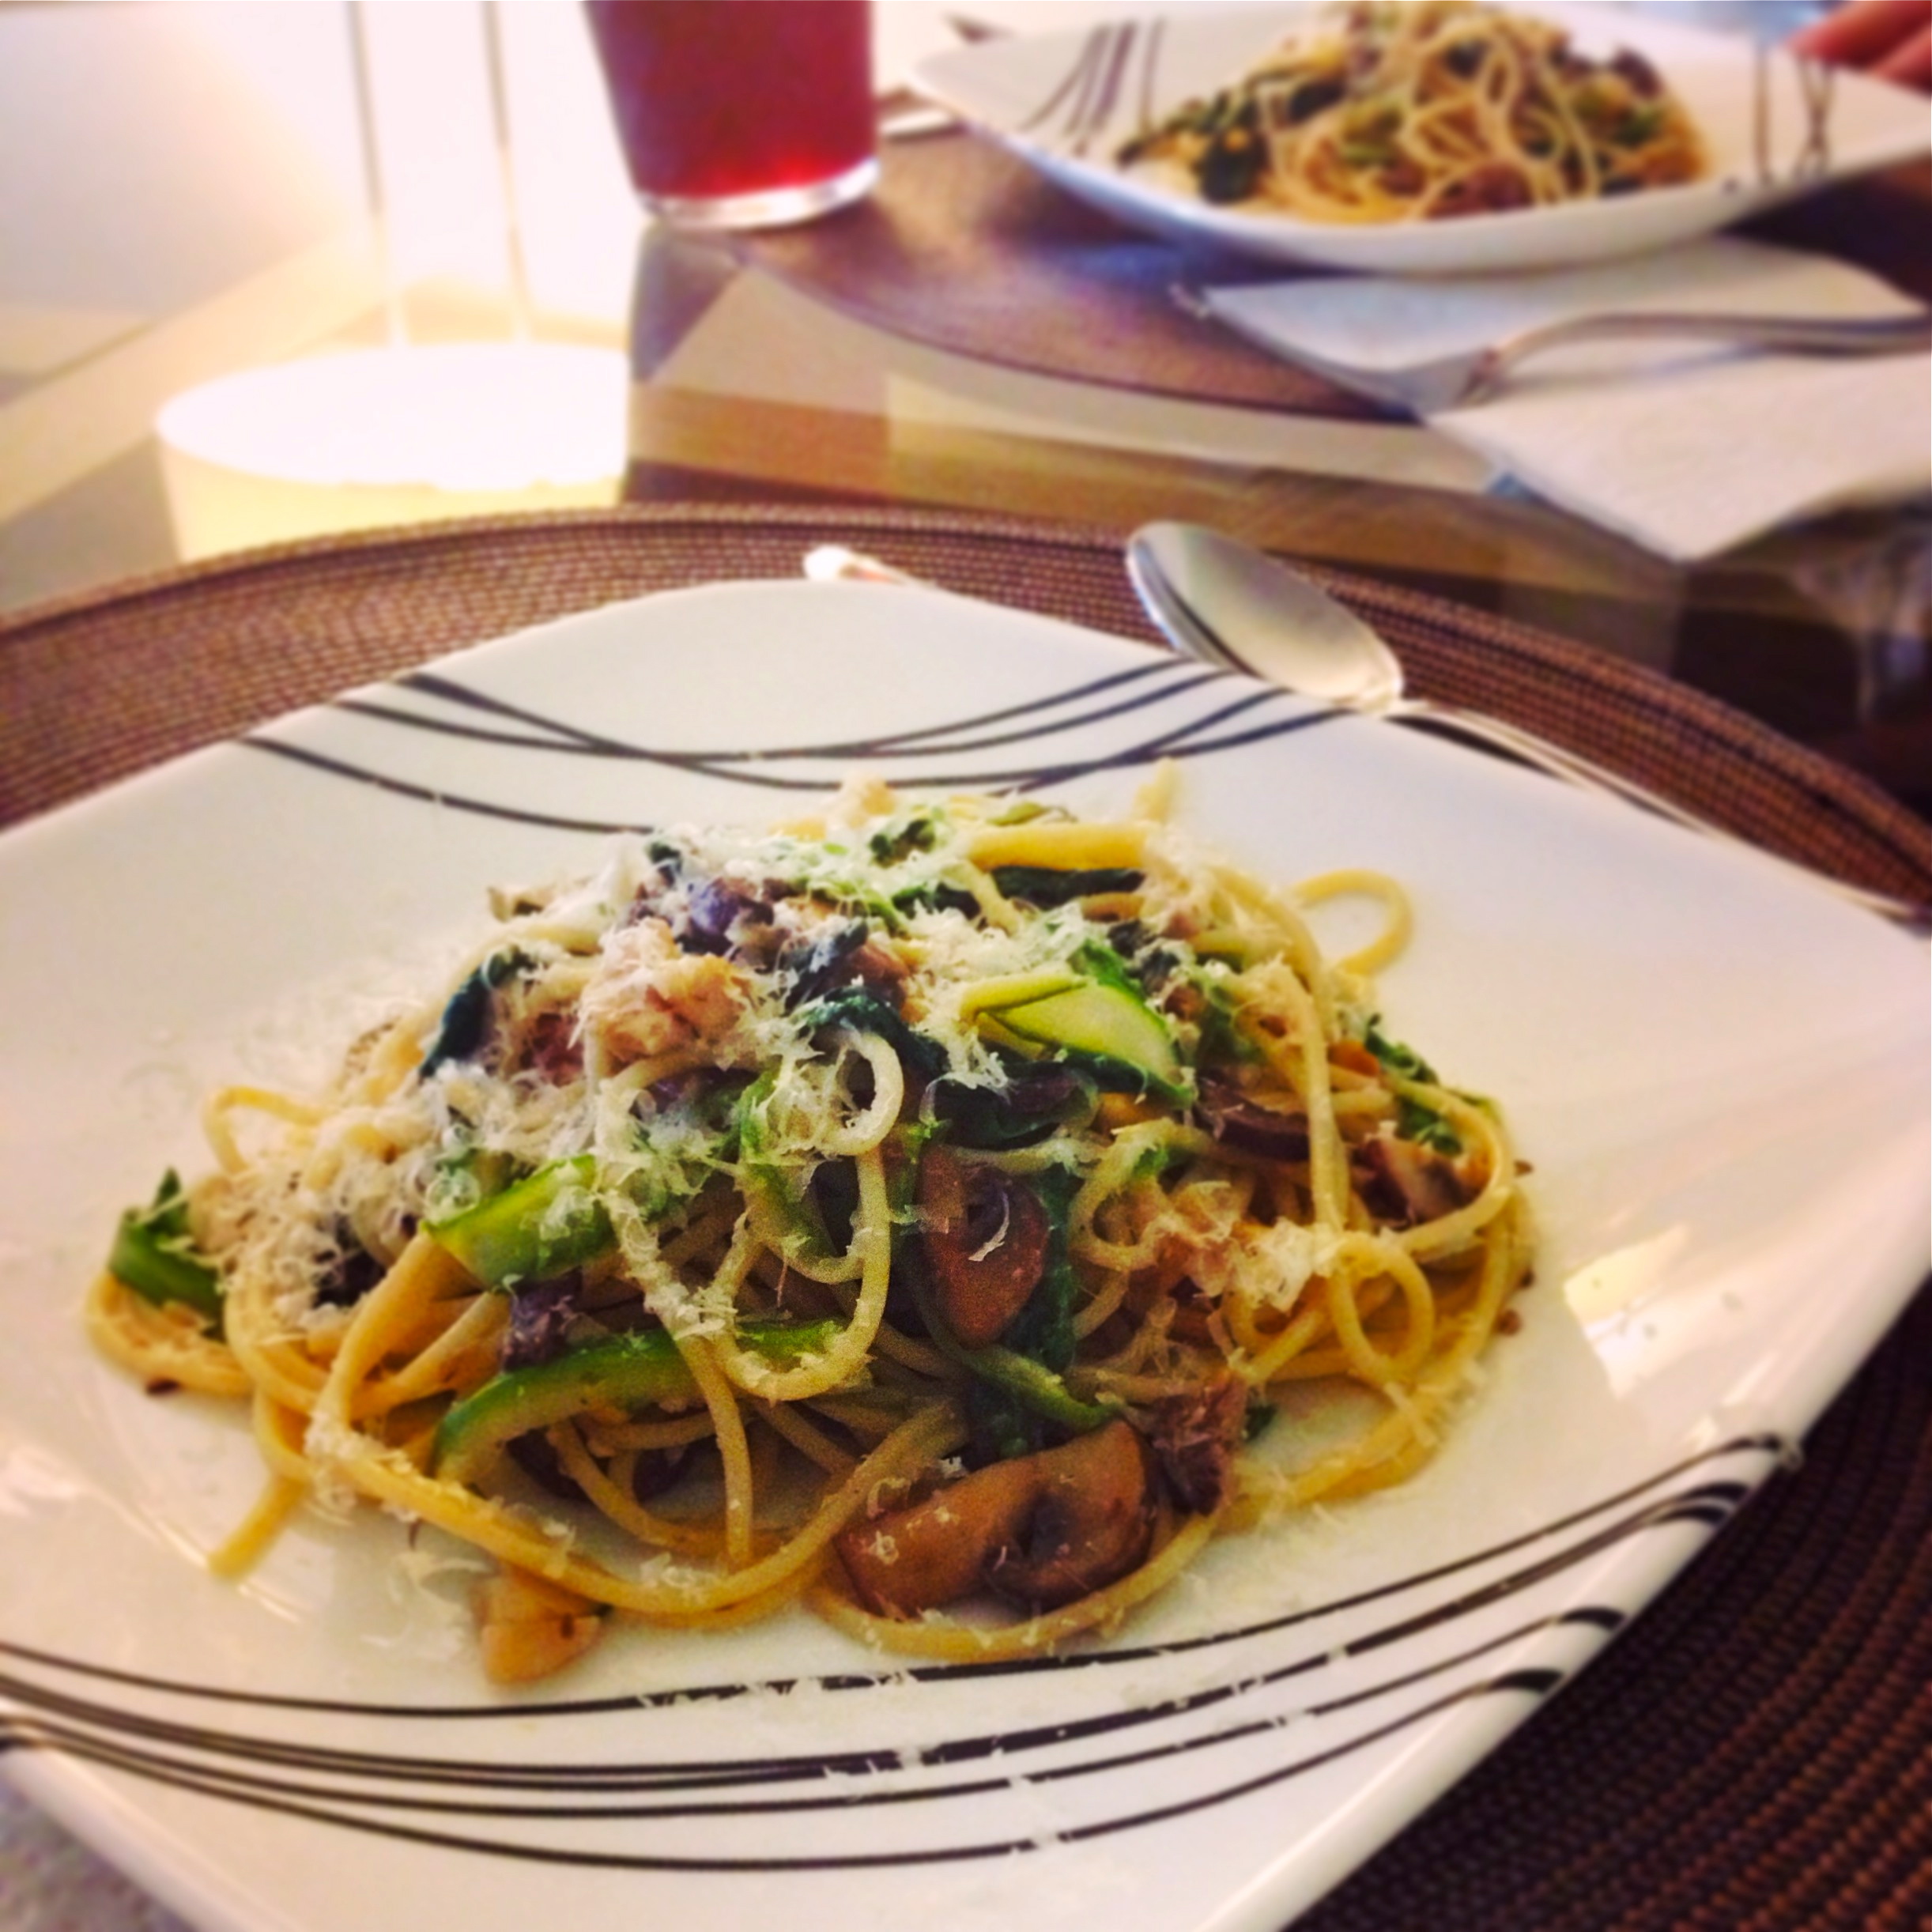
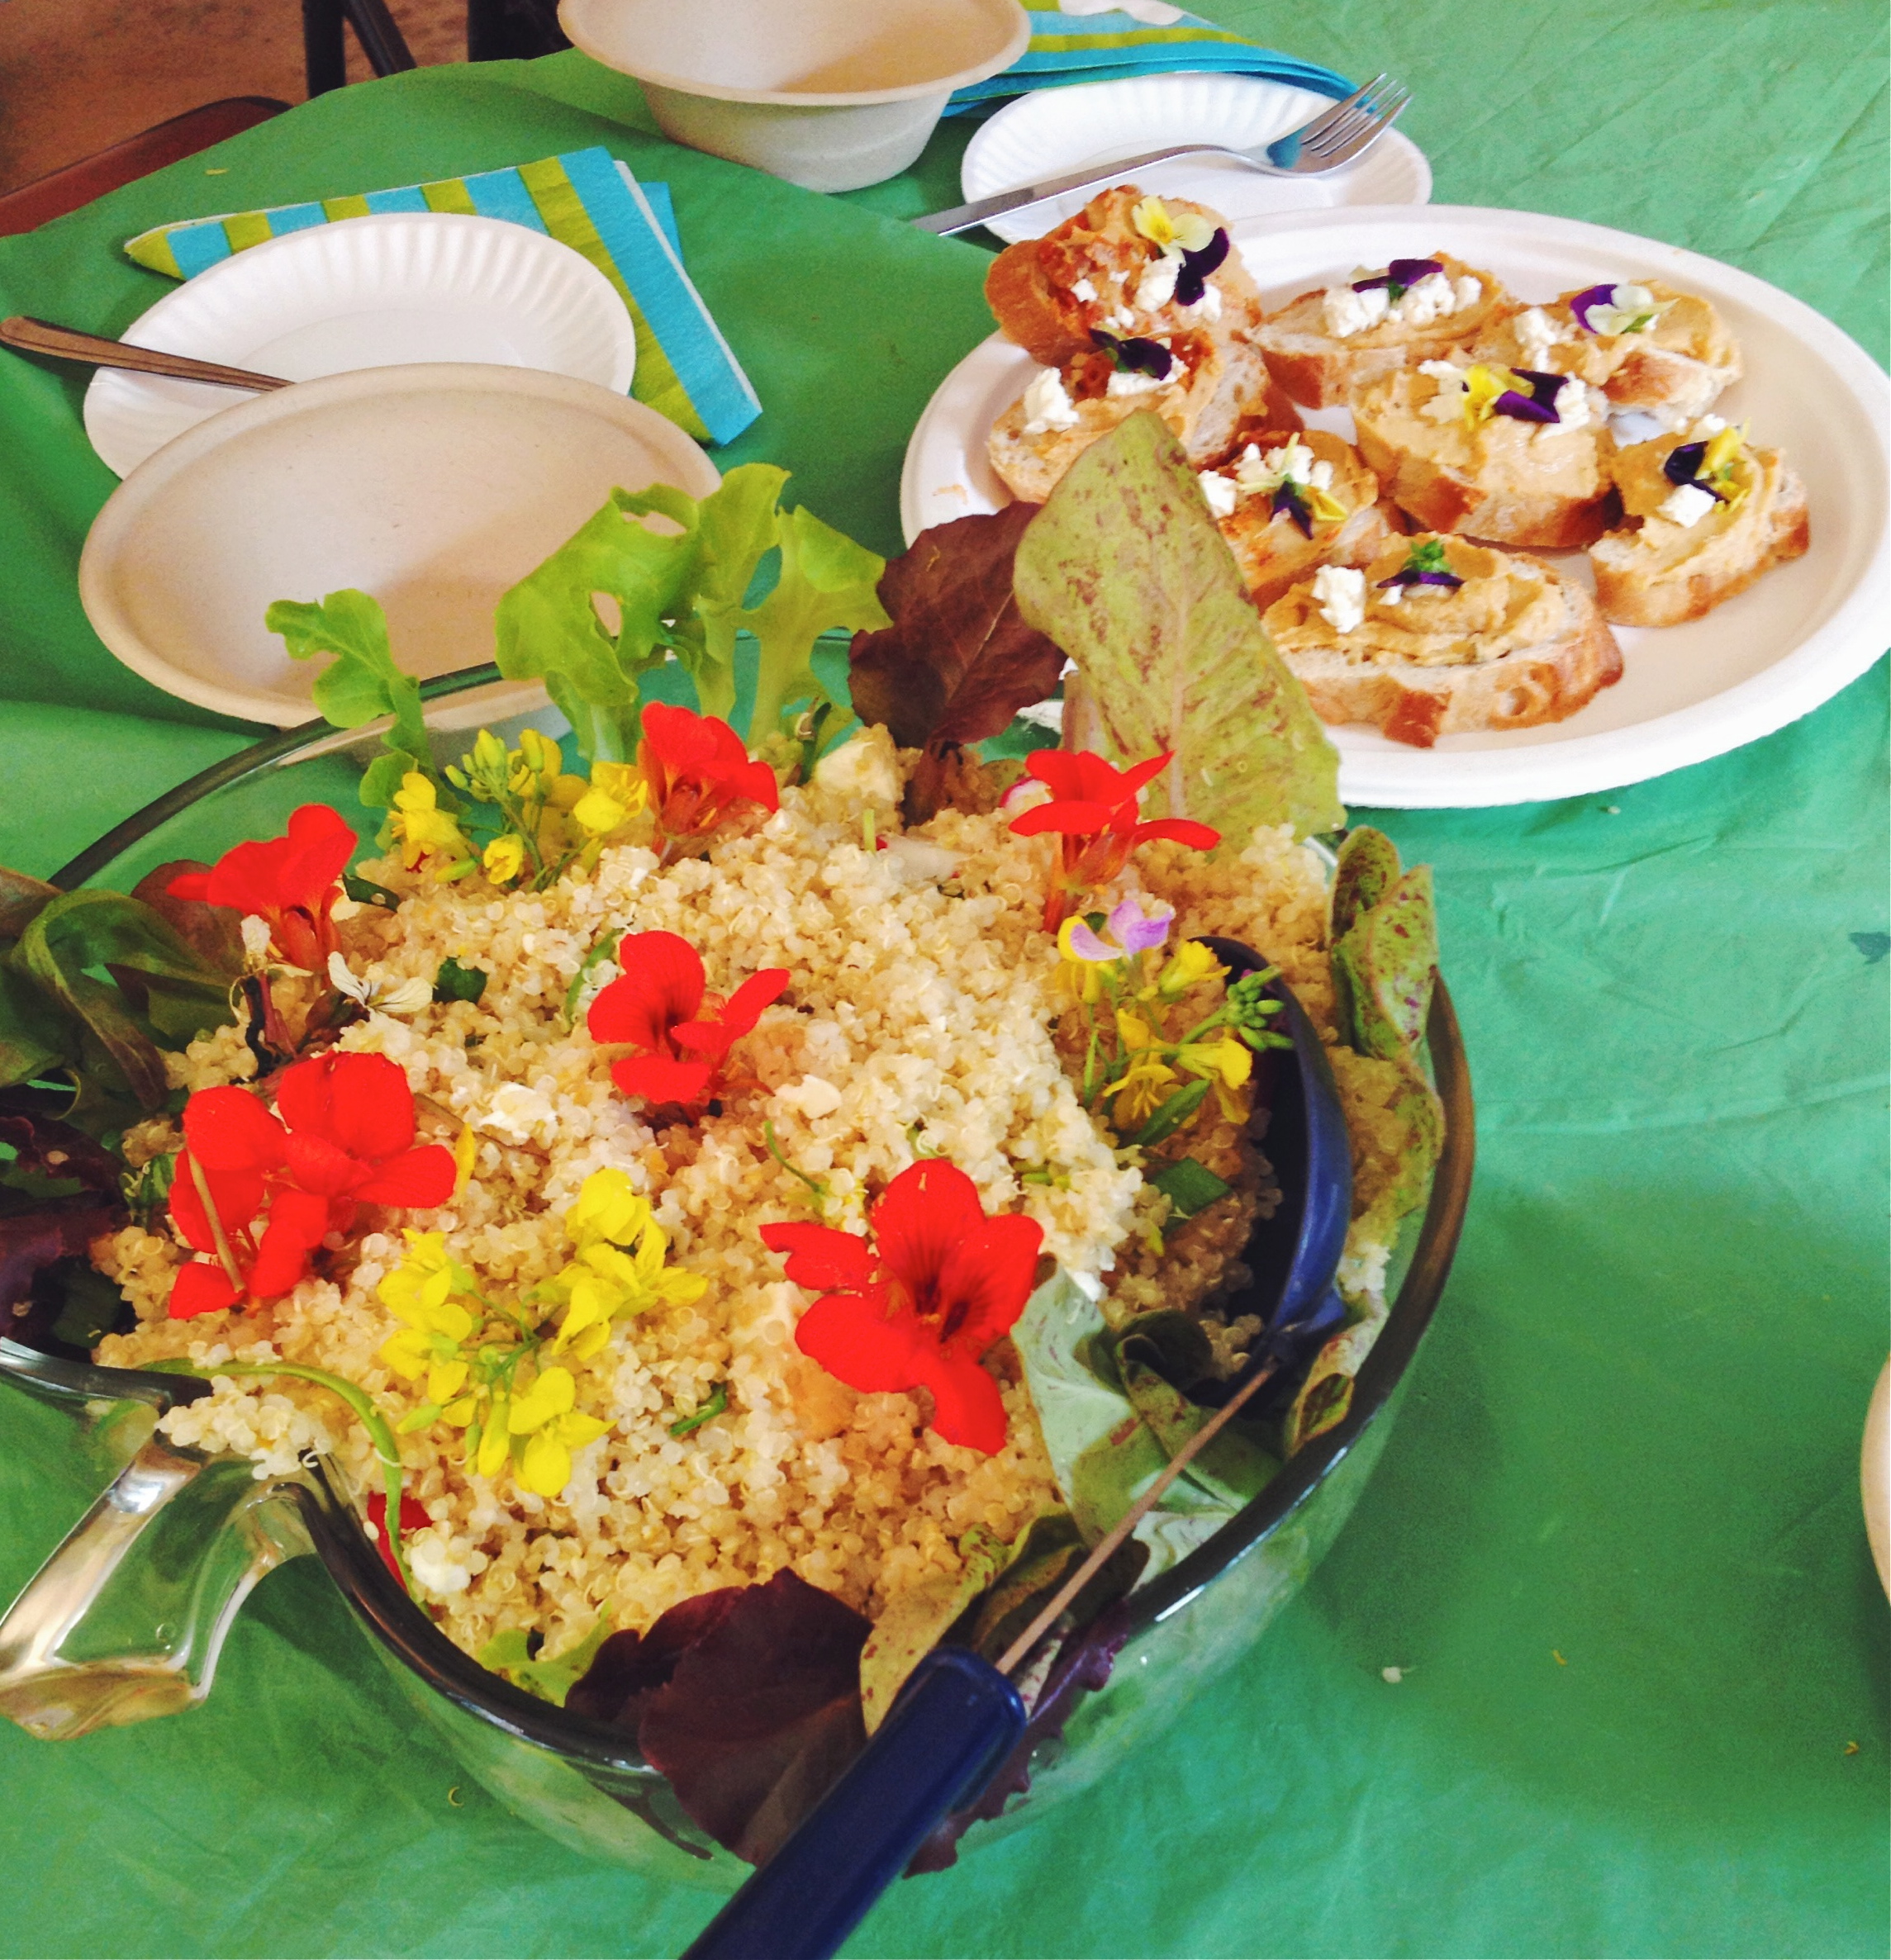
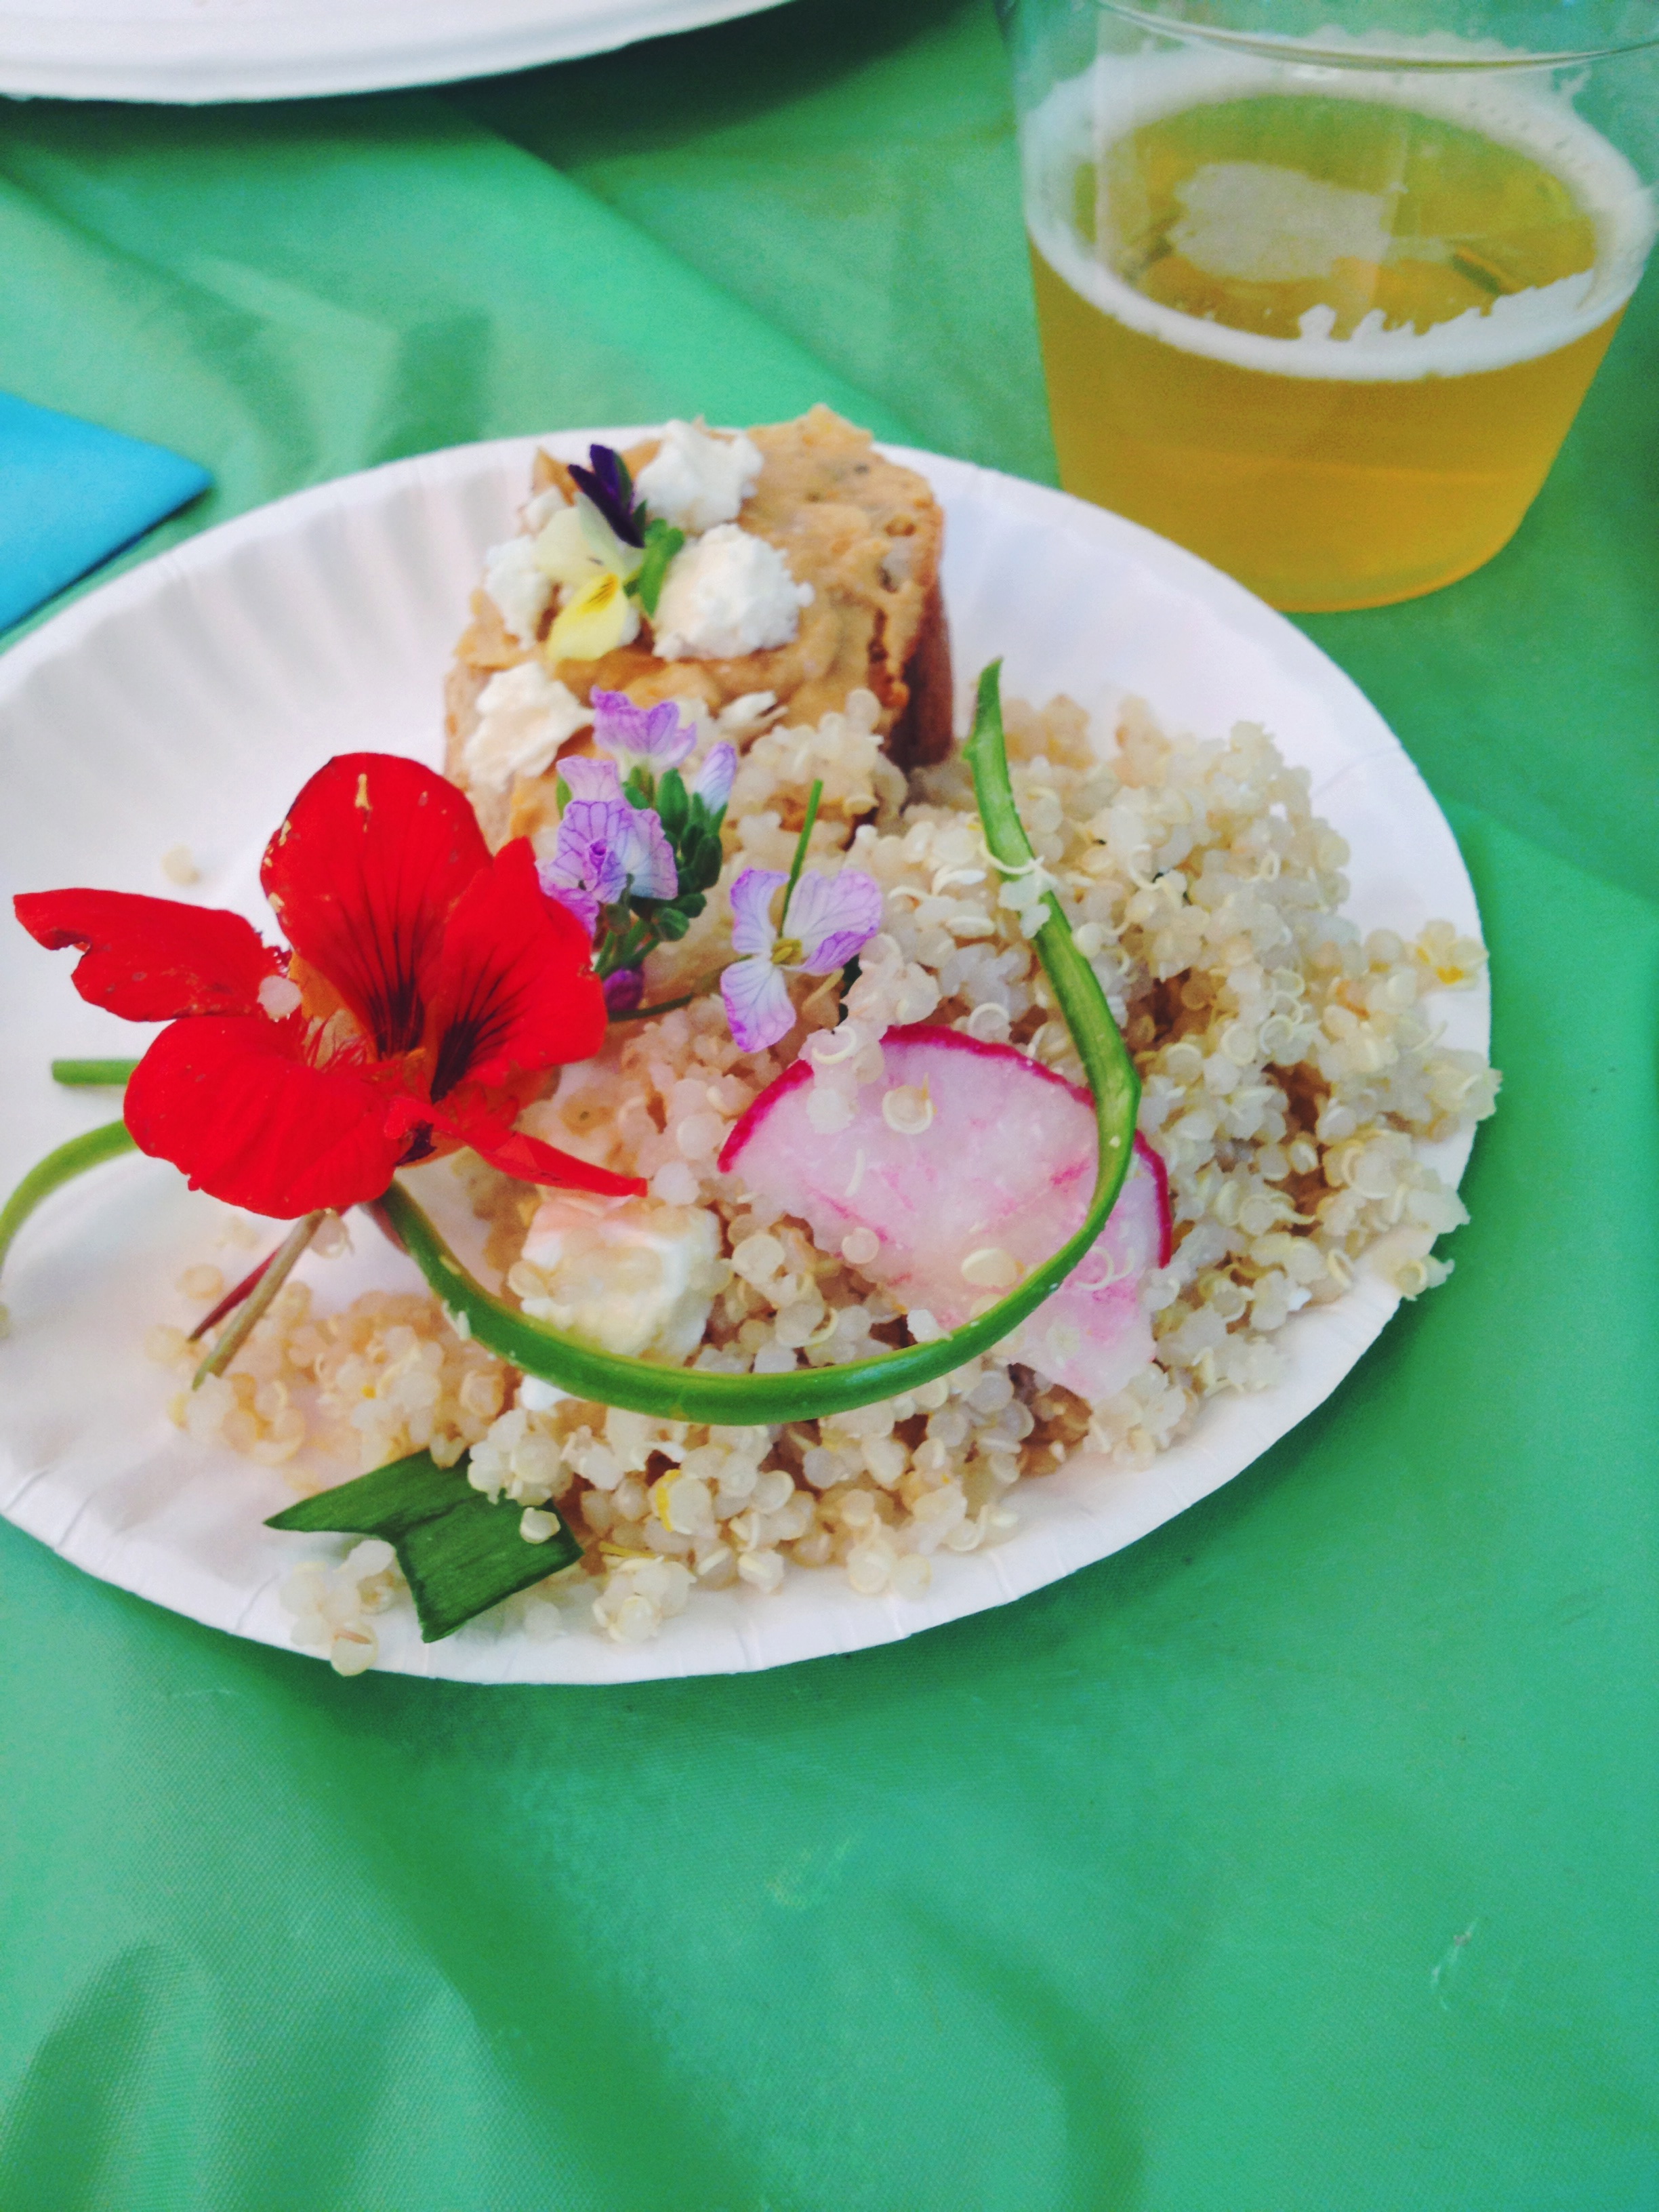
I enjoyed a big bowl of Chickpea, Barley, and Feta Salad for dinner with a little sautéed pesto zucchini and a cold cherry balsamic shrub with a squeeze of lemon juice. Hit. The. Spot.

Leftover grain salads make a great lunch the next day, too.

Barley tip: I soaked the pearled barley in water overnight to speed up the cooking time. Soaking is also thought to enhance the nutrient absorption of the grain by decreasing phytic acid. Nutrition Stripped has a handy guide on soaking and sprouting as a quick reference.

Soaking changes the color of the barley to a slightly gray-color vs. a toasty beige, but the taste is essentially the same. Check out this Serious Eats post about soaking. Up to you if you want to soak, but I recommend it, if anything to save you some time.

Don’t have barely on hand? Feel free to use brown rice, quinoa, farro, wheatberries, pasta, or really any other grain you have in your pantry!

Chickpea, Barley, and Feta Salad

adapted from Bon Appetit

makes about 4 servings

NOTE: I didn’t use all of the barley that I cooked. That was my personal preference. Using all of the barley for this recipe seemed like A LOT of barley, and I liked having more even amounts of grains, beans, and veggies in my salad. I saved some of my leftover barley in the fridge and ate it later in the week with different accoutrement. You can also eat leftover barley as a sweet or savory breakfast. 

8 oz. green beans, halved crosswise

1 cup pearled barley, soaked overnight and drained

1 teaspoon olive oil

1/4 cup pumpkin seeds (or sunflower seeds)

1 15-oz can chickpeas, drained and rinsed

4 oz. feta cheese, cubed or crumbled

handful of fresh spinach, leaves torn

juice of half a lemon

optional: fresh ground pepper, pinch of salt, a few sprigs of fresh herbs (thyme, oregano…), a pinch of your favorite spices 

  • Cook green beans in a large pot of boiling water until crisp-tender, about 3 minutes. Using a sieve or a slotted spoon, transfer to a bowl of ice water.
  • Return water to a boil, add barley, and simmer until tender (refer to packaging for timing, mine only took about 10 minutes since I soaked it overnight); drain. Let cool slightly.
  • Heat oil in a small skillet over medium heat. Cook pumpkin seeds, tossing occasionally, until golden brown, about 5 minutes; let cool.
  • Toss green beans, barley, pumpkin seeds, chickpeas, feta, spinach, lemon juice, and optional herbs and spices in a large bowl. Enjoy!
Advertisement

Sardine Pastas!

21 Jun

Processed with VSCOcam with f2 preset

 Brother/Sister Pasta with Sardines

I’m new to the whole “fish in tins” thing. Fresh fish is great, but I am picky about where it comes from, etc., etc., so I don’t buy it often. And even though I love my vegetarian-friendly chia seeds and ground flaxseeds, I always feel like I should be eating more fish.

(Re: the recent news about the updated recommendations for pregnant women and children to eat more fish…not that I am pregnant, or a child, but nonetheless, a little fish in the diet is good for the brain, the heart, the body)

I took a big step (for me) last year and started to eat canned tuna fish. Not bad. Not great. But I do it for my health, right? It’s good to change up the diet, add some variety to the mix. And you can keep it in the pantry to have on-hand.

This year, I am taking the “fish in tins” challenge. Bring it on sardines and anchovies. These smaller fish are supposed to be more sustainable, plus, anchovies can add a nice salty flavor to dishes and sauces, and sardines are a hot “super food” bursting with healthy omega-3 fat. A few months ago, I tried sardines from the tin for my first time. Last month, I bought anchovy paste and made my own version of fish sauce to go into a curry. I was definitely scared, but I persisted and came out strong in the end.

I can now say that I enjoy a nice pasta with sardines sprinkled throughout. I buy the boneless skinless sardines packed in olive oil. (I know, I’m not a true sardine fan until I can enjoy them skin, bones, and all, but this is a process…I’ll get there soon).

This was my first run at sardine pasta, adapted from Ellie Krieger’s Weeknight Wonders cookbook:

Processed with VSCOcam with f2 preset Pasta with Sardines Broccoli Rabe

Whole wheat fusilli pasta with broccoli rabe, pine nuts, golden raisins, and sardines. I added Parmesan on top. And it was SO good!

The sardines got added at the last minute before serving. The worst part about fish is the fishy smell, so I was pleased that the sardines had a very mild fishy smell only if they got too hot, but a smell so delicate that I was not offended.

I recently made a version of Ellie’s Pasta with Sardines with my brother. The pasta was a combination of Ellie’s recipe and my Throw Together Late Spring/Early Summer Pasta.

Instead of broccoli rabe, my brother and I used asparagus ribbons, fresh spring garlic, swiss chard, and cremini mushroom slices. We used toasted pine nuts, but no raisins this time.

Processed with VSCOcam with f2 preset

Brother/Sister Pasta with Sardines

Once you have the basic method down, you can always substitute your favorite vegetables and nuts/seeds. You can omit the raisins or keep them. Parmesan is optional, but I love the salty tufts on top of my pasta.

Don’t forget to always save your pasta water!

Pasta with Sardines and Vegetables

Adapted from Ellie Krieger

Makes about 4 servings

3 small tablespoons pine nuts (or whatever nut you like)

1 small bunch (3/4 lb. or so) of broccoli rabe (or a combination of whatever seasonal vegetables you have)

4 cloves garlic (in the spring, look for fresh garlic!)

1 can olive-oil packed sardines (Ellie uses 2, I just used 1…up to you; I like the boneless/skinless kind)

12 ounces whole-wheat or regular fusilli or spaghetti

3 tablespoons olive oil

1/4 cup raisins (optional)

salt and pepper and red pepper flakes, to taste

grated Parmesan, for serving

Bring a large pot of water to a boil. While the water is heating, toast the pine nuts in dry skillet over medium-high heat until fragrant, about 4 minutes. Transfer to a plate to cool.

Trim the tough ends from the broccoli rabe, then chop the rest, including the leaves, into 1/2-inch pieces (or, prepare/chop your other vegetables how you like). Roughly chop the garlic and drain the sardines.

Cook the pasta for 1 minute less than it says on the package directions; drain, reserving 1 cup of the cooking water *If using asparagus or zucchini ribbons, drop them into the pasta water 1-2 minutes before you drain the pasta. While the pasta is cooking, heat the oil in a large skillet (you can use the same one you toasted the pine nuts in) over medium-high heat. Add the broccoli rabe, raise the heat to high, and cook, stirring, until it is crisp-tender, 2 to 3 minutes. Add the garlic and cook for 1 minute more.

Add the drained pasta to the vegetable skillet. Add the sardines, the raisins, the pasta cooking water, toasted pine nuts, and the salt/pepper/red pepper flakes. Turn the heat to medium-high and toss to warm through, 1 to 2 minutes. The sardines will break up as you toss. Serve each bowl with a little grated Parmesan on top.

Processed with VSCOcam with f2 preset

Pasta with Sardines Broccoli Rabe 

Spring Quinoa Salad with edible flowers

25 May

Processed with VSCOcam with f2 preset

Spring has sprung in New York City, and there is so much to eat!

Yesterday was my last “composting and healthy snacks” session for seniors with mild memory loss, in conjunction with The Memory Tree Program, Teachers College, and the Morningside Gardens Co-op. Read more about our first session and our Earl Grey Spiced Fruit Compote here.

The Memory Tree is New York City’s first program devoted to people with mild memory loss, and their family and caregivers.

This was the end (for now!) of a series of “Going Greener” workshops, continuing a previous project about nutrition, cooking, and farmer’s markets. The “Going Greener” project came about as a way to learn how to keep the world healthy, focusing specifically on composting and easy snacks. 

The series comprised 5 sessions, with each session consisting of a compost component, a media workshop, and a healthy snack and drink. Each week, we gave the seniors digital cameras to use so that they could document the colorful snacks and activities. We also made little youtube videos with the photographs. Check out some of the fun videos on our channel.

My main role was to find and/or develop our recipes, purchase the ingredients, and gather the necessary kitchen tools and gadgets . In other words, I was the official “Recipe Consultant.”

These were the 5 snacks and drinks:

1. Earl Grey Spiced Fruit Compote with Lemony Water

2. Carrot and Hummus “Sushi Sandwiches” with Cucumber “Spa Water”

3. Peanut Butter Oat Snack Bites with Minted Ice Cubes and Earl Grey Ice Tea

4. Mud Pudding aka Chocolate Tofu Pudding with Strawberries and Seltzer

5. Spring Quinoa Salad with Edible Flowers, Hummus Feta Toasts with Pansies, Blueberry Frozen Yogurt Bites, and Sparkling Cider

IMG_2573

Edible flowers are fun to eat and beautiful to photograph, so we planted nasturtium seeds with the intention of eating them at the final session. I took a few seeds home to plant, too! If you have never tasted an edible flower, the flavor and texture are similar to a slightly peppery lettuce leaf.

IMG_2587

The final snack (it was more of a meal this time) was a Spring Quinoa Salad. All of the veggies were from the greenmarket: radishes (did you know radishes have about as much or more potassium as a banana?!), ramps, asparagus, and baby lettuces. We also found an assortment of edible flowers: broccoli rabe flowers, radish flowers, and arugula flowers.

IMG_2586

We chopped the radishes and ramps, and shaved the asparagus into ribbons with a vegetable peeler. Then we tossed everything together with the quinoa, added crumbled feta cheese, lemon zest, and lemon juice. We scooped the quinoa onto a nice bed of lettuces and delicately topped everything with nasturtium.

We also sliced into a baguette, spread the bread rounds with hummus, and sprinkled feta and edible pansies over the top. The pansies were from a plant we bought at the greenmarket.Who knew you could eat pansies?

Before every snack or meal, we all would set the table and clink our glasses together, toasting to good food and good company. Cheers! And don’t forget to compost the food scraps.

Processed with VSCOcam with f2 preset

I didn’t get a picture of our blueberry frozen yogurt bites, but they were so easy and so good. I got inspired after seeing this recipe.

Also, if you are looking for more fun, spring veggie talk, check out this episode of one of my favorite podcasts, Spilled Milk Podcast. They talk about ramps, fiddleheads, pea shoots, and nettles.

And for more spring quinoa inspiration, check out Megan’s post on Elevating Lunch.

Processed with VSCOcam with f2 preset

Spring Salad with Edible Flowers

Quinoa is full of good-for-you protein and fiber, and it cooks in just minutes. Throw in some seasonal veggies and creamy cheese, and delicately dot with fresh herbs and nasturtium for a picture perfect spring salad! 

*This recipe is very much to your own taste. Once you have your quinoa base, throw in the suggested add-ins as you like! 

serves 4

1 cup quinoa

Seasonal veggies i.e. asparagus (shaved into ribbons), ramps or spring onions, radishes, baby lettuces…

Feta or soft goat cheese (about 2 oz. or so)

Edible flowers i.e. nasturtium, pansies, or broccoli rabe flowers/arugula flowers/radish flowers

Lemon, zest and juice

  • Rinse the quinoa and drain it. Cook the quinoa in a saucepan (2 cups water to 1 cup quinoa) for about 15 minutes or until cooked and fluffy. Put aside.
  • Chop the seasonal veggies into small pieces. If using, shave asparagus with a vegetable peeler (that way you can enjoy it raw).
  • Crumble the cheese.
  • Zest the lemon.
  • In a bowl, combine the cooked and cooled quinoa, the chopped veggies, the crumbled cheese, and the lemon zest. Squeeze lemon juice over the top and toss to combine.
  • Delicately place the edible flowers on top and serve!

Homemade Snack: The Weelicious Chewy Granola Balls

8 Apr

Processed with VSCOcam with f2 preset

This is my second time making the Weelicious rice crispy balls, granola ball bites, whatever you call ’em.

After watching her adorable videos 1 and 2, I ran out to the store to buy brown rice cereal, but I spaced out and bought puffed rice instead of crispy rice. The recipe still works with puffed rice, but the texture is not as, well, crisp, without the crispy rice cereal.

I had a jar of brown rice syrup sitting in my pantry for over 2 years and never knew what to do with it until I saw these recipes. Brown rice syrup is slightly less sweet than regular sugar, and it’s great for n0-bake recipes like this because the syrup is so sticky it acts like glue. When melted together with nut butter, I wanted to lick the hot pot it smelled so good.

Add-ins are endless, but I love the combo of some dried fruit and chocolate chips. How could you not?

Balls (insert dirty joke) are indeed cuter and more fun to eat than bars. Sometimes I will just eat one after lunch to satisfy that post-meal sweet craving. Other times I pack 3-4 with me and enjoy them for a mid-day snack. Up to you.

The recipe makes about 25-30 balls (depending how much you eat in the process!). I stored about half of the bites in the fridge because they are a little crispier when cold, and I froze the other half  batch for later.

IMG_1115

 A Random Assortment: Granola Balls, PS4 Controller, Mattress, Bikes

The Weelicious Chewy Granola Balls

adapted from Weelicious

makes about 30 balls

1/2 cup nut and/or seed butter (I used a combo of sunbutter and cashew butter)

1/2 cup brown rice syrup

1 1/2 cups crispy brown rice cereal (I didn’t have any, so I used puffed rice…works fine but crispy would be better for texture)

1 cup granola (any kind you have, but I used Hot Bread Kitchen Granola)

1/4 cup dried fruit (i.e. cranberries, raisins, blueberries, chopped apricots…) and/or chocolate chips

1. Place the nut/seed butter and brown rice syrup in a small saucepan over low to medium heat and warm for 2 minutes or until it becomes smooth and combined.

2. Place the remaining ingredients in a bowl and stir to combine.

3. Pour the warm nut/seed butter mixture into the bowl with the granola mixture and stir to combine.

4. Roll into 1 inch balls (you can use a mini ice cream scooper to scoop out each portion, or a tablespoon). Alternatively, you could press the mixture into a square pan, let cool, and slice into bars.

Happy snacking!


Ellie Krieger’s Korean Beef and Broccoli Stir-Fry

19 Feb

Processed with VSCOcam with c1 preset

Here’s a hot, spicy stir-fry to get you through the week. Korean Beef and Broccoli Stir-Fry. Three stand-out ingredients make this recipe great: lots of broccoli, lean sirloin and crunchy, spicy kimchi.

Broccoli is such a good vehicle for soaking up all the juicy sauces and spices of a stir-fry. The broccoli gets steamed in the microwave to keep the recipe fast and healthy.

I put my money on the table for a nice cut of sirloin from the farmer’s market. I got it from Sawkill Farm in Red Hook–totally worth the few extra dollars for this beautiful piece of meat. If you are trying to keep things lean, sirloin is the way to go. Generally, if the name of the cut has the word “loin” or “round” in it, it is a lean cut.

Every time I eat kimchi at a restaurant, I love it, so why haven’t I thought to use it home?! You can buy kimchi at most markets now, and I definitely want to try making it myself one day.

Note that the recipe calls for low-sodium beef broth. I’m not usually a fan of beef broth because I don’t like how most of them taste. Instead, I used water with a dash of soy sauce. I’m just giving you options if you are like me and get fussy for good beef broth.

This stir-fry hit the spot for me this week. Serve it over rice, and you’ve got healthy restaurant-style food in the comfort of your own home.

Processed with VSCOcam with c1 preset

I am obsessed with Ellie Krieger’s latest cookbook, Weeknight Wonders. It is definitely helping me get out of my rut in the kitchen. So far I made her pork tenderloin with fennel and grapes, warm bulgur salad with feta and grapes, simple meatballs marinara with spaghetti, a variation of her tuna and white bean salad, and her earl grey spiced fruit compote. I am excited to try more of her 30-minute recipes.

Ellie Krieger’s Korean Beef and Broccoli Stir-Fry

from Weeknight Wonders

makes 4 servings

1 head of broccoli

1 pound beef sirloin, trimmed of all visible fat (I used slightly less, a 0.7 pound cut)

2 tablespoons canola or olive oil, divided

1 onion

3 cloves garlic

1 1/4 cups store-bought kimchi (10 ounces)

1 cup low sodium beef broth (I used 1 cup water + 1 tablespoon soy sauce)

1 tablespoon + 1 teaspoon cornstarch

1 teaspoon chili-garlic sauce

Cut the large stems off the broccoli, peel them, then slice them into 18-inch-thick coins. Cut the top into florets about 2 inches in diameter. Place the broccoli, with the water still clinging to it from washing it, in a microwave-safe dish. Cover tightly and microwave on high power until just crisp-tender, about 4 minutes. (Alternatively, you can steam the broccoli in a pot on the stove for 4 minutes).

Thinly slice the beef against the grain into 1/4-inch-thick strips. Heat 1 tablespoon oil in a very large skillet or wok over medium-high heat. Add the beef and brown until just cooked through and slightly browned, about 2 minutes per side. (I like to use tongs here). Transfer to a plate.

Meanwhile, thinly slice the onion and garlic and roughly chop the kimchi. After transferring the beef to the plate, add the remaining 1 tablespoon oil to the skillet, then add the onions and cook until softened, about 6 minutes. Add the garlic and cook for 1 additional minute.

While the onions are cooking, add whisk together the broth (or water + soy sauce if using), cornstarch, and chili-garlic sauce until the cornstarch is dissolved.

Add the broth mixture to the pan, turn the heat to high, and cook, stirring, until the liquid begins to thicken, 2 to 3 minutes. Stir in the beef with any accumulated juices, broccoli, and kimchi and cook until just warmed through, 2 minutes more.

Serving size: 1 1/2 cups

Calories: 330; Total Fat 13g (Sat Fat 2.5g, Mono Fat 6.5g, Poly Fat 2.3g); Protein 33g; Carb 21g; Fiber 6g; Cholesterol 50mg; Sodium 660mg