Tag Archives: peas

Creamy Cauliflower Pasta Sauce

3 Aug

IMG_1271

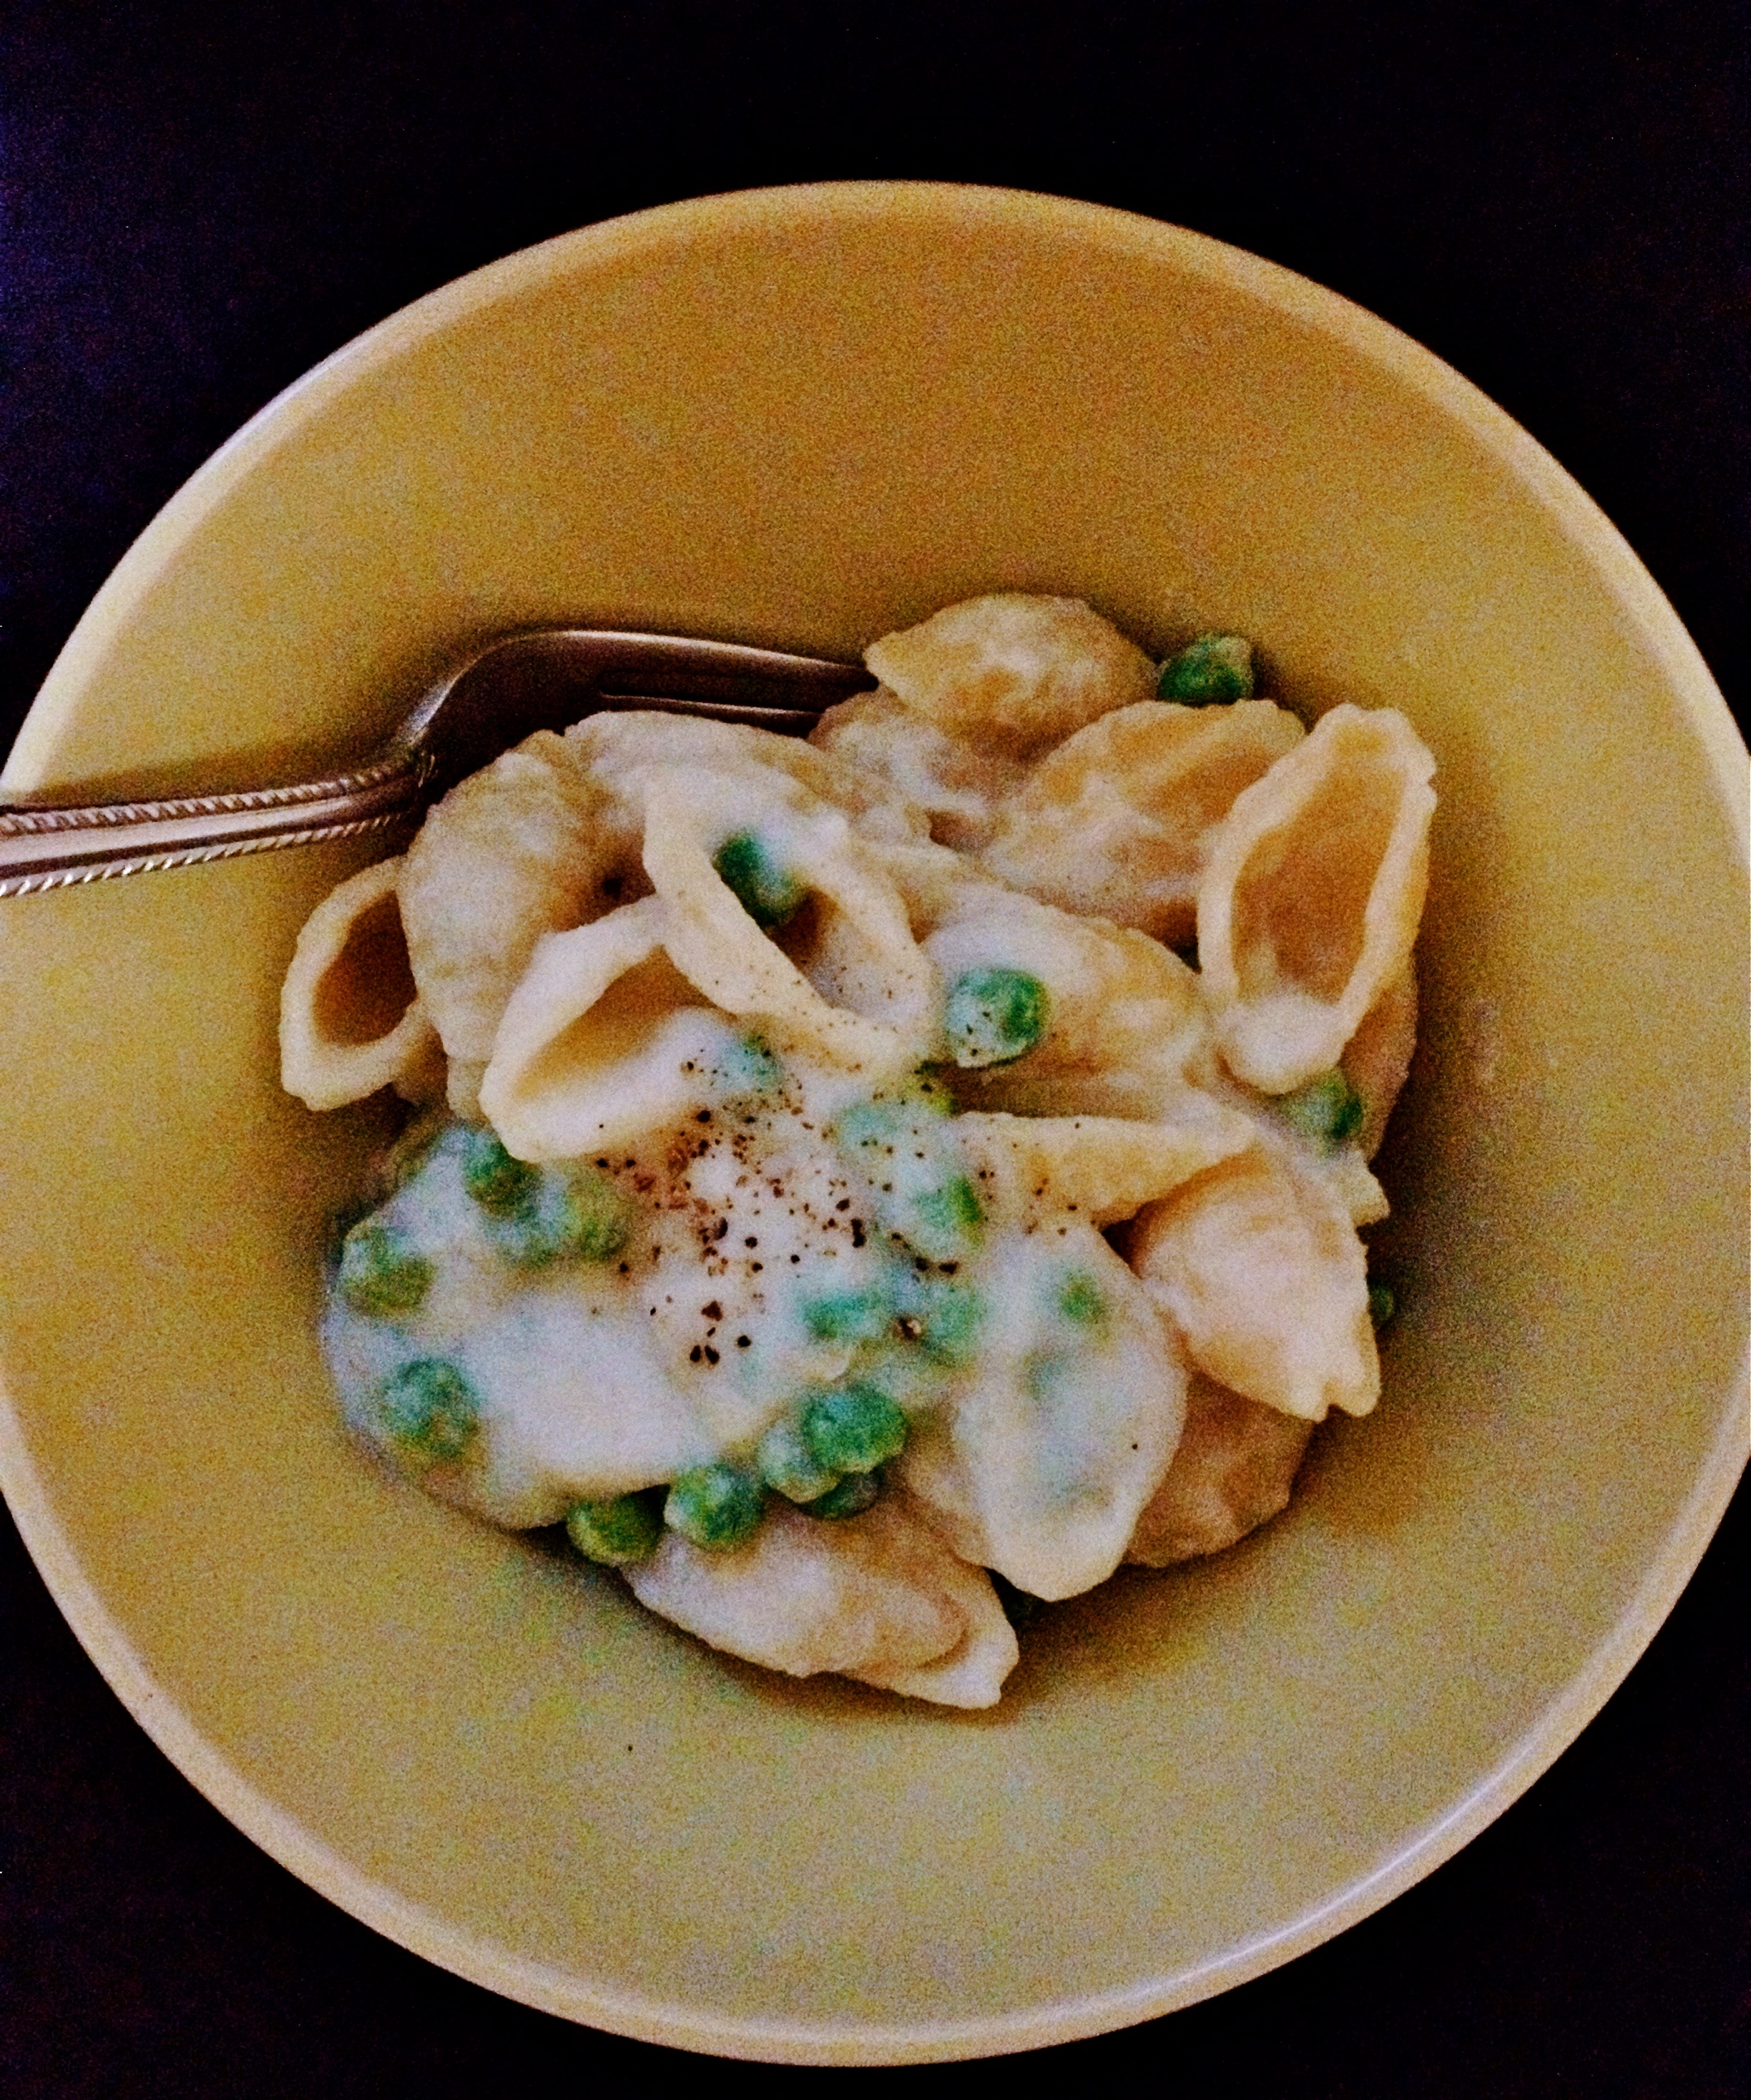
I recently made the Peas and Shells Alfredo from the Smitten Kitchen Cookbook. Of course, it was outstanding, and dinner was ready by the time the shells finished boiling.

I try, however, to save a heavy pasta cream sauce for those special comfort dinners. Today’s recipe is a riff on that heavier sauce. There’s still shells, there’s still peas, but no cream! The sauce is thickened with boiled and pureed cauliflower, and wow is it good.

Cauliflower is part of the cruciferous vegetable family, along with broccoli, kale, collards, and cabbage. It is a rich source of vitamins C and K, thus providing antioxidant and anti-inflammatory benefits! You can read more about cruciferous veggies here.

To make this pasta sauce, cauliflower gets boiled and pureed in a blender with milk (you could use non-dairy milk to make the sauce vegan). Added to a saucepan with some nutritional yeast, a little garlic, salt, pepper, and a dash of hot sauce, you would never know there was a vegetable hiding in all of that goodness.

I’ve heard the buzz about making mashed cauliflower. It is supposed to be a great alternative to starchy mashed potatoes. Even Bill Clinton agrees. Maybe as the season turns to fall I will experiment with cauliflower mashes…

Until then, this cauliflower cream sauce hits the spot. I used 1% milk (cow’s milk), which allowed my sauce to still fit the healthy bill without compromising on a creamy, luxurious taste. If you still want a little more decadence, you could always stir in a small pat of butter and a grate of cheese to the sauce. I won’t tell if you won’t…

Creamy Cauliflower Pasta Sauce

adapted from Baker Bettie 

serves 8

**NOTE: I recommend preparing the sauce and saving leftovers in a tupperware.  Cook the pasta as needed, to order. It tastes fresher.

1 head of cauliflower 

2 cups of milk 

3 cloves garlic, minced

2 tablespoons nutritional yeast

salt and pepper

1 lb of pasta (I used various pasta shapes throughout the week with this sauce: shells, angel hair, and egg noodles)

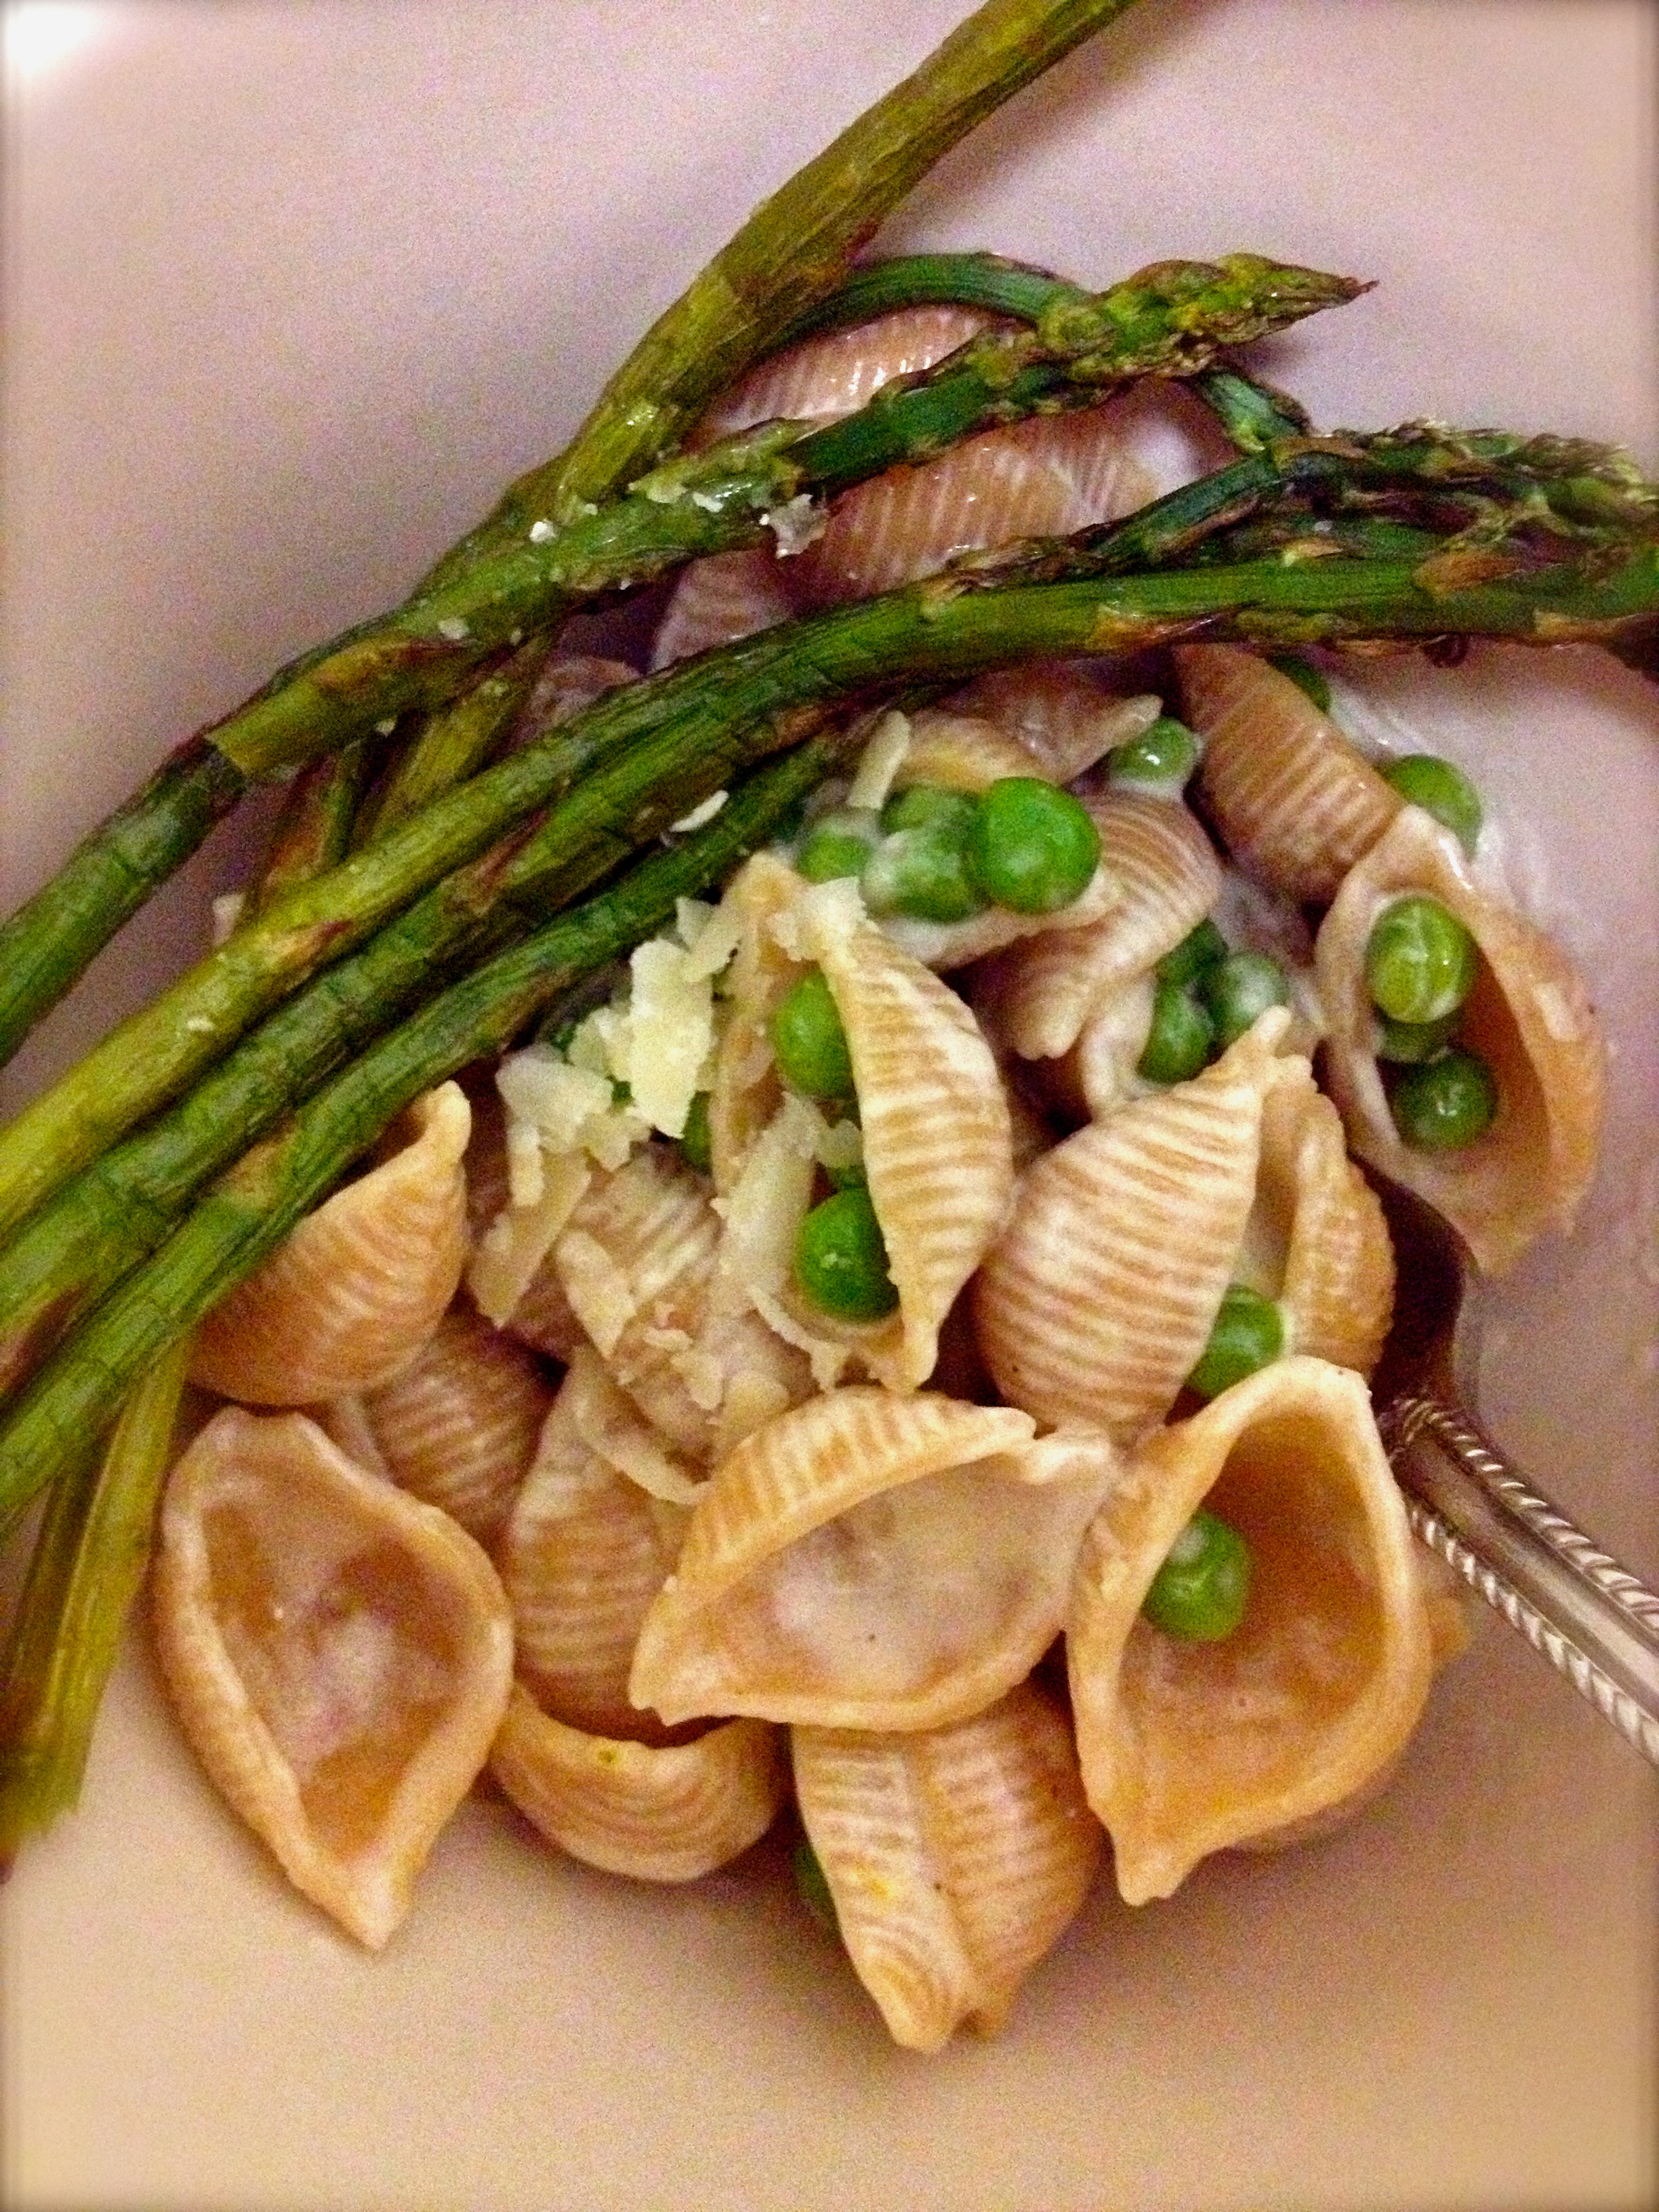
vegetables of choice (I used some frozen peas and a few fresh cherry tomatoes)

optional: fresh basil, dash of red pepper flakes, pat of butter, grate of cheese…

Bring a large pot of water to a boil. While the water is heating up, chop the cauliflower into florets. Boil the cauliflower for 15 minutes, or until very tender. Strain the cauliflower.

In batches, place the cauliflower in the blender with the milk (I did this in 2 batches). Blend until very smooth. Pour the mixture into a saucepan over medium heat. Add the garlic, nutritional yeast, and salt and pepper to taste.

Bring some more water to boil and cook your pasta until al dente (if using frozen peas, add them to the boiling water during the last 2 minutes of cooking). Combine the pasta, peas and tomatoes, and sauce. Toss with your favorite accouterment and enjoy!

Advertisement

Peas and Shells Alfredo

9 May

IMG_0991

Springtime comfort food at it’s finest. Whole wheat pasta shells with spring peas, soakin’ it up in a rich, creamy sauce.

I found the finest asparagus at the farmer’s market to pair with this saucy pasta. Thin asparagus is the name of the game; if you can get your hands on some, it’s a whole new experience than the regular fatties we are so used to seeing.

IMG_0719

The Smitten Kitchen Cookbook is packed with outstanding, fool-proof recipes that are actually quite simple and definitely doable in a small NYC kitchen. So far I’ve made her Cranberry Crumb Bars, Spatchcocked Flat-Roasted Chicken, Turkey Meatballs, and Deep-Dish Apple Pie…

This pasta is a one-pot recipe with just a few ingredients that come together quickly for a weeknight meal.

Did I mention this is HOMEMADE ALFREDO PASTA?! And heck is it better than than the Alfredo I remember as a kid (psst…for the vegans, check out this recipe for vegan fettuccine Alfredo made with a cashew cream).

While I omitted adding chopped herbs to the shells, I certainly wish I had some on hand. The one ingredient that I think is not to be skipped under any circumstances is the lemon zest. The citrus zing balances out the creamy, cheesy sauce and keeps everything nice and bright.

Peas and Shells Alfredo

recipe from Shutterbean, originally from the Smitten Kitchen Cookbook

1/2 lb of dried small pasta shells (I used whole wheat)

1 cup organic sweet peas (I used frozen ones…no fresh ones at the market yet…)

1 cup heavy cream

2-3 tablespoons butter (depending on how rich you want the sauce to be)

zest from 1 medium size lemon

1 cup grated Parmesan

fresh ground black pepper and salt, to taste

Bring a large pot of salted water to boil. Add the pasta, and cook according to package instructions. Add peas to cook during the last minute of pasta cooking time. Reserve 1/2 cup cooking water, set aside. Drain the pasta and the peas.

Dry out the pasta pot, and pour in the heavy cream. Bring the cream to a simmer, and cook until slightly reduced, about 4 minutes, stirring frequently. Add the butter, and stir it until it has melted. Generously season the sauce with freshly ground black pepper, add a pinch of salt as well as the lemon zest. Add 3/4 cup Parmesan, and stir it until the sauce is smooth; then toss in the drained pasta & peas. Cook the pasta in the sauce for 2 minutes, until the sauce has slightly thickened. Add the reserved pasta water by the spoonful if needed to loosen up the sauce.

Divide the pasta among bowls. Garnish with remaining Parmesan, a touch of salt, and a squeeze of lemon.

Pineapple Not-So-Fried-Rice

15 Jun

I’m at a weird transition point in my life.

Just a few weeks ago, I was working full time, volunteering once a week, and taking an online medical biochemistry class to fulfill a prerequisite for graduate school.

I felt busy and stressed, but I was in the groove. There came a point when I had to let something go. I stopped volunteering and I quit my job. I went back home to California for a week and was able to completely relax and gather myself. Now that I am back in New York, my main responsibility is to do well in this biochemistry class. Sure, I study throughout the day, but boy do I have gobs of free time.

Gobs. Of. Free. Time.

What a blessing, right? I’m trying to seize the day and take advantage of my new-found ‘freedom,’ but it is hard to get out there and explore when I feel obligated to catch up on Parks and Recreation and devour the tin of chocolate covered almonds in my pantry. Life is so hard sometimes.

At least now I have the time to experiment in the kitchen and cook healthy meals for myself.

The tofu gods were calling on me this week, I’ve been craving tofu like a maniac (see my previous post on Tofu Bento Bowls). And now that I finally realize how important it is to drain and press the tofu (see recipe below), all of my tofu dishes have been turning out better than ever.

This recipe is from Chloe Coscarelli’s book. This is her Pineapple Not-So-Fried Rice. In her picture, she plates the dish in a pineapple boat. I tried to do the boat, I even looked up how to do it online and watched a video. When push came to shove, things just got messy and I found that I was wasting to much of the sweet flesh. I broke down and cut the pineapple up and ate my meal out of a bowl. Oh the perils of being uncreative/lazy.

Despite the pineapple boat failure, the meal tasted superb. There’s sweet yellow pineapple and crunchy raw cashews. Baked tofu and bright green peas. Shredded carrots and studs of raisins. With all sorts of onion and garlic and spice to flavor the rice.


Tofu cubes fresh out of the oven. Ain’t nothin’ better. All it took was a good pat-dry and a press, a little soy sauce, and an oven.

Pineapple Not-So-Fried Rice

Serves 4-6

From Chloe’s Kitchen

1 14-oz package extra-firm tofu, drained

2 tablespoons soy sauce

1 pineapple, or 1 1/2 cups diced pineapple

1 tablespoon canola oil

1 onion, thinly sliced

2 scallions, chopped (optional)

sea salt or Kosher salt

3 cloves garlic, minced

2 teaspoons curry powder

1 teaspoon ground coriander

1 teaspoon chili-garlic sauce

3/4 cup cashews

1 carrot, peeled and shredded (I simple sliced the carrot thinly with my knife, but you could use a box grater if you want)

1/2 cup peas (you can use fresh or frozen)

1/2 cup raisins

3 cups cooked rice

1/4 cup water or vegetable broth

Note: The first thing I did was get my rice cooking so that it would be fully cooked for when I needed it later.

To prepare the tofu: Wrap the tofu tightly in dry paper towels or a clean kitchen towel. Set the tofu on a flat surface and place a small baking pan on top. Then stack something heavy, like canned food or books, on top. Let the tofu sit for 20 minutes while it releases its water. When ready, discard the towels and cube the tofu.

Preheat the oven to 325 degrees. Line a baking sheet with parchment paper. Toss the tofu with the soy sauce, making sure each cube is coated. Place in one layer on the prepared baking sheet. Bake for 45 minutes, turning the tofu a few times with a spatula. Remove from the oven and set aside.

If you are using a whole pineapple, peel it and remove the core. Slice the pineapple into cubes. If you want to make a pineapple boat for serving, cut the pineapple in half lengthwise, remove the inner flesh with a paring knife, then cut into bite-sized pieces (I tried to do the boat, but found that I was losing too much of the good flesh, so I nixed the idea).

In a large skillet or wok, heat the oil over medium-high heat and saute the onions until soft and lightly browned. Season with salt. Add the garlic, scallions (if using), curry, coriander, and chili-garlic sauce. Let this cook a few more minutes. Add the cashews, carrots, peas, raisins, cooked rice, water (or broth), pineapple, and tofu. Cook until heated through and adjust salt to taste. Serve the rice in the pineapple shell (if you are brave enough to try the boat method) or simply in a bowl. Enjoy!