Archive | March, 2014

Lemony Olive Oil Banana Bread

26 Mar

Processed with VSCOcam with f2 preset

Do I really need another banana bread recipe? No.

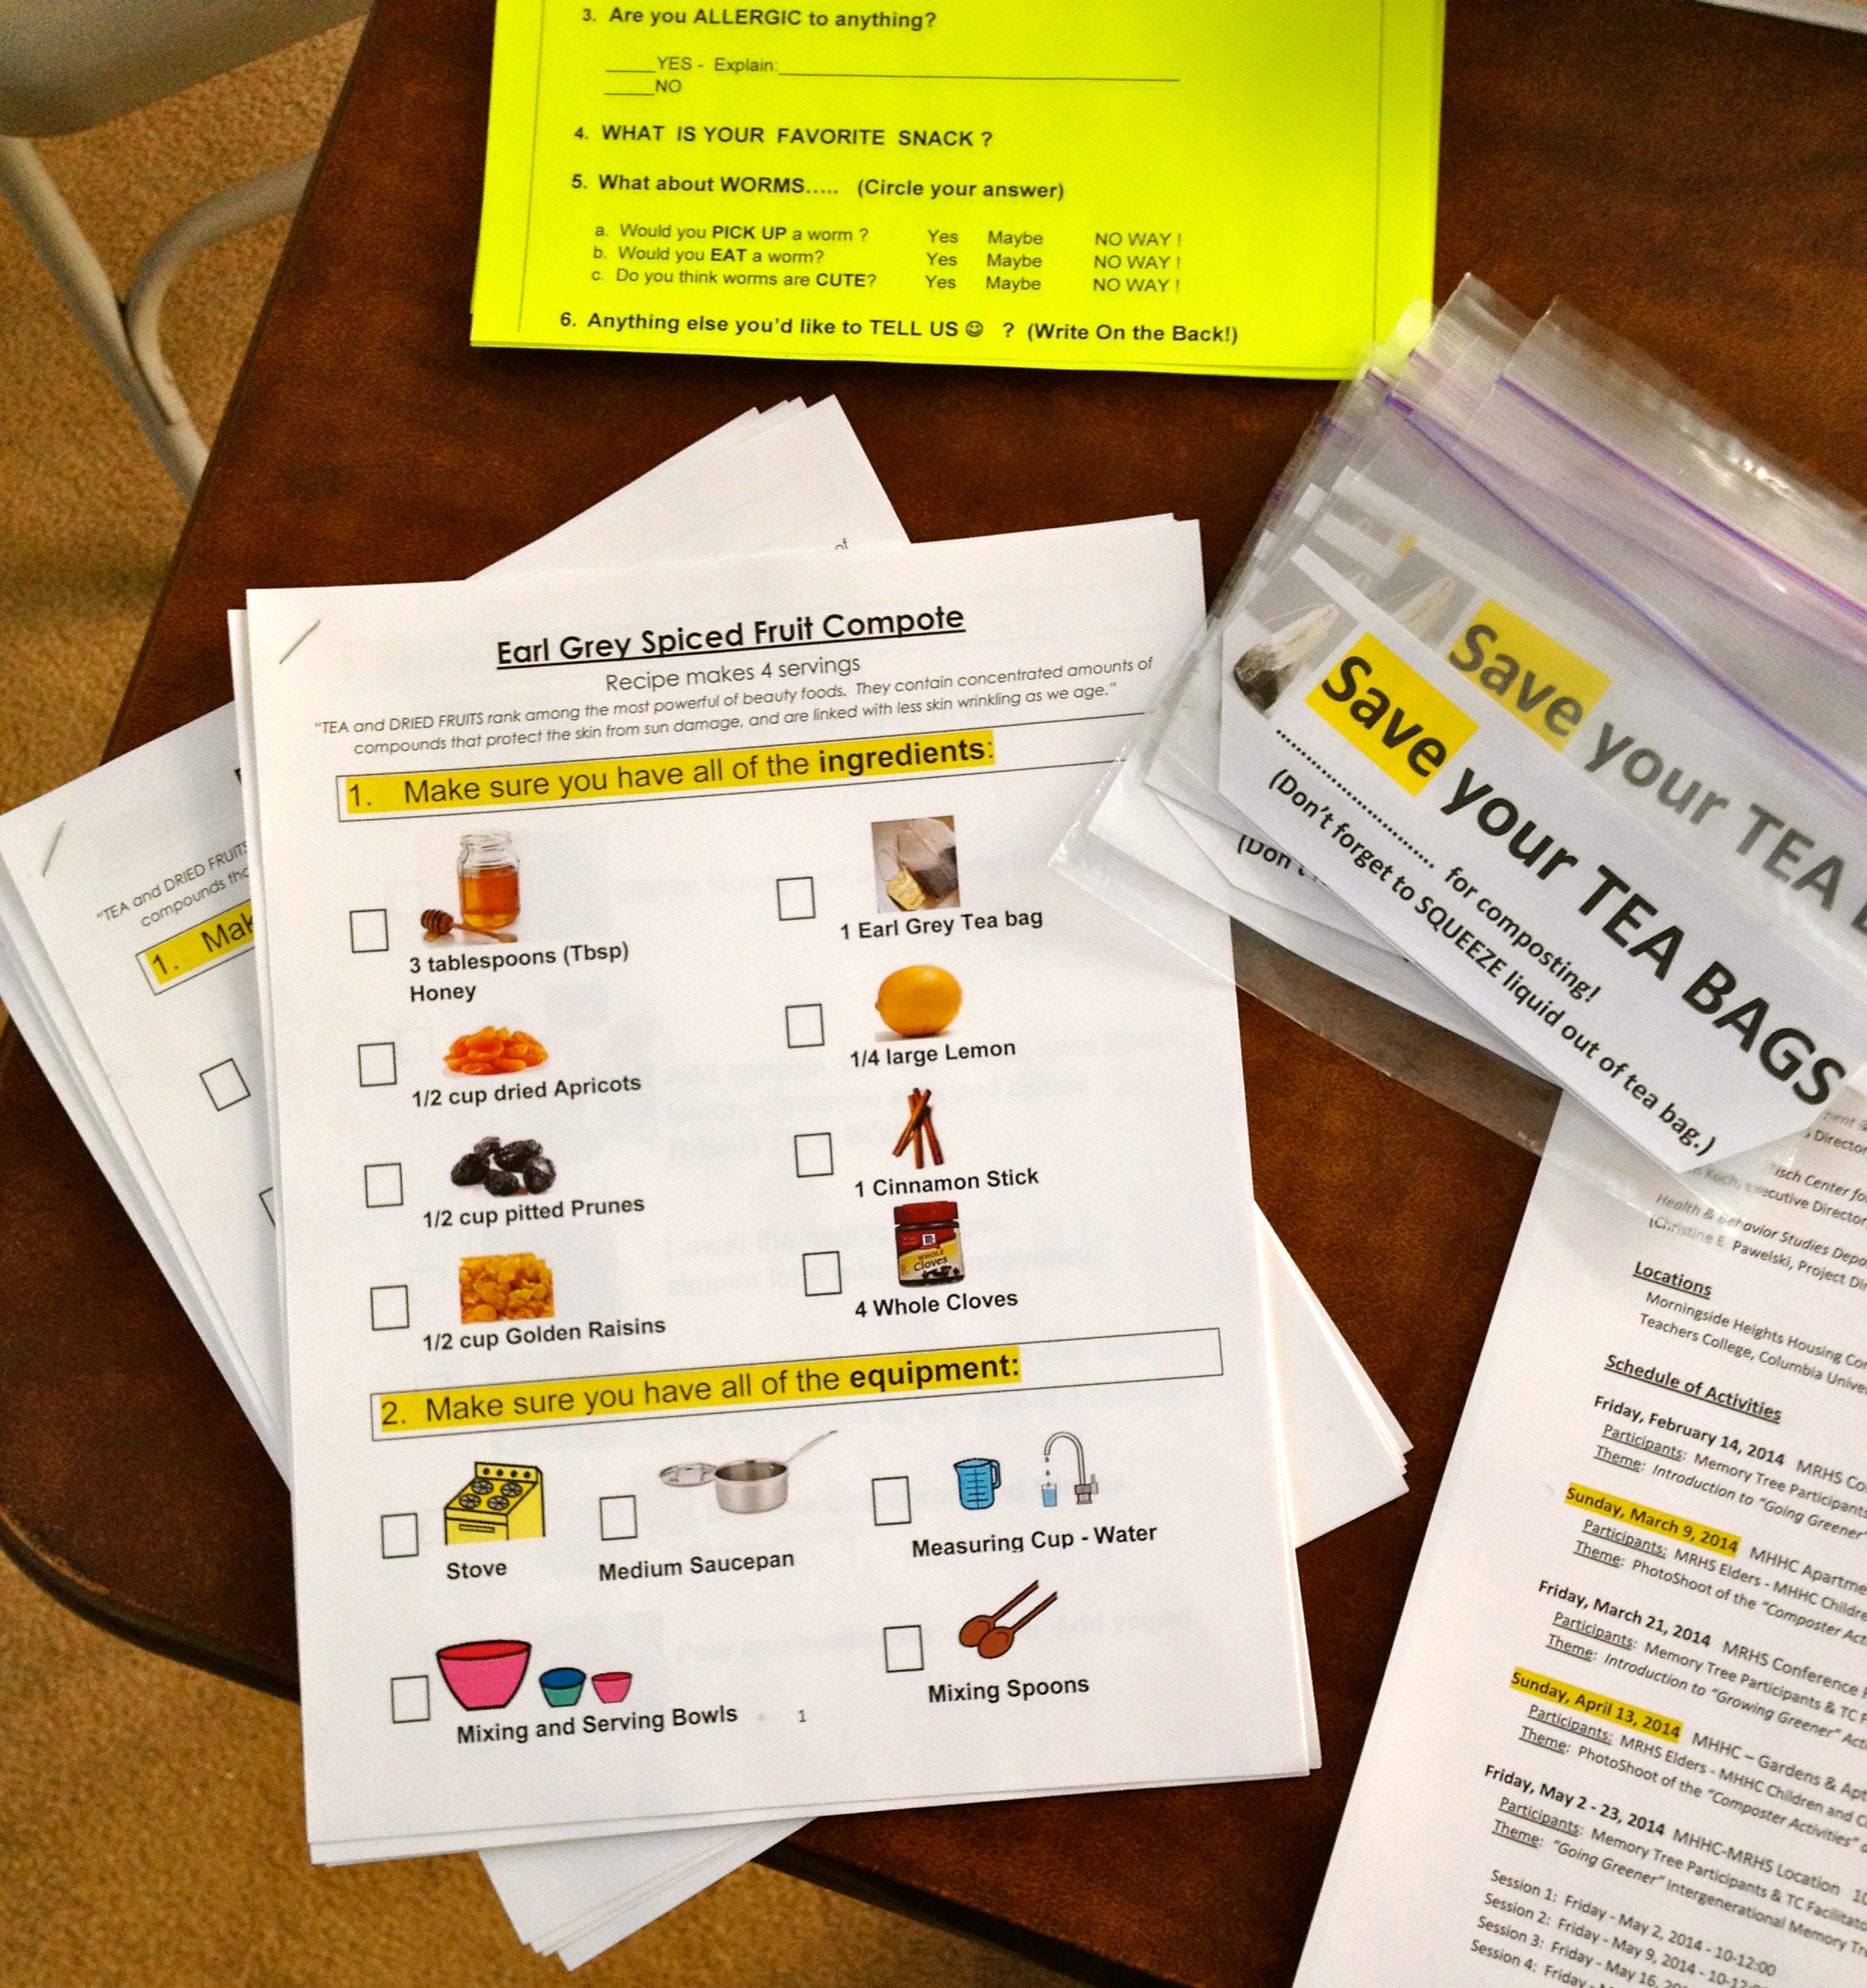
But, when I had some extra lemons on hand from last week’s Earl Grey Spiced Fruit Compote workshop, and when an “accidental” two bunches of bananas were sprawled on the counter that needed to be immediately eaten, frozen, or baked with, my wheels started turning.

Currently, my top three go-to banana bread recipes include Smitten Kitchen’s Jacked-Up Banana Bread, Cookie and Kate’s Honey Whole Wheat Banana Bread, and my Peanut Butter Banana Bread.

My rule of thumb? Always better with chocolate chips/chunks. And, just saying, a little whole wheat flour makes chocolate-studded banana bread okay to eat for breakfast, too. Finally, don’t mash to oblivion; just lightly mush the bananas with a fork so you have some puree and some small pieces.

IMG_2245
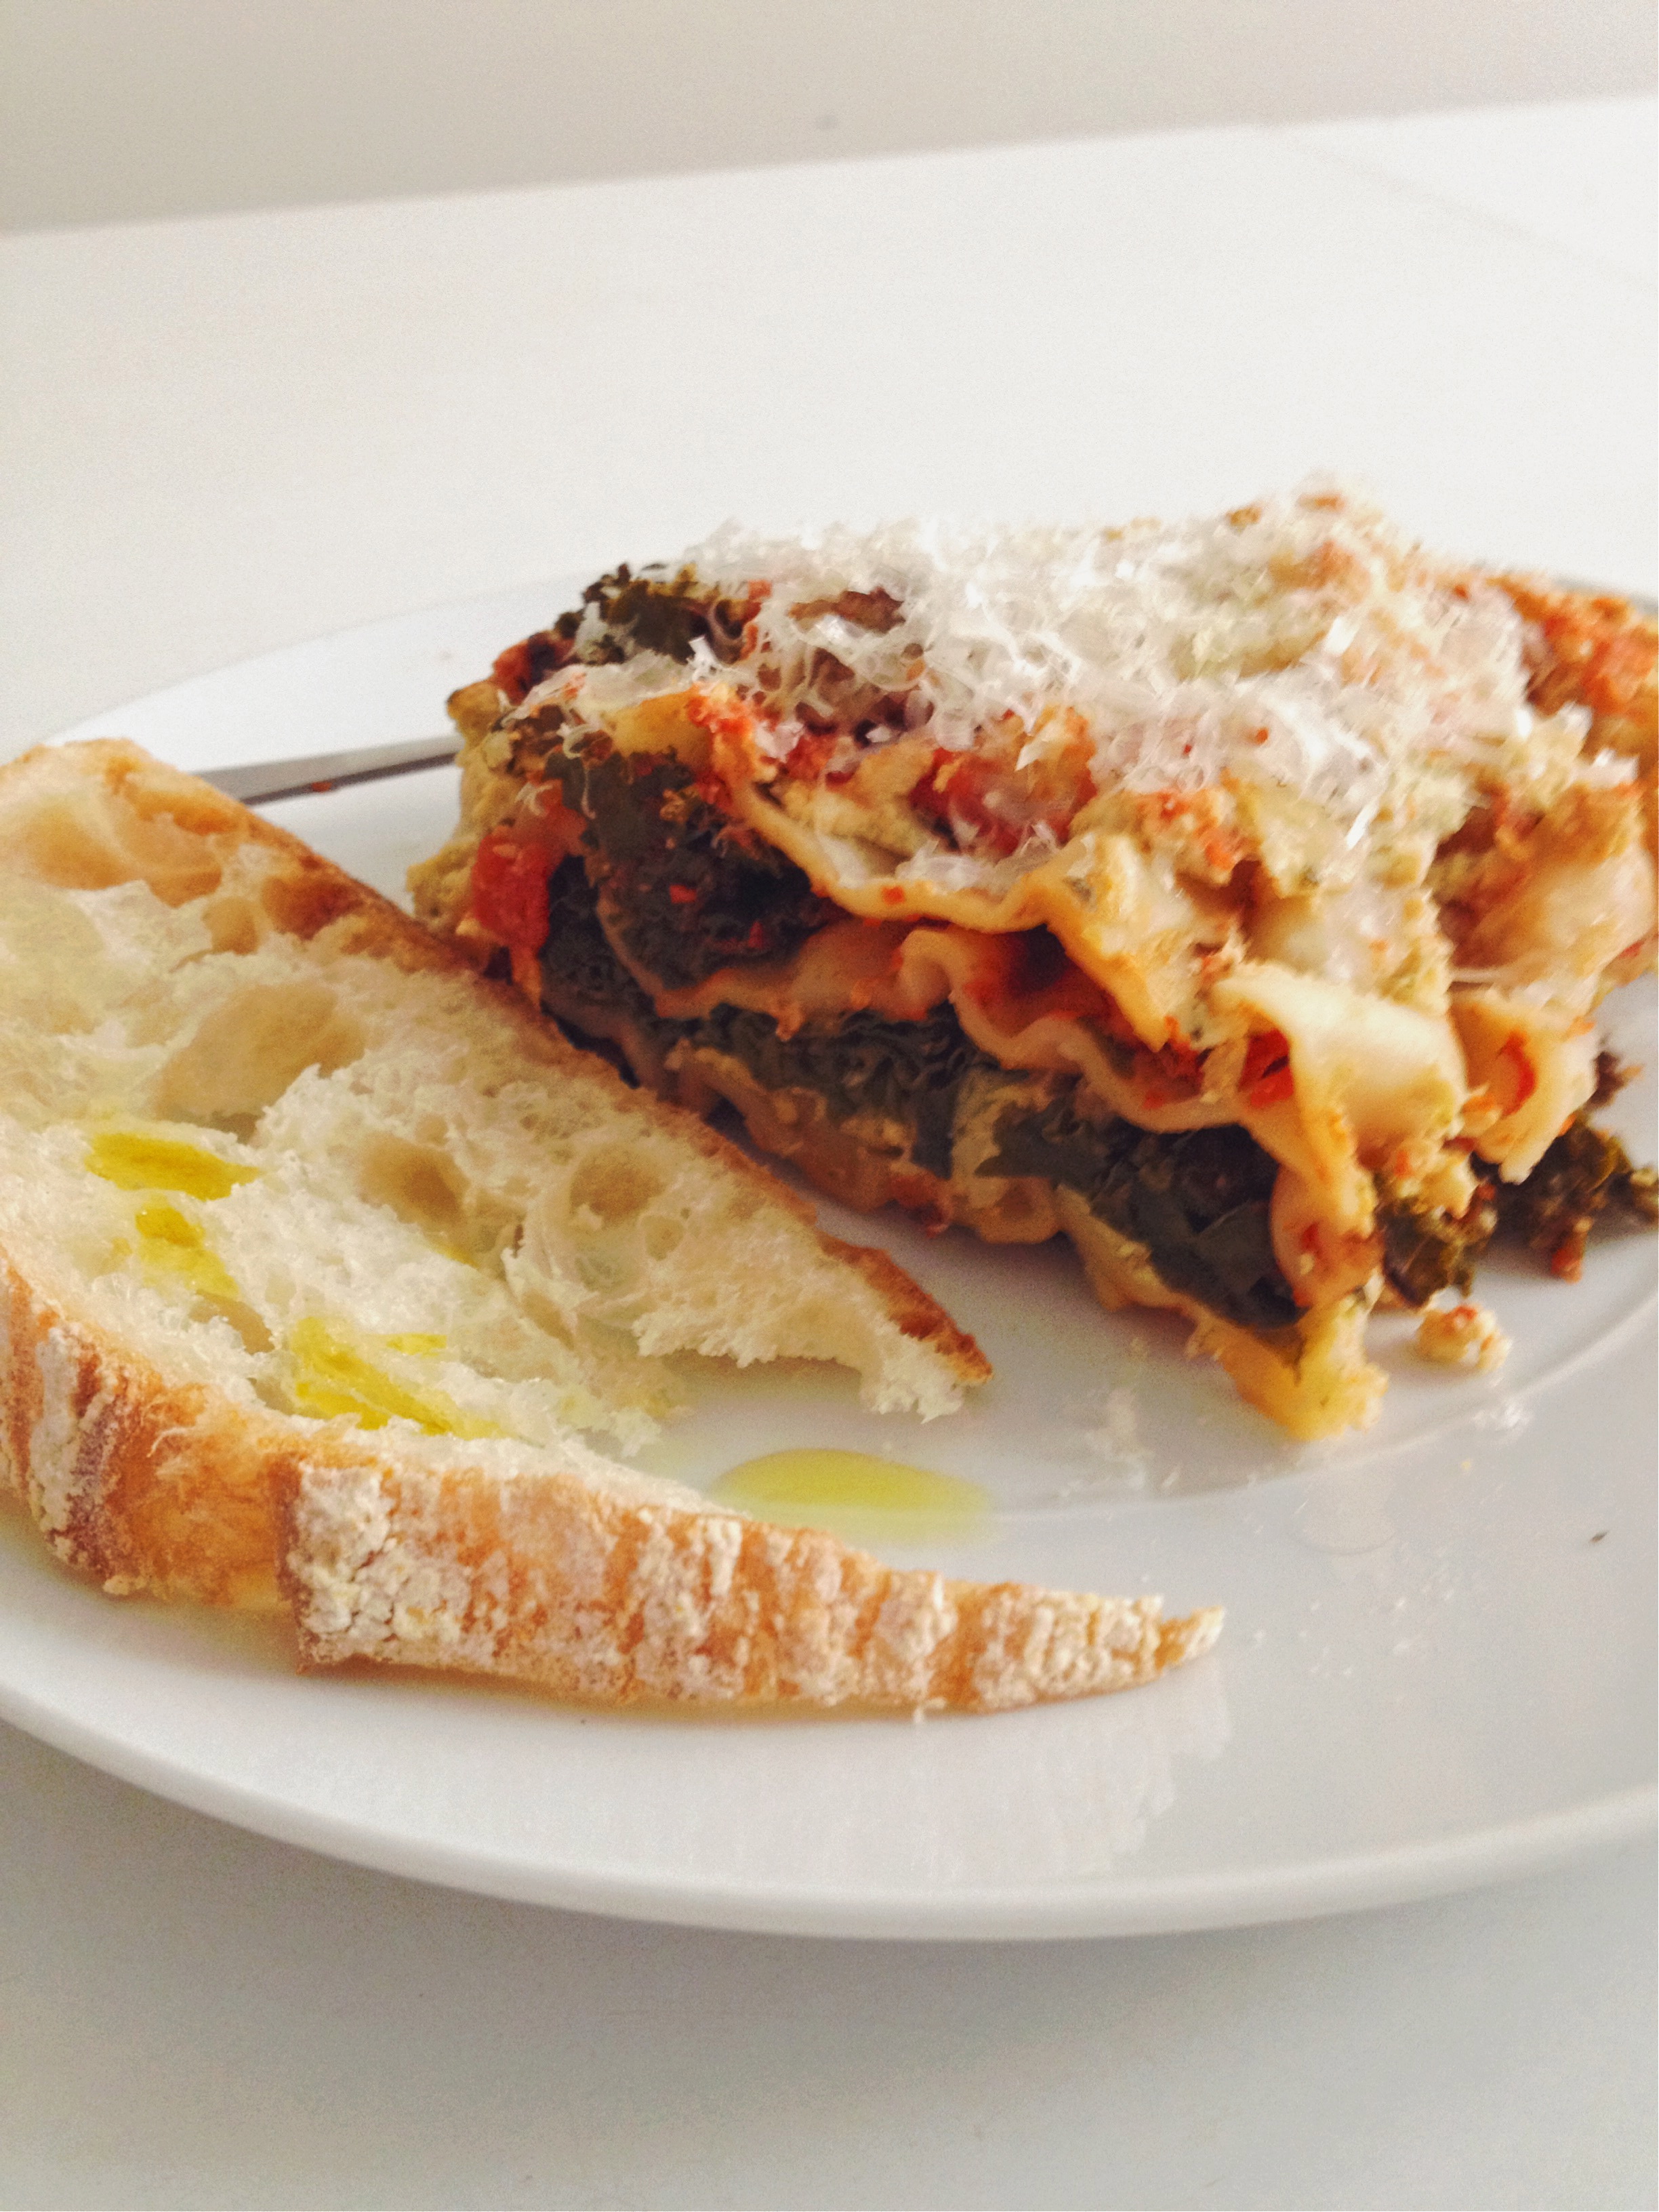
Classic Figs In My Belly Loaf Shot

I bookmarked Heidi Swanson’s version of Melissa Clark’s Lemony Olive Oil Banana Bread a while ago, and this was the perfect opportunity to try a new spin on my obsession with banana bread, and quick breads in general.

The taste is classic banana bread, with a subtle hint of lemon zest and a little zing of olive oil at the end. I love it.

There is an optional glaze that you can whisk up (Swanson uses a mix of confectioners’ and brown sugar [I found the granules of the brown sugar too “crunchy” for my taste] and Clark just uses confectioners’ sugar), but I tried it and found that when it comes to banana bread, I prefer mine naked and de-glazed.

Processed with VSCOcam with f2 preset

This Lemony Olive Oil Banana Bread is definitely going on my list of favorite go-to banana-breads.

Oh boy, do I love a good loaf.

Lemony Olive Oil Banana Bread

recipe adapted from 101 Cookbooks, Originally adapted from Melissa Clark’s Cook This Now

1 cup / 125g all-purpose flour
1 cup / 140g whole wheat flour
3/4 cup /125 g  dark brown sugar
3/4 teaspoon baking soda
1/2 teaspoon kosher salt
1 cup / 4 oz / 115 g coarsely chopped bittersweet chocolate (leave some bigger chunks!)
1/3 cup extra-virgin olive oil
2 large eggs, lightly beaten
1 1/2 cups / 340 g mashed, VERY ripe bananas (~3 bananas)
1/4 cup plain yogurt (I used 2% low-fat yogurt)
1 teaspoon freshly grated lemon zest
1 teaspoon vanilla extract

Preheat the oven to 350° F, and place a rack in the center. Grease a 9- by 5- inch loaf pan, or equivalent.

In a large bowl, whisk together the flours, sugar, baking soda, and salt. Add the chocolate pieces and combine well.

In a separate bowl, mix together the olive oil, eggs, mashed banana, yogurt, zest, and vanilla. Pour the banana mixture into the flour mixture and fold with a spatula until just combined. Scrape the batter into the prepared pan and bake until golden brown, about 50 minutes. Swanson says, “You want to get that beautiful color on the cake, but at the same time you don’t want to bake all the moisture out of it. So the minute you’re in that zone, pull it. Erring on the side of under-baking versus over.”

Transfer the pan to a wire rack to cool in the pan for 10 minutes, then turn the loaf out of the pan to cool completely.

Earl Grey Spiced Fruit Compote + A Fun Compost Workshop With Seniors

22 Mar

Processed with VSCOcam with f2 preset

After months of planning and a handful of snow-day cancellations, this morning I helped Project Director Chris Pawelski, Ed.D conduct a “composting and healthy snacks” session for seniors with mild memory loss in conjunction with The Memory Tree Program, Teachers College, and the Morningside Gardens Co-op.

The Memory Tree is New York City’s first program devoted to people with mild memory loss, and their family and caregivers.

This morning’s session was the beginning of a series of “Going Greener” workshops, continuing a previous project about nutrition, cooking and farmer’s markets. “Going Greener” came about as a way to learn how to keep the world healthy, seeking out composting operations in the community.

In short, we kicked off the first session with the idea that if everyone could start saving just one thing, it would help reduce waste and contribute to the idea of composting and giving back to the earth. After watching a video of how a local family organizes their food waste, we were inspired to designate a special bin where everyone could drop their used tea bags. Throughout the next few weeks, we will document how many tea bags we collect altogether.

Sometimes just starting with one small change makes a big difference.

IMG_2201

I prepared a snack for the group to complement our “save your tea bags” theme: Ellie Krieger’s Earl Grey Spiced Fruit Compote. The recipe involves heating water with tea and honey, and adding in dried fruit, cinnamon, and a squeeze of lemon. A very simple recipe that requires little effort–just measure, dump, and simmer (need a knife just to cut a lemon wedge).

Processed with VSCOcam with f2 preset

Throughout the “Going Greener” journey, we will encourage the seniors to share and document their experiences through picture-taking and media, so we provided digital cameras today for them to take pictures of the recipe ingredients, the finished recipe, and each other! Can’t wait to upload all of their pictures, but for now I am sharing my pictures.

IMG_2188

Each participant received their own easy-to-follow copy of the recipe so they could see how it was made, and maybe even make it themselves at home.

Processed with VSCOcam with f2 preset

Who knew dried fruit could be so gorgeous?! Even though it is technically spring now, the New York fruit season is not quite ready. The markets are still heaping with end-of-season apples and there is not a berry in sight yet. Until the spring fruit arrives, this spiced fruit compote is a great way to pack it in.

IMG_2203

During today’s session, we served the compote with plain Greek yogurt and a sprinkle of granola. Water with lemon wedges for a refreshing beverage. I was impressed that everyone gobbled down the compote, and there were even requests for seconds!

Leftover compote is excellent atop pancakes, stirred into oatmeal, or spooned over a simple cake. Feel free to mix up the dried fruit, and add nuts or a splash of alcohol (rum, bourbon…) for a little kick.

Thanks again to Ellie Krieger for a great recipe.

Processed with VSCOcam with f2 preset

Krieger says, “Tea and dried fruits rank among the most powerful of beauty foods. They contain concentrated amounts of compounds that protect the skin from sun damage, and they are linked with less skin wrinkling as we age.”

Earl Grey Spiced Fruit Compote

adapted from Ellie Krieger’s Weeknight Wonders

serves 4

3 tablespoons honey

1 Earl Grey tea bag

1/2 cup dried apricots

1/2 cup pitted prunes

1/2 cup raisins

1/4 large lemon

1 cinnamon stick

optional: 4 whole cloves

Bring 1 1/4 cups water to a boil in a medium saucepan. Stir in the honey, then immerse the tea bag in the water. Add the apricots, prunes, raisins, the juice from the lemon, the cinnamon stick, and if using, the cloves. Return to a boil.

Lower the heat to medium and simmer, uncovered, for 4 minutes. Remove the tea bag, then continue to simmer, stirring occasionally, until the liquid thickens to a loose syrup, about 8 minutes more. Remove the cinnamon and cloves and discard (or compost!). Allow the compote to cool slightly, about 5 minutes. Serve with toppings. I like a dollop of yogurt and granola, or instead of syrup atop pancakes!

The compote will keep in the refrigerator in an airtight container for up to 1 week.

Nutrition per 1/3 cup serving (without toppings):

Calories 190; Total Fat 0g (Sat Fat 0g, Mono Fat 0.0g, Poly Fat 0.1g); Protein 2g; Carb 52g; Fiber 3g; Cholesterol 0mg; Sodium 10mg

Good source of: Fiber, Potassium, Vitamin A, Vitamin K

(Vegan) Lasagna with Tofu “Garden Ricotta”

11 Mar

Processed with VSCOcam with f2 preset

Spring is around the corner, it is almost, almost here, but I still feel the slam of the cold on my face and hands every time I walk outside.

This lasagna is a transition from heavy, cheesy winter comforts to lighter, colorful spring fare. By using a tofu “ricotta” instead of actual ricotta, this pasta dish gets a lighter makeover so that we won’t have to undo the top button on our pants after eating.

I used to make tofu “ricotta” back when I was cooking for 60 students in the Berkeley co-ops. Pulse some firm tofu in a blender or food processor, add some aromatics and spices, and it turns from rubbery soy product to magical cheese-like goodness in seconds! I really like the addition of white miso paste to this version.

…and because I am flexible, I added a little grated Parmesan cheese to top off my vegan lasagna. Hey, it’s a transition, remember? A little Parmesan offers a nice salty punch without weighing down the pasta, but if you are vegan, just omit.

I also love my carbs, so a little toast with olive oil and salt is a nice crunch contrast to the lasagna.

Now, bring on the warm sunshine!

Processed with VSCOcam with f2 preset

I love lasagna, and I believe there should be a lasagna for every occasion. Check out this summer version with zucchini here. And check out this Passover matzo lasagna here.

Vegan Lasagna

adapted from Chloe’s Kitchen

Serves 6-8

**Make ahead: you can prepare the unbaked lasagna and keep it in the fridge for about 2 days before baking. 

Garden Ricotta

2 tablespoons olive oil

1 onion, chopped

3 cloves garlic

1 14-oz package firm or extra-firm tofu, drained

2 tablespoons lemon juice

1 1/2 teaspoons salt

1 1/2 teaspoons freshly ground black pepper

1 tablespoon white miso paste

3 cups fresh basil

Sauce & Assembly

2 tablespoons olive oil

8 ounces mushrooms, sliced

1 24-oz jar marinara sauce

1/4 milk of your choice *I used cow’s milk, but to keep things truly vegan use soy, almond, or rice milk

1 bunch kale, stemmed and chopped (you can also use spinach or another green)

1/2 pound no-boil lasagna noodles

Preheat the oven to 375 degrees. You will need a 9 x 13 inch-pan.

To make the Garden Ricotta: In a large skillet, heat oil over medium heat and saute onions until soft. Add garlic and cook one more minute. Remove from heat.

In the food processor, combine onions, garlic, tofu, lemon juice, salt, pepper, and miso paste. Pulse until the mixture is almost smooth but still has some texture. Add basil and pulse a few more times to incorporate it.

To make the sauce: Heat oil over medium-high heat in a large skillet (just use the same skillet you used to saute the onions). Add the mushrooms and cook until soft. Add marinara and milk. The milk should soften the acidity of the tomatoes (you can also add a tablespoon of brown sugar or maple syrup here, but I just omitted it).

To assemble and bake the lasagna: Spread a thin layer of sauce on the bottom of the prepared pan. Arrange 4 lasagna noodles across the pan. Spread half of the Garden Ricotta over the noodles. Layer half of the kale over the Garden Ricotta. Arrange 4 more noodles on top. Spread another layer of sauce over the noodles, then arrange 4 more noodles on top. Top with another layer of sauce, the remaining Garden Ricotta, and the remaining kale.

Cover the pan with foil and bake for 45 minutes, or until the noodles are cooked and the sauce is hot and bubbling. Remove from the oven and let it rest for 5 minutes before serving.

Optional: If you are not vegan, I enjoyed the lasagna with a little grated Parmesan on top before serving.

Overnight Steel Cut Oats Method

5 Mar

IMG_1100

Steel-cut oats can take 20-30 minutes to cook, so I usually save them for the weekend or for a lazy morning when I have a lot of time.

Last night, though, I stumbled upon The Kitchn’s method for making creamy steel-cut oats overnight. Starting the oats the night before make them virtually instant the next morning! Just heat, eat, and run off to wherever you have to go.

I made enough for two servings, but you could certainly make a batch that will serve four. Steel-cut oats reheat well as leftovers.

I ran out of milk, so I added a hefty scoop of pumpkin puree and accompanying spices upon simmering my oats after their overnight stay. For serving, a drizzle of maple syrup, a small splash of cream, and a swoosh of sunflower seed butter. A perfect breakfast with black coffee on yet another COLD day in New York City.

Here is the basic method:

Overnight Steel-Cut Oats Method

method adapted from The Kitchn

makes 2 servings

Ingredients

1/2 teaspoon of butter or olive oil

1/2 cup steel-cut oats

1 1/2 cups water

small pinch of salt

For the next morning: 1/2 cup pumpkin puree + spices (1 teaspoon cinnamon, 1 pinch each nutmeg, ginger, cloves) + 1 teaspoon vanilla + 2 tablespoons maple syrup + splash of cream + sunbutter

(you could also just add in 1/2 cup of milk in the morning instead of the above pumpkin accouterments)

Method

1. Start this the night before. You want to have steel-cut oatmeal. Measure out your oats. This quantity will make about 2 servings.

2. Heat about 1/2 teaspoon butter or olive oil in a 2-quart saucepan set over medium heat. Add the oats and fry them for about 3 minutes, or until they start smelling toasty.

3. Pour in the water and add the salt. Stir.

4. Bring to a rolling boil.

5. Turn off the heat and cover the pan. Leave it on the stove, and go to bed!

6. The next morning, uncover the pan and bring the oatmeal back up to a simmer. If you would like creamier oatmeal, stir in the pumpkin puree and spices before reheating. Add a splash of vanilla.

When the oatmeal is warm, scoop out and enjoy with maple syrup, a splash of cream, and sunbutter!

Additional Notes:

• Cover and refrigerate any leftovers.
• Re-heat leftovers in just the same way: warm up on the stove, or in a bowl in the microwave.

IMG_1099

Easy Chocolate “Wartime” Cake

4 Mar

IMG_2130

Raise your hand if you don’t like mayo?! There’s always someone who has a weird, jiggly story to kill the mayo buzz. When you think about it though, mayo is just egg yolk, oil and vinegar. No bigs.

Over the years, I have learned to get along with mayo (especially when you add garlic and call it aioli). If you are still not ready to commit to slathering your sandwich with mayo, maybe a taste of this awesome chocolate cake will get you past your fear…

Mayonnaise is the secret weapon in this cake. It replaces the butter and all but one egg.

Processed with VSCOcam with f2 preset

This recipe hails from Cooks Illustrated’s The Science of Good Cooking cookbook. It is a “wartime” cake because ingredients like butter and fresh eggs were scarce during World War II, so cooks came up with cakes that worked without them–often using mayonnaise.

Ready for some science?! Mayonnaise contains lecithin, an emulsifier that helps keep the oil in the mayonnaise suspended in micro-droplets. These small droplets aid the oil’s ability to coat the flour’s protein particles, leading to a supremely tender cake. The test kitchen even tried replacing the mayonnaise with butter and an egg, and oil and an egg, but those cakes were less moist and the crumb less velvety than the mayo cake. The final recipe calls for an extra egg paired with the mayonnaise to give the cake an even richer flavor and springier texture. Now thats my kind of science.

Just a little more tasty science: To deepen the chocolate flavor of the cake, the recipe calls for “blooming” the cocoa powder and a touch of chocolate in hot coffee. Cocoa powder contains solid particles of fat and protein with tiny flavor molecules (!) trapped inside. Dissolving the cocoa in hot water causes these flavor molecules, which would otherwise remain imprisoned, to burst forth, amplifying overall flavor. The roasted notes of the coffee reinforce the nutty, roasted notes in the chocolate.

Are you on board yet?

IMG_2118

If you get bogged down with the science, just remember that this is an “Easy Chocolate Cake.” It’s one of those dump-and-stir cakes: mix the dry, mix the wet, dump and stir.

Whether it’s the mayo, the coffee, the cocoa or the science, this is the darn best chocolate cake I have had in a long time, if ever. There’s a magical top layer that forms after baking that I just wanted to cut off and call my own.

If you have any birthdays, occasions, celebrations or cravings, this is the cake you should make. And by gosh, get over your fear of mayo!

Processed with VSCOcam with f2 preset

Dust the cake with confectioner’s sugar, dollop it with whipped cream, or drizzle it with yogurt (Greek vanilla works nicely!). My new favorite crunch-tastic topping? Rainbow sprinkles!

Easy Chocolate Cake

from The Science of Good Cooking cookbook

Serves 8

1 1/2 cups (7 1/2 ounces) all-purpose flour

1 cup (7 ounces) sugar

1/2 teaspoon baking soda

1/4 teaspoon salt

1/2 cup (1 1/2 ounces) Dutch-processed cocoa

2 ounces bittersweet chocolate, chopped fine

1 cup brewed coffee, hot

2/3 cup mayonnaise

1 large egg, room temperature

2 teaspoons vanilla extract

confectioners’ sugar or whipped cream or yogurt (optional)

1. Heat the oven to 350. Grease 8-inch square baking pan, line with parchment paper, grease parchment, and flour pan.

2. Whisk flour, sugar, baking soda, and salt together in large bowl. In separate bowl, combine cocoa and chocolate. Pour hot coffee over cocoa mixture and let sit, covered, for 5 minutes. Gently whisk mixture until smooth, let cool slightly, then whisk in mayonnaise, egg, and vanilla. Stir mayonnaise mixture into flour mixture until combined.

3. Scrape batter into prepared pan and smooth top with rubber spatula. Bake cake until toothpick inserted in center comes out with few crumbs attached, 30 to 35 minutes.

4. Let cake cool in pan on wire rack, 1 to 2 hours. Cut into squares or rectangles and serve either straight from the pan or out of a serving plate. Dust with confectioners’ sugar, dollop with whipped cream or yogurt, or enjoy as is.