Archive | fruit RSS feed for this section

A Pie Class with Joy the Baker: Pics, Tips, and Memories

28 Oct

I started Figs in My Belly in June, 2009. At that point in my life, I was living in California, getting a degree in Nutritional Science, staging (interning) in the kitchen at a small handful of restaurants, working at a cooking camp for kids, and making dinners for my housemates at the co-op where I lived. Oh, and I was totally obsessed with Joy the Baker and her blog.

That August, I heard about a rooftop picnic in downtown Los Angeles that Joy was hosting and jumped on the opportunity. I brought my mom along and we spent the afternoon enjoying Joy’s biscuits, fried chicken, coleslaw, and cupcakes while mingling with other Joy the Baker fans.

Cut to more than five years later, and I now live in New York City with a short (four-year-long) pastry cook career currently on pause while I finish up a graduate degree in Nutrition Education and a dietetic internship to become a registered dietitian. And, as you might have guessed, I am still totally obsessed with Joy the Baker and her blog.

Joy is currently on tour for her latest cookbook, Homemade Decadence. I attended her book signing at The Brooklyn Kitchen, and the following weekend, my friend Michelle and I drove up to King Arthur Flour in Vermont, where Joy was teaching a hands-on pie making class. Joy taught two four-hour pie classes on the same day. She is a warrior.

I’ve made my share of pies in the past, but pie still intimidates me, and I wanted to gain some pro tips to boost my pie confidence. Plus, my friend Michelle never made her own pie before, so this was the perfect opportunity to learn. We road tripped for pie! Continue reading

Finding the Right Ratio: Basic Chia-Yogurt Mix

1 Oct

Processed with VSCOcam with f2 preset

I publicly announced my dabbling with chia pudding over the summer. Even though I adore chia seeds sprinkled in smoothies and oatmeal and baked goods, for a long time, I could not bring myself to adore chia pudding. Finally, after gleaning through what seemed like a zillion different variations on chia pudding and nixing the few not-so-great combos I tested at home, I found my go-to ratio that I truly do adore:

2 tablespoons chia seeds to 2/3 cup yogurt-water mix (a heaping 1/3 cup plain Greek yogurt + a scant 1/3 cup water)

I think the yogurt is really key. The thickness of the Greek yogurt provides a nice consistency, and the water loosens things ever so slightly. Mix everything in a jar the night before. The next morning, spoon the mixture into a bowl (or keep in the jar for an on-the-go breakfast) and add toppings! Coconut chips, granola, fruit, and nut butter are my go-to’s.

The berries in the picture above were frozen and I heated them in the microwave for 20-30 seconds. Sometimes I toss the berries in when they are still frozen. Different strokes.

Last month, I attended an acai bowl class at Sweetgreen taught by Ksenia of Breakfast Criminals. Her class inspired me to start “decorating” my breakfast, and I definitely feel more excited about eating when my bowl/plate looks colorful and pretty.

Processed with VSCOcam with f2 preset

I have been eating variations of my Basic Chia-Yogurt mix for the last month, at least two or three times a week, so I can now say that this ratio has been well-tested and given my seal of approval.

Sometimes I use a mix of chia, buckwheat, and hemp seeds instead of plain chia seeds. Change it up. Use the Basic Chia-Yogurt Mix as your starting ratio, then add in whatever looks good.

Basic Chia-Yogurt Mix

serves 1

The night before, mix together in a jar:

2 tablespoons chia seeds

heaping 1/3 cup plain Greek yogurt 

scant (aka slightly less than) 1/3 cup water

Stir, let it sit for 5 minutes, then stir again and place in the refrigerator overnight.

The next morning, either keep the chia-yogurt mix in the jar, or pour it out into a bowl. Sprinkle in your favorite fruity/crunchy/creamy toppings. I like a sprinkle of each of the following:

granola // coconut chips // fruit (fresh, frozen, or dried) // nut butter 

Blueberry Compote (with gin!)

1 Sep

Processed with VSCOcam with f2 preset

David Lebovitz said I should put gin in my blueberry compote. So I did.

In the headnote of his recipe, Lebovitz writes, “…Gin’s herbaceous flavor does indeed marry nicely with blueberries–it can hardly be tasted once cooked, but somehow it just rounds out the blueberry notes…”

I was immediately sold. I took out a saucepan, set it on the stove, and proceeded to make what is now my favorite fruit-based “condiment” of the summer (I imagine another similar summer berry, such as a blackberry, could be substituted for the blueberry).

Cooking the blueberries helped bring out that intense deep blue color and concentrated the flavor, giving off a quintessential blueberry smell. The texture of the berries changed, too, leaving the sometimes-mushy consistency of a fresh blueberry behind and highlighting a blueberry that bursts and oozes a juicy filling instead. Nature’s gushing candy!

********

Toss blueberries in a pot with a little sugar and a little gin and cook the mix for just a few minutes until the blueberries soften and begin to release their juices. 

That’s the shorthand version of the recipe. 3 ingredients. 1 pot. 5 minutes.

Serve chilled, room temperature, or slightly warm. I have been enjoying the compote with a generous scoop of plain yogurt, and spooned atop pancakes. It would also pair well with: oatmeal, ice cream, cake, nut-butter toast.

Blueberry Compote (with gin!)

from David Lebovitz’s Ready for Dessert; makes about 2 cups

*When I made the compote, I had slightly under 2 cups of blueberries. I ended up eyeballing the sugar and gin to about 2 tablespoons sugar and 1 heaping spoon of gin. If you feel comfortable eyeballing to taste, go for it. The proportions listed below are the original ones used in Lebovitz’s book.

  • 2 1/2 cups (12 ounces/340g) fresh blueberries (or frozen)
  • 1/4 cup (50g) sugar
  • 2 tablespoons (30ml) gin (I used Hendrick’s Gin)

Combine the blueberries, sugar, and gin in a medium saucepan. Cook over medium heat, stirring occasionally, until the berries just begin to soften and release their juices. Remove from heat and let stand, uncovered, and let cool to room temperature. Taste for sweetness and add more sugar, if desired.

Storage: This compote can be stored in a jar or tupperware the refrigerator for up to 3 days.  This compote is actually better when prepared a day in advance, which gives it time to thicken nicely.

Variation: If you do not want to use gin, you can substitute water and a good squeeze of lemon juice.

Yogurt Chia Parfaits

1 Aug

Processed with VSCOcam with f2 preset

I bought a 24-pound watermelon. Luckily, I purchased this fruit-the-size-of-a-small-child at my corner store, so I only had to carry the monster up one block. Yes, I know that smaller watermelons exist, but I wanted and I needed and I had to have a watermelon at that very moment when I walked by the store.

Besides munching on cold melon cubes right from the fridge, I am brainstorming creative ways to use my giant watermelon stash. Watermelon shrub is currently fermenting on my counter. My new smoothie crush involves frozen watermelon cubes, frozen banana chunks, milk, vanilla, and matcha green tea powder. I made No-Cook Watermelon Tabbouleh Salad and enjoyed it for dinner and lunch for a few days. The recipe is from the quarterly nutrition newsletter that I edit, The Grapevine. Find the recipe on page 19. 

Processed with VSCOcam with f2 preset

Watermelon is the epitome of a cool, juicy summertime treat. And that is just what I have been craving lately, something cool and refreshing. Since we “eat with our eyes,” it is important that my meals have lots of color in them. Watermelon’s bright pink color pairs so nicely with green foods. Notice the green cucumbers in the above photograph, and the green chia pudding in the photograph below.

These pink and green Yogurt Chia Parfaits are both fun to look at and fun to eat! Plus, chia seeds, yogurt, and watermelon are all very hydrating foods. These parfaits require a little bit of prep work, but once you have a jar of chia pudding, a container of plain yogurt, colorful fruit, and some homemade or store-bought breakfast cereal on-hand, you should be ready to roll.

Processed with VSCOcam with f2 preset

I discovered two lovely blogs this summer that both happen to be raw and vegan. Laura Miller of Sidesaddle Kitchen and Gena of Choosing Raw. Good inspiration for staying cool and creative in the kitchen.

Laura’s recipe videos are both hilarious and delicious, and her produce portraits are stunning. I made her chocolate pudding with avocado this summer, and it was a big hit around here. I also made her buckwheat breakfast cereal, which I love and highly recommend as a cereal alternative. Remember to buy raw or hulled buckwheat groats because the roasted buckwheat groats (aka kasha) have a completely different flavor and cooking requirement.

While I adore chia seeds in moderation, chia pudding has always irked me a little, with all of those tiny gummy seeds. But, since I had a few samples of matcha powder sitting in my cupboard untouched for the last six months, Gena’s matcha green tea chia pudding looked like a good way to conquer my chia pudding fears and simultaneously use up some matcha powder (the matcha powder is also good in watermelon smoothies).

I took Laura’s buckwheat breakfast cereal and Gena’s matcha green tea chia pudding and turned them into a semi-vegan, healthy, and colorful mini meal. The yogurt in these Yogurt Chia Parfaits can easily be omitted or substituted for some sort of frozen banana smoothie to make this vegan friendly.

To layer the parfaits, begin with a layer of fruit (I use a mix of cubed watermelon and quartered figs), a layer of plain yogurt, a layer of chia pudding, and a layer of buckwheat cereal mixed with granola. Repeat the layers for a full parfait. No need for exact measurements, just spoon out the layers to your liking.

IMG_3179

Matcha Green Tea Chia Pudding

from Choosing Rawmakes enough for about 4 parfaits or 1-2 servings of straight up chia pudding

I found the consistency to be a little too liquid to eat on it’s own, so I would add a touch less milk or even a scoop of yogurt to thicken it if you are going to eat it as is. Keep the portions below if you are adding this to a Yogurt Chia Parfait. 

  • 1 cup low-fat milk (I used regular, feel free to use non-dairy milk)
  • 1/2 teaspoon matcha green tea powder
  • 1/2 teaspoon vanilla extract
  • 1 tablespoon agave or maple syrup
  • 3 tablespoons chia seeds

In a blender, combine the milk, matcha powder, vanilla, and agave and blend for a few seconds until thoroughly combined. Pour the mixture over the chia seeds and stir to combine. Stir again every few minutes for the next 15 minutes. Then allow the mixture to sit for at least 1 hour (or overnight, in the fridge). Stir the mixture once more, and serve.

This chia pudding will be best within 4-5 days. Keep it in the fridge.

Yogurt Chia Parfaits

I am not giving exact portions here because you can layer these as you like. If you want more fruit, use more. If you like more chia pudding, use more. etc. etc. I like to use plain yogurt because there is already some natural sweetness in the fruit, and both the granola and the chia pudding have a little sweetener in them. 

  • Seasonal fruit-I used a mix of fresh, quartered figs and cubed watermelon
  • Plain low fat Greek yogurt- I like this brand lately
  • Matcha green tea chia pudding
  • Granola and/or homemade crunchy buckwheat groats cereal

Layer all ingredients into jars (I just use old jam jars). Begin with a layer of fruit, a few spoons of yogurt, a few spoons of chia pudding, and a layer of granola or buckwheat groats cereal. Repeat. I usually can only fit two layers into my jars.

I like to make these a day or even two days ahead. If they sit for longer, the granola may get soggy. A great on-the-go breakfast or snack!

Cherry Balsamic Shrub

14 Jul

Processed with VSCOcam with f2 preset

Have you ever tried a shrub? Not the woody plant shrub, but the “drinking vinegar” shrub?

A shrub is a drink made of fruit, sugar, and vinegar. Some shrubs also contain alcohol. The sugar, acid, and optional alcohol preserve the fruit, which was one of the original purposes of a shrub. Prior to the invention of refrigeration, a shrub syrup was a means of preserving fruit long past its picking. Shrubs were popular in Colonial America, mixed with cool water to provide a pick-me-up on hot summer days (source: Serious Eats).

I first saw shrub on the menu at Astoria’s The Queens Kickshaw about a year ago, and I finally went back to taste one.

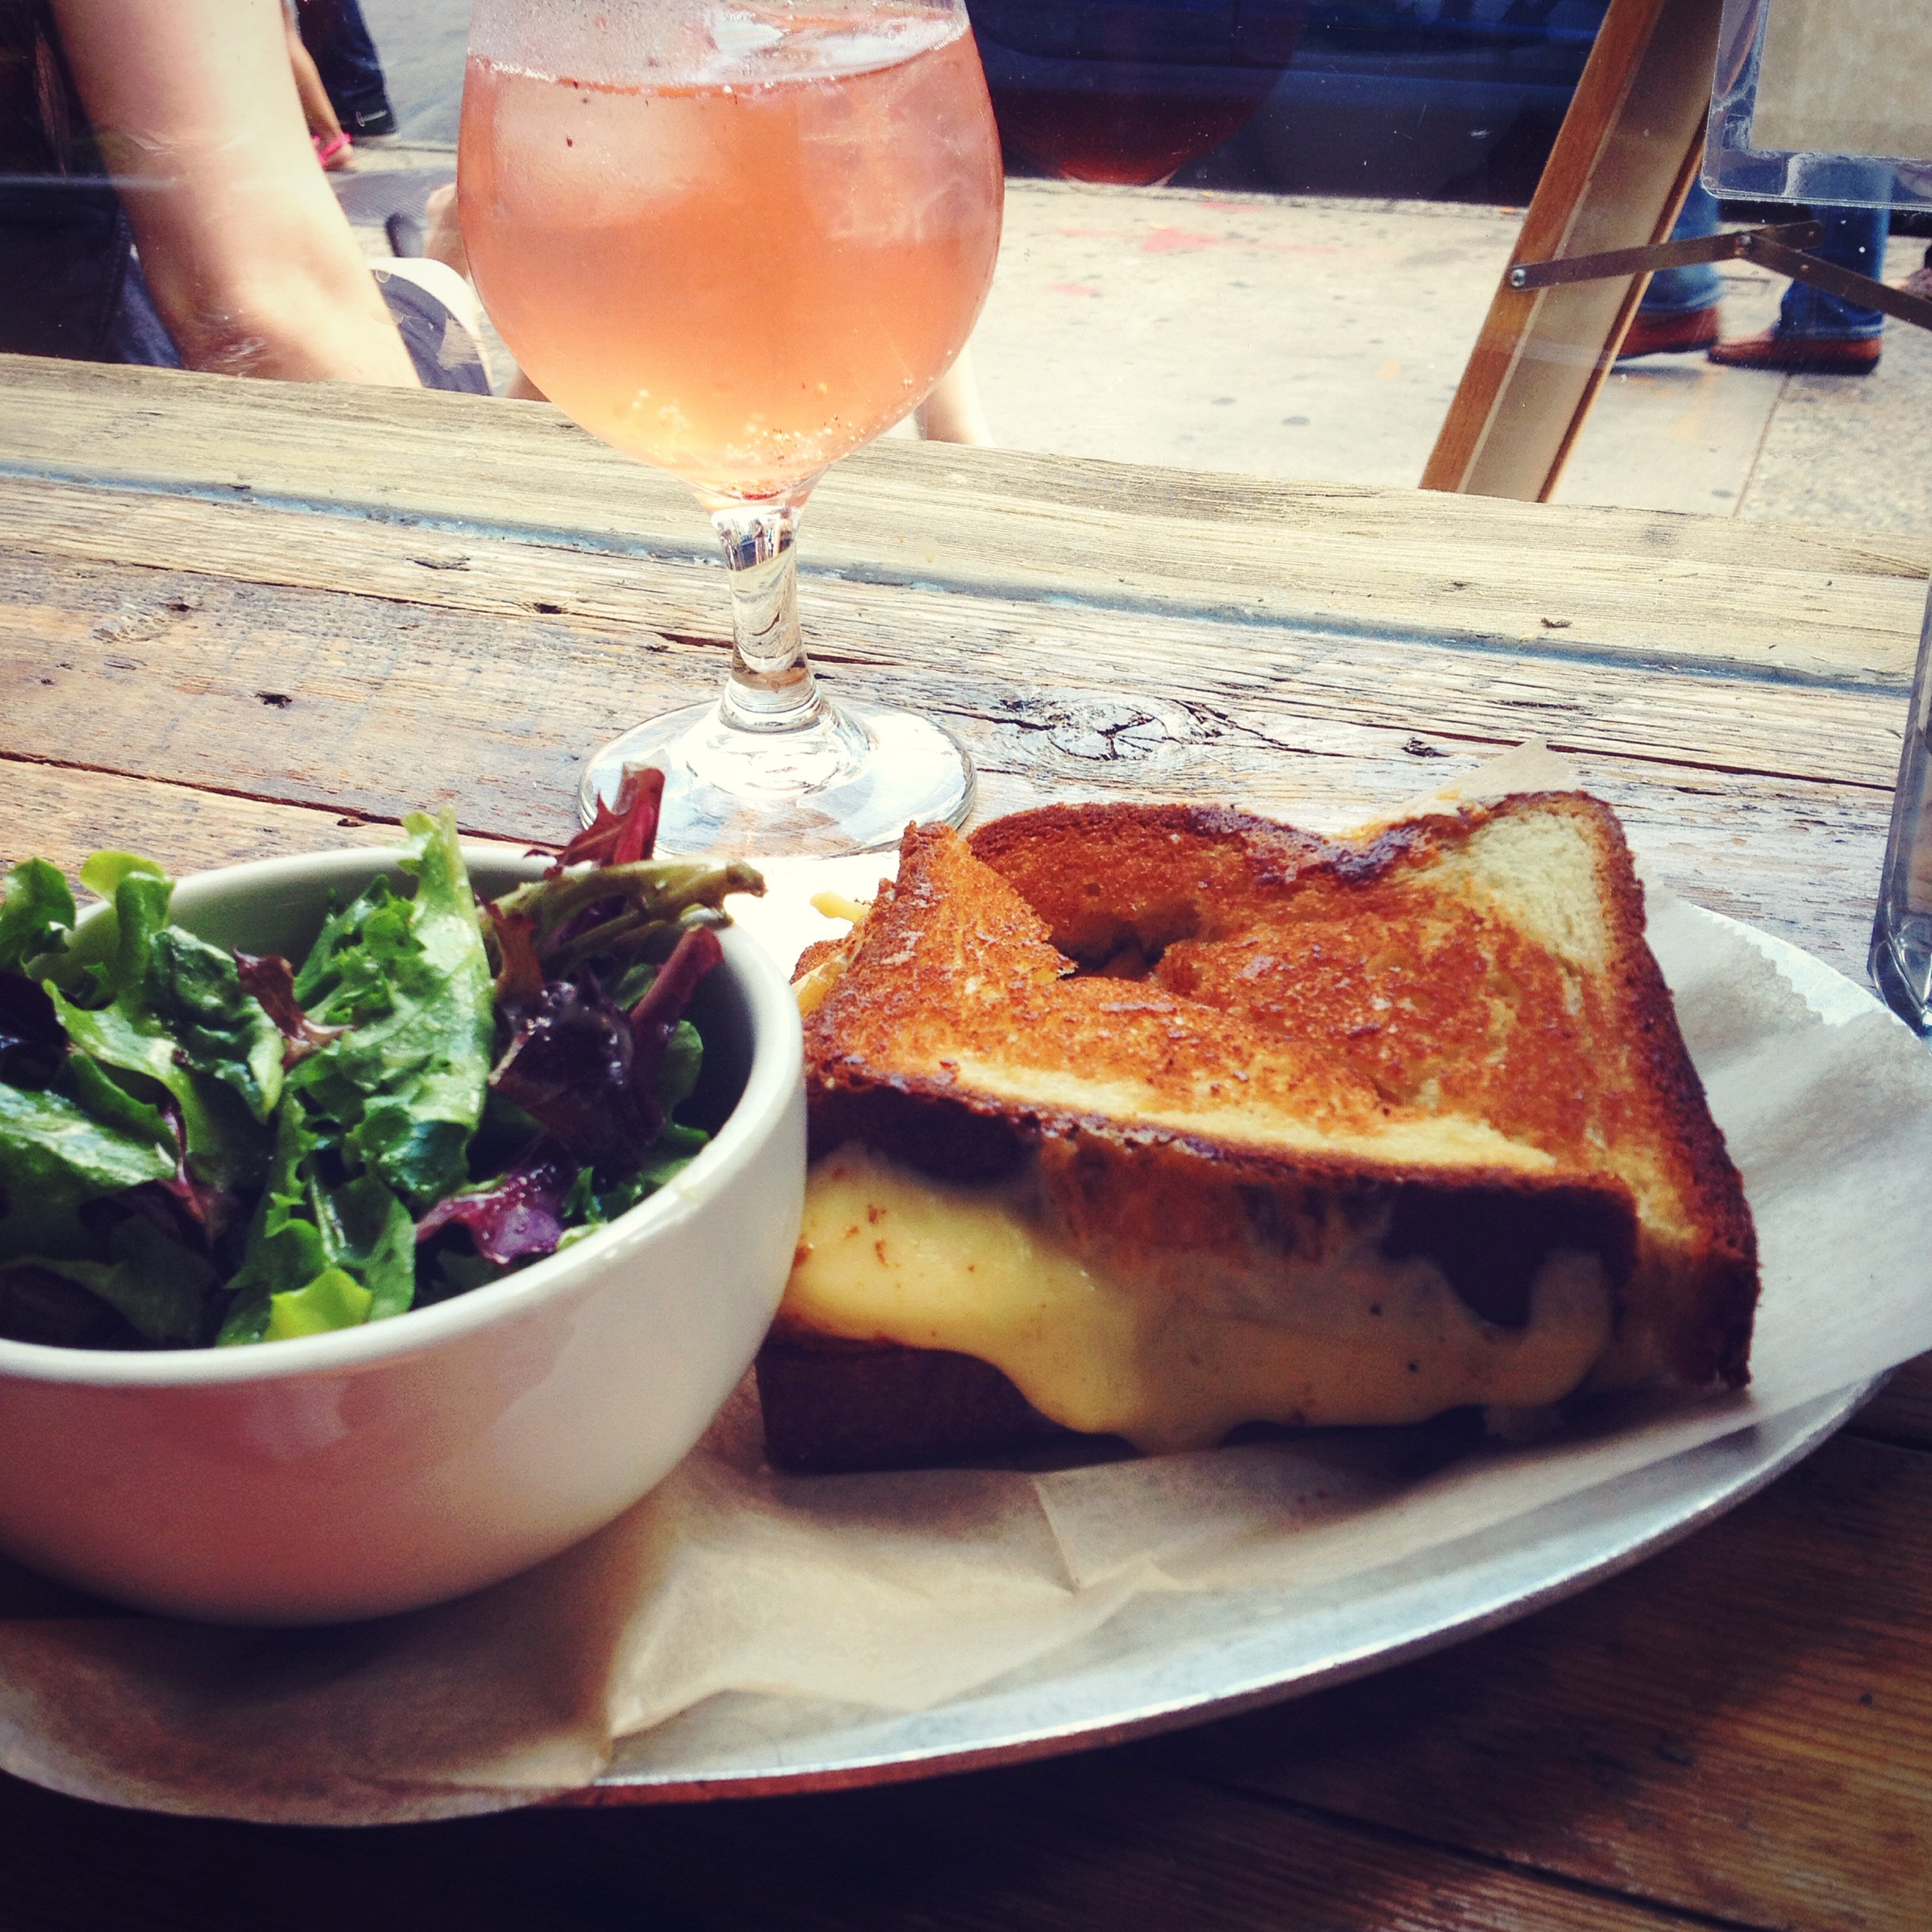
After an exciting bike ride from West Harlem through Randall’s Island and finally into Astoria, I took a pit stop at The Queens Kickshaw to scarf down a grilled cheese and a strawberry shrub (they also have golden raisin shrub available now). The shrub gets served with seltzer, and tastes like a homemade vinegary soda.

Processed with VSCOcam with f2 preset

To make a shrub, you need a hefty amount of sugar, but you also need a hefty amount of vinegar. The sugar is really there to preserve the fruit and mute the vinegar sting. If you are worried about the high sugar content, a small amount of shrub goes a long way in a drink, so you only need a little bit of concentrate to reap a lot of flavor.

To make a shrub at home: Combine fruit with sugar, let it sit, macerate, let it sit. Two days later, add some vinegar. Store at room temperature for about a week, shaking or stirring at least once a day. After a week, strain it, refrigerate it, drink it.

I now have Cherry Balsamic Shrub at the ready in my fridge for a sweltering summer day refreshment. This shrub has a strong balsamic flavor, so if you are not a big balsamic fan, use more cider vinegar in your ratio.

To drink a shrub, you can:

-Mix it with seltzer and ice. About 1 part shrub to 4-6 parts seltzer, depending how strong you want it.

-Make a shrub cocktail. I did cherry balsamic shrub + gin + seltzer. Bourbon and cherry would work, too.

-Cook with it. I added a tablespoon of cherry balsamic shrub to my clafoutis batter. Would go nice in a roast chicken, too. Or drizzled over ice cream or in oatmeal. 

 -Drink it straight up (super concentrated and strong that way). 

I am still new to the slightly fermented vinegar drink thing, but I am happy with my first batch. Of course, you can experiment with different fruits and different vinegars.  I recently tasted a cucumber serrano chile shrub at a bar that was both crisp and fiery.

Don’t forget your re-usable stainless steel straw!

Processed with VSCOcam with f2 preset

Cherry Balsamic Shrub

recipe from Carey at Reclaiming Provincial 

makes about 1- 1 1/2 cups

1 cup cherries, halved and pitted

3/4 cup granulated sugar

5-10 black peppercorns

1/2 cup balsamic vinegar

1/4 cup apple cider vinegar

Combine fruit, peppercorns, and sugar in a bowl or jar, stirring to evenly coat the fruit. Allow mixture to sit for about 1 hour, then macerate until everything is nice and broken up (I used my cocktail muddler). Cover and let sit for 24 hours. (At room temperature is fine, but feel free to stick it in the fridge too.)

After 24 hours, macerate the mixture again, crushing the fruit as much as possible. At this point, you can add the vinegars immediately, or let it sit for another 24 hours. (Carey recommends giving it the additional 24 hours, as she think this extra fermentation time does nice things for the final flavor. I agree!)

When ready, add the vinegars and stir well. Store at room temperature for 7–9 days, giving it a good stir (or light shake if using a jar) each day. When finished, pour the mixture through a fine sieve (you can use cheesecloth but I didn’t have any so I just used the sieve) then transfer to a clean jar or container. Store syrup in the fridge.

To mix: Add 1 part syrup to 4-6 parts seltzer. 1 part gin or bourbon optional.