Archive | eggs RSS feed for this section

Brain Food: Seasonal Frittata with a Potato Hash Crust

25 Sep

IMG_1482

School is in full swing, and I am having writers block like woah.

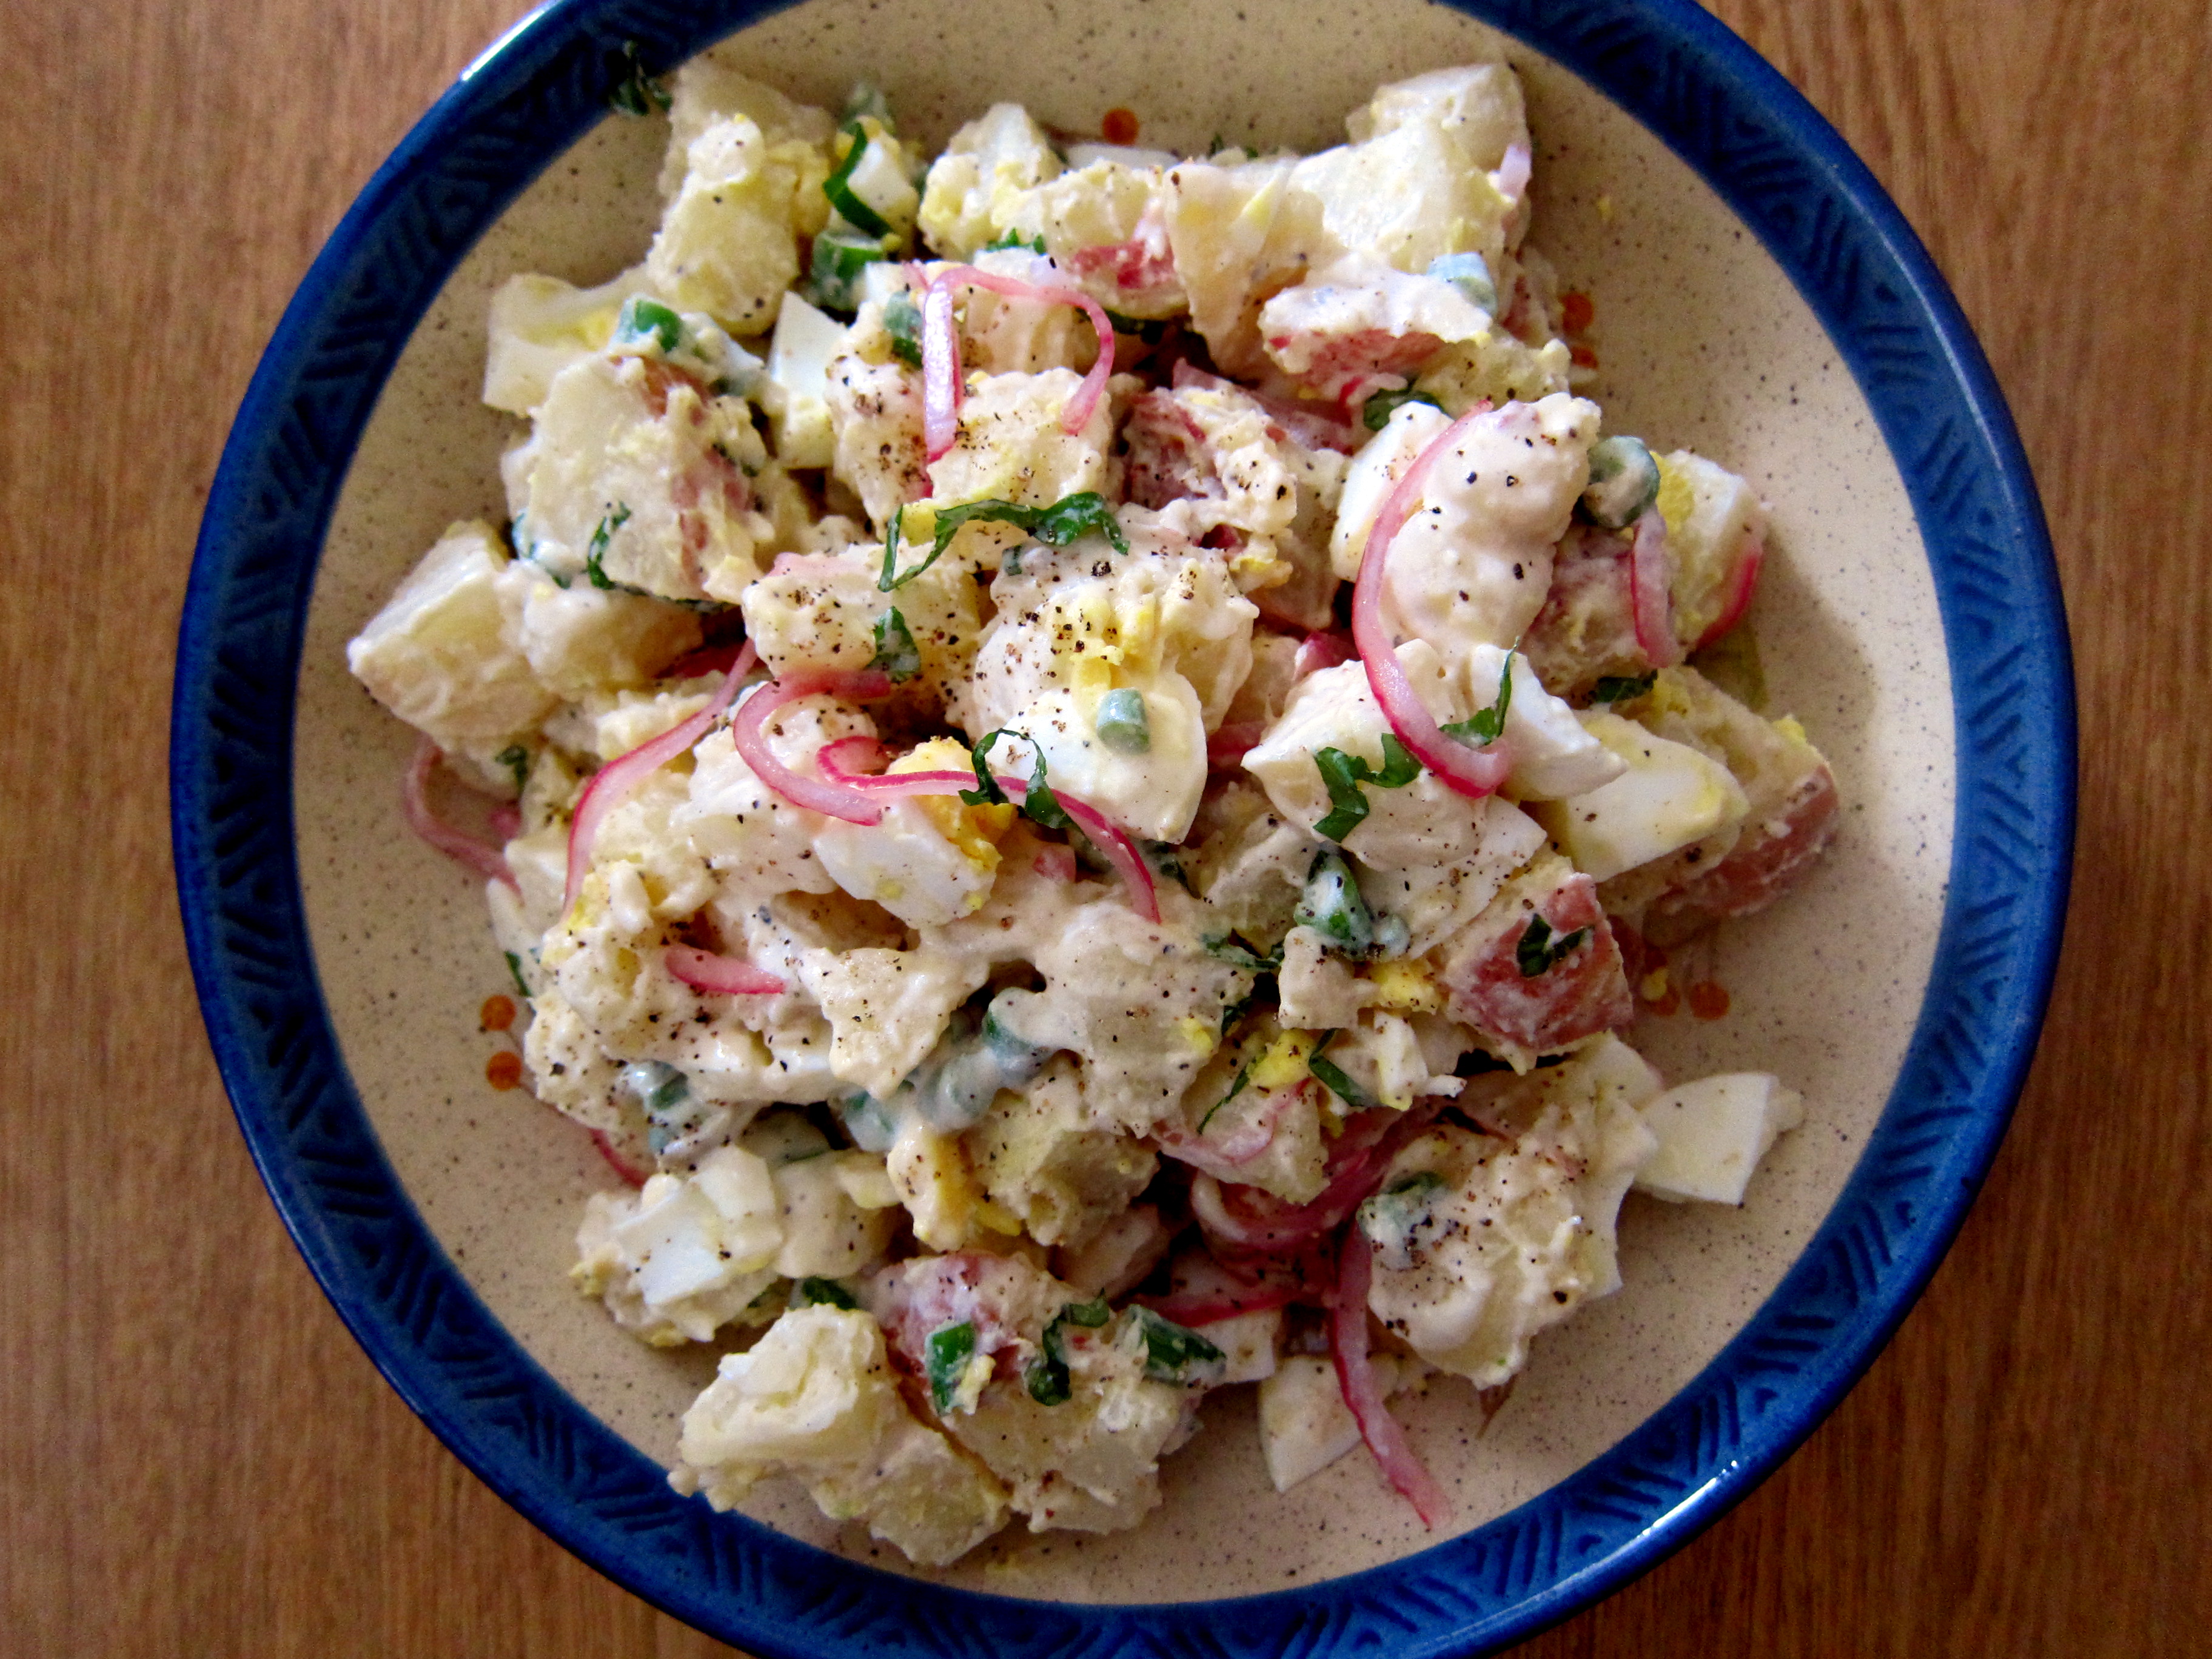
It is so hard to concentrate when I get paid to stare at these salty gems 3 mornings a week:

IMG_1460

…but I must remember to eat my veggies so that my brain can start working properly again…

IMG_1481

This is a funky time of year at the farmer’s market in New York City. Apples, pears, potatoes, and winter squash abound, but the tomatoes, peaches and plums, and corn are still pulling through for their final hurrah.

I just learned about the “nuke and shake method” for husking corn, and now before I blink my eyes three times, all of the corn will be gone! Drat.

IMG_1483

This is a simple egg bake that you could do with any seasonal ingredients–vegetables, herbs, cheeses, and meat. I adapted the recipe from Sara Forte’s The Sprouted Kitchen Cookbook. Sara’s recipe includes sweet potatoes and goat cheese; I happened to have a variety of small colorful potatoes on hand and a ball of mozzarella hanging out in the fridge, so into the frittata they went.

Fresh corn got thrown into the mix as well, because corn + eggs = awesome.

Processed with VSCOcam with f2 preset

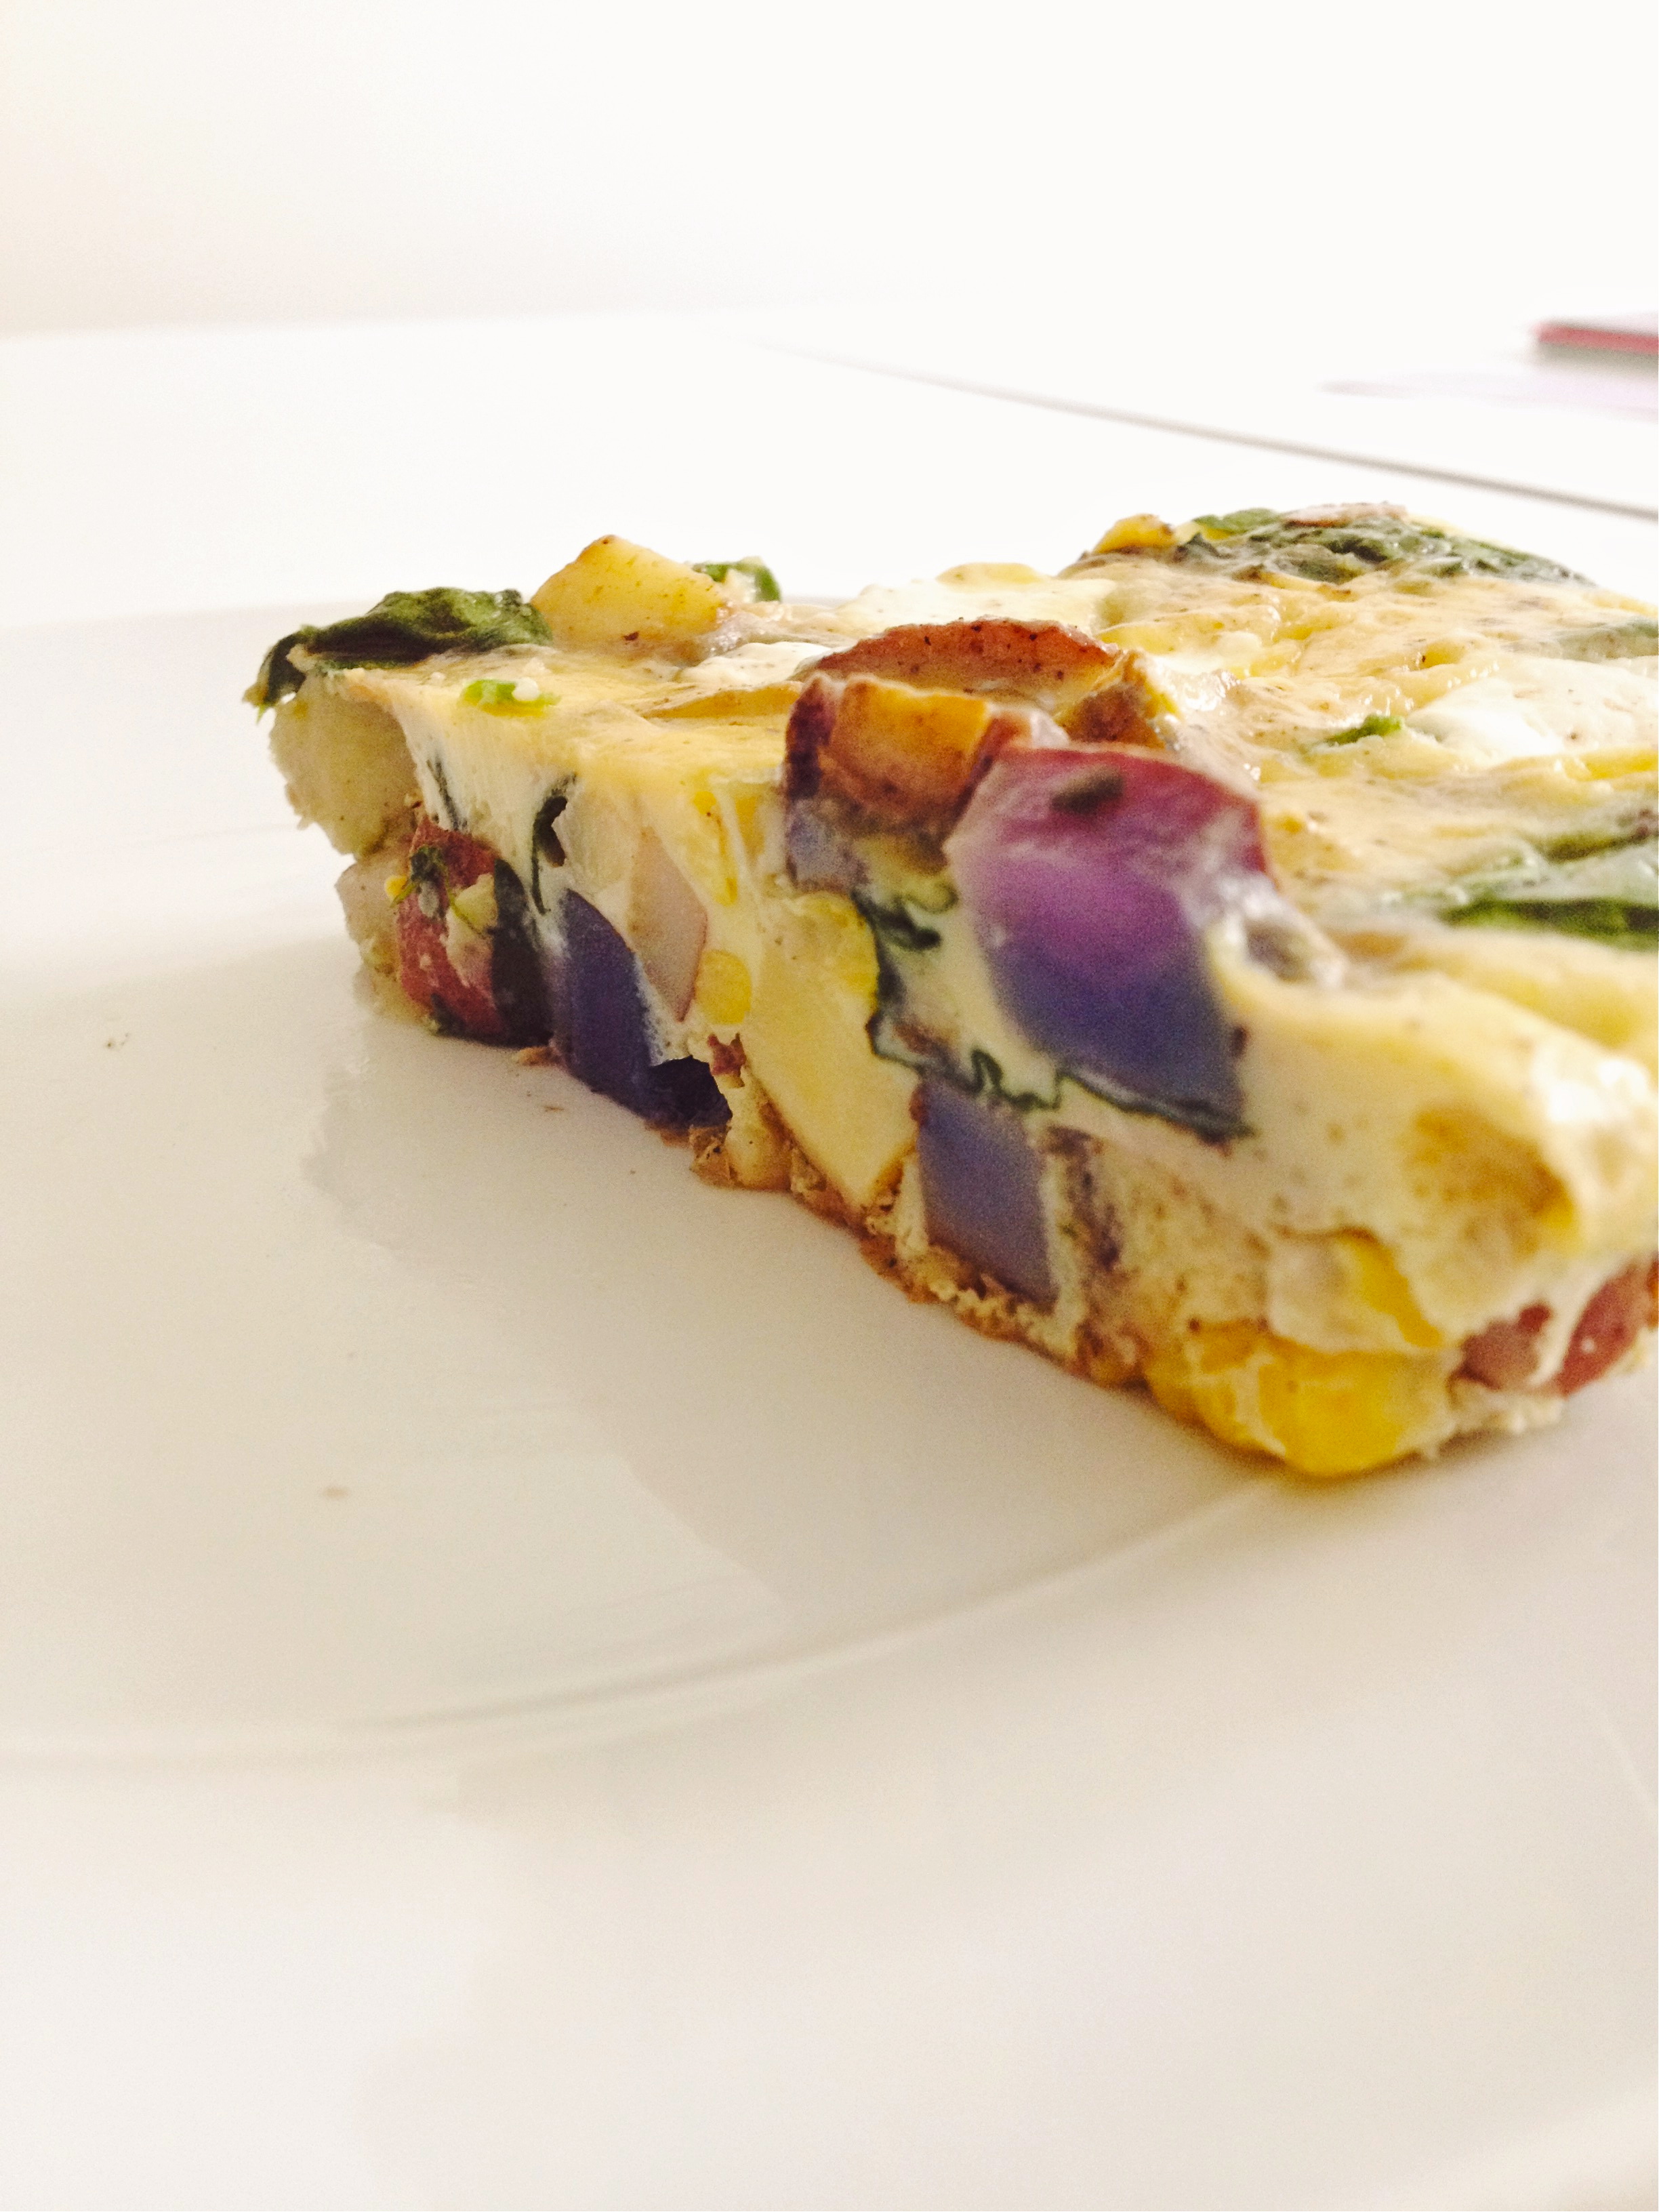
Sure, I love a good quiche. How could you not love anything baked up in a flaky, buttery crust? But remember, we need brain fuel here, so potatoes for a “crust” will do. A few dashes of hot sauce always help fire up those neurons, too.

IMG_0799

Seasonal Frittata with a Potato Hash Crust

adopted from Sprouted Kitchen, also seen on Cookie and Kate

serves 4-6, depending how you slice and serve

6-8 eggs (I used 6 extra large eggs)

1/2 cup milk

pinches of salt and pepper

2 small sweet potatoes, or about 2 cups of colorful new potatoes, chopped

1 tablespoon olive oil

1 teaspoon cumin

2 garlic cloves, chopped

2 cups baby spinach

1-2 ears of corn, husked and sliced off the cob

3 oz. cheese, mozzarella ball or goat cheese

herbs, hot sauce, salt n’ pepper for topping

  1. Preheat the oven to 425 degrees F. In a large bowl, whisk together the eggs, milk, a pinch of salt and black pepper.
  2. Chop the potatoes into 1/4-inch cubes. In a 10-inch sauté pan (or well-seasoned cast iron skillet), warm the olive oil over medium heat. Add the potatoes and toss to coat, then sprinkle with cumin and 1/2 teaspoon salt and stir. Cook the potatoes, stirring occasionally, until they are cooked through and have brown marks, 10 to 15 minutes (add another little splash of olive oil if the potatoes start sticking to the pan).
  3. Sprinkle the garlic on top of the potatoes, then the spinach and corn. Cover the pan with a lid or cookie sheet if you have one, and cook until the spinach wilts, a minute or two.
  4. Turn the heat down to low. Whisk the eggs one last time and pour them over the spinach. Crumble or slice the cheese and plop over the top of the frittata. Put the pan in the oven and bake until you can shake the pan and see that the middle is just barely set, about 12 to 18 minutes.
  5. Set the frittata aside to cool down slightly. You can either leave it in the pan or flip it onto a plate. Sprinkle with more salt and pepper, and add some herbs and hot sauce if you’re feelin’ it.

Summer Squash Fritters

9 Jul

IMG_1204

Holy smokes, I’ve fallen head over heels for fritters!

Maybe the fact that the word “fritter” implies fried, I have steered clear of anything fritter-related in my kitchen. Until NOW.

…and I’ve had my share of deep fried apple fritter mania in the past (Gosh, I was so young here. This was an event at the restaurant I used to work at where I had to make tons of apple fritters, I was scooping batter out of buckets!).

pizzaiolo fritters

I shall steer clear no more…these Summer Squash Fritters are lightly pan-fried on a cast-iron skillet, and they totally bust my fears of frittering at home. They are like potato latkes, but a bit healthier and more colorful.

I’ve been making so many quick pasta dinners and taco/quesadilla/migas dinners these days, and tonight I was looking to do something out of my usual throw-together repertoire. Alas, Deb from the Smitten Kitchen has saved dinner once again.

These lil guys hit the spot. With a fried egg on top and a shake or two of hot sauce, I was dancin’ in my dinner seat! You just can’t beat the golden brown crisp exterior of these fritters, oozing supple and sweet summer squash in every bite.

The summer squash are lookin’ mighty fine at the New York City farmer’s markets right now. Vibrant, plump, and simply aching to be eaten.

And if summer squash is not your thing, how about Broccoli Parmesan Fritters? (also in season right now in NYC). Deb has quite an extensive fritter library, so go check it out here if zucchini is not your thing.

These fritters would be an excellent for brunch, too.

Now go fight your fritter fears and experience the goodness.

IMG_0764

Summer Squash Fritters

adapted from The Smitten Kitchen 

I got about 6 fritters out of this batch (serves 2 people as a main dish)

1 large zucchini + 2 small and thin yellow summer squash

1 teaspoon Kosher salt, plus extra to taste

2 small garlic cloves, minced

1 large egg, lightly beaten

2 tablespoons grated cheddar cheese (I used a spicy chipotle cheddar. zing!)

freshly ground black pepper

1/2 cup all-purpose flour

1/2 teaspoon baking powder

olive oil or canola oil, for frying

Trim the ends off of the zucchini/summer squash and grate the squash on the large holes of a box grater.

Place a colander over a large bowl. Add the grated squash to the colander with 1 teaspoon of salt and let it sit for about 10 minutes. Using a wooden spoon, press the squash against the holes of the colander and drain as much excess water as you can. You will probably get a lot of liquid out of the squash! This reduces the likelihood of soggy fritters.

Dump the liquid down the sink, rinse the large bowl, and add the pressed grated squash to the bowl. Stir in the garlic, lightly beaten egg, cheddar, and black pepper. In a small bowl, whisk together the flour and baking powder, then stir the mixture into the zucchini batter.

In a large heavy skillet (cast iron is indeed dreamy here), heat 2 tablespoons of oil over medium-high heat until shimmering. Drop small bunches (I used a 1/4 cup measure) of the zucchini mixture onto the skillet only a few at a time (I did 3 fritters at a time) so they don’t become crowded and lightly nudge them flatter with the back of your spatula. Cook the fritters over moderately high heat until the edges underneath are golden, about 3 to 4 minutes. If you find this happening too quickly, reduce the heat to medium. Flip the fritters and fry them on the other side until browned underneath again, about 2 to 3 minutes more (if you are making a bigger batch, you can keep finished fritters in a 200 degree F oven to stay warm).

Enjoy with a poached or fried egg on top and a few good shakes of hot sauce, so the yolk runs down and around the fritters (I wish I took a picture of this but I chose to shove the goodness in my face instead!).

**Deb says: These fritters keep well, either chilled in the fridge for the better part of a week and or frozen in a well-sealed package for months. When you’re ready to use them, simply spread them out on a tray in a 325 degree oven until they’re hot and crisp again.

IMG_0763

Summer Salad Round-Up!

24 May

Summer is about to hit us in full force, and I want us to be prepared for the potlucks, barbecues, picnics, and shenanigans to come. Pretty soon I will transition from roasting all of my veggies to shaving them into ribbons and enjoying them raw, preparing grain-based salads, bouncy pastas, light sautés, and brothy soups. It will simply be too dang hot turn on the oven.

Here are some ideas for no-cook (or very-little cook…) hearty salads to ring in the sunshine and keep us lookin’ nice and cool. Variations and substitutions are encouraged. Have fun and experiment.

IMG_0392

Potato Salad with Pickled Red Onion. Can you say 4th of July party?! This salad is salty, crunchy, acidic, herby, and creamy all-in-one. Heck yes.

IMG_0296

Get your fix of beans with this 3 Bean Summer Salad with Corn, Tomato, Avocado & Lime. Colorful and bright, this salad is great on its own or even used as a taco filling or chip dip.

IMG_1026

Radishes are taking over the farmer’s marktes in NY right now. Snag a bunch, slice them thin, and add them to this Israeli Couscous Salad. You could also try making a variation of this salad with a Miso Dressing.

IMG_0778

This Sweet and Savory Quinoa Salad is an old-time favorite. If it’s too hot to roast cauliflower, feel free to use whatever vegetable is easy to prepare and catches your eye. The dried fruit and Mediterranean spices remind me of summer fun.

IMG_0716

You better get your hands on asparagus NOW, before it goes out of season! Enjoy it in a Farro Salad. I recently made a variation of the potato salad above and added asparagus to it.

IMG_0750

No Cook Summer Fruit Salad. I like to use a mix of fresh fruit and dried fruit, with some fresh herbs and cinnamon to pack a punch. It is hard not to eat the whole bowl in one sitting.

Potato Salad With Pickled Red Onion

14 Jul

Sure, I’m saving pennies in the kitchen with potatoes and eggs. But all spruced up in a nice bowl with fresh herbs and pickled red onion? Now we’re talkin’ haute cuisine.

Pickled red onions are showing up in nearly every restaurant these days. And it could not be easier to make them at home. Thin slices of red onion taking a dip in some apple cider vinegar and salt. Done.

I was having a tough time deciding whether to make the salt and vinegar potato salad from Tracy and Joy’s blogs or the classic all-American potato salad from Deb. So I combined the two. I’ve got the pickled onion and green beans AND the eggs with the creamy dressing.

Fresh basil and lots of cracked pepper.

With a grilled chicken apple sausage in a bun (grilled in the cast-iron skillet).

Someone ring the dinner bell!

Potato Salad With Pickled Red Onion

Adapted from SmittenKitchen

Makes about 4-6 servings

1 1/2 lbs red potatoes (I used about 4 large red potatoes); washed

3 eggs, hard-boiled, peeled, chopped (see recipe below)

optional: 8-10 green beans (you could use celery, too)

1/3 cup mayonnaise ***NOTE: I used a ratio of about 1:2 parts nonfat plain yogurt to mayo

1 tablespoon Dijon mustard

1 tablespoon apple cider vinegar

about 1 tablespoon basil, cut into ribbons (I did this to taste rather than measure)

salt and pepper, to taste

pickled red onion, to taste (see recipe below)

The first step is to get the pickled red onion started (see recipe below) because it takes about an hour before it is ready to use.

Next, get the potatoes boiling. If your potatoes are big, you can slice them in half for quicker cooking. Place the potatoes in a pot and cover them with water. Bring to a boil, then reduce the heat to a simmer. Check the potatoes after about 15 minutes of simmering (mine took about 30 minutes to be fully done). Insert a fork or sharp knife into a potato, if it meets just a bit of resistence, the potatoes are almost done cooking. If you are using green beans, place them in the water about 3-5 minutes before your potatoes are done cooking. Once everything is done, drain the water.

While the potatoes are simmering, you can prepare the dressing. In a large bowl, whisk together the mayo/yogurt mixture, the mustard, and the vinegar. I added a dash of salt and pepper here.

Once the potatoes are cool enough to handle but are still pretty warm, chop them up into bite-sized chunks. Chop the green beans into tiny rounds. Have your chopped hard-boiled eggs ready. Toss the potatoes and green beans together with the dressing. Add the eggs in. Add some basil ribbons and the pickled red onion. Finish with another few dashes of salt and pepper.

Quick Pickled Red Onion

From Shutterbean and JoytheBaker

1 red onion, cut in half and very thinly sliced

1/4 cup apple cider vinegar

1/2 teaspoon salt

Combine the onion slices, vinegar, and salt in a bowl. Toss everything together and let the mix sit for about 1 hour at room temperature, stirring occasionally. That’s it.

You can store leftovers in an airtight tupperware container or jar in the refrigerator.

Hard Boiled Eggs

eggs

Place the eggs in a pot. Cover them completely with water. Place the pot on the stove and heat until the water comes to a boil. Once boiling, shut off the heat and cover the pot. Wait 10 minutes, then drain the water out and place the eggs in a bowl of ice water to stop them from cooking more.

Peel and go!

Broccoli Quiche

26 Mar

Life as a pastry cook really hit me hard last week. One of our key pastry chefs was on vacation. I was working longer hours, many of them by myself. On Wednesday night, we had 45 people with reservations, on paper. Easy. I prepped for that amount give or take a few, and I felt solid and set up for the night. When more than double the amount of reservations showed up, things got a bit crazy.

I was running out of my set-up. Ice creams were melting. Bowls were not yet cold enough (we keep bowls in the freezer so that our frozen desserts stay cold by the time they arrive at the guest’s table). I had to whip more cream “on the fly” (as in ‘right now’!). I had to torch multiple creme brulee orders. I had to bake off more caramelized apples. I had to supreme more blood oranges. I had to pipe more “whipped chocolate flan” into bowls. I ran out of ramekins filled with honey and ricotta to go with the chocolate bread. There were birthdays that needed “Happy Birthday” written in chocolate on a plate. And of course, the machine that spits out ticket orders ran out of paper.

My hands were shaking, the sweat was dripping down my back. My legs were shot. My mouth was dry.

I did it. I plated all of the desserts. I shuffled and I shook until I got it all done. I re-stocked my mis-en-place. Everyone ate and was satisfied. I left work that night at 11:45pm. I had the biggest adrenaline rush. The next morning, my whole body ached and as I stretched out of bed, I prepared to do it all over again that night.

Even on my days off, I can’t seem to get myself out of the kitchen. I guess I’m a little obsessed. It is, however, a totally different kind of kitchen to be at home versus in a big restaurant kitchen.

This weekend I made a broccoli quiche inspired by Joy the Baker’s beautiful asparagus quiche. And you should totally watch this video with Joy frolicking in the garden and cooking in the test kitchen at the French Laundry in Napa, CA. I’m completely jealous and inspired, and the video just makes me miss California living even more.

I happened to have extra pie dough leftover in my freezer from (eek) Thanksgiving. Sure, I probably should not have kept it in the freezer that long, but it was there, I used it, and it tasted superb. I stuck it it the fridge to defrost overnight and Bam! I had everything I needed to make a comforting quiche for a cozy Saturday morning  afternoon meal. I’m totally into the studs of broccoli and the browned cheesy bits. And you simply cannot go wrong with buttery crust and black coffee.

Broccoli Quiche

filling adapted from JoytheBaker’s website and the JoytheBaker cookbook

pie dough for a single crust 9-inch pie, I used the pate brisee from Sherry Yard’s book

Dough: *You can use any dough you want, you could even use puff pastry for a quick fix

4 oz (1 stick) unsalted butter, cubed and placed in the freezer for about 15 minutes

1 1/4 c. all-purpose flour

1 tablespoon sugar

1/2 teaspoon salt

about 1/4 cup ice water

1/4 teaspoon white wine vinegar (or cider vinegar) *see note below

Filling:

1/2 tablespoon unsalted butter

1 head of broccoli, chopped

1 bunch of scallions, sliced into thin rounds

6 large eggs

1 cup milk (I used 1%)

1/2 cup heavy cream

pinch of salt and fresh ground pepper

1/2 cup grated white cheddar or Gruyere cheese

1/2 cup grated Parmesan cheese

To make the dough:

Mix together the dry ingredients in a large bowl. Add the partially frozen butter cubes and, with your fingers, rub and press the butter and flour between your thumbs and first two fingers to create flattened broken walnut sized pieces. Combine the ice water and vinegar and add the liquid all at once; mix lightly with a fork until the dough just comes together.

Wrap the dough in plastic and refrigerate for at least 1 hour before rolling it out (the well-wrapped dough can be kept in the refrigerator for up to 3 days or frozen for up to 2 weeks). I had my dough already made and frozen. I transferred it from the freezer to the refrigerator 2 days before I wanted to make the quiche so that I could just pull the dough out on Saturday morning and get going.

*Note: the amount of water can be variable. It is better to have a slightly wet/tacky dough than one that is too dry; add a little water if your dough seems dry.

When you are ready to roll out the crust, on a well-floured work surface, gently roll out the pie crust into about an 11-inch circle.  Press together any spots that might tear.  Carefully lift down and place into the 9-inch pie plate.  Use a pairing knife to trim the edges of pie dough, leaving about 1/2 inch extra dough overhang.  Fold the excess dough under and crimp with fingers.

Place your rolled out crust in the fridge or freezer to chill while you prepare the filling.

To make the filling:

Preheat the oven to 375 degrees F.

In a medium saucepan over medium heat, melt the butter. Add the broccoli and scallions and saute for about 4 minutes, until bright green and slightly tender. Remove from heat. Sprinkle with salt and pepper.

In a large bowl, whisk together eggs, milk, cream, and salt and pepper. Whisk until blended.

Add the cooked vegetables to the unbaked pie crust. Sprinkle with half of the cheeses (1/4 cup each of cheddar and Parm.). Pour the egg mixture over everything. Top with remaining cheese.

Place a baking sheet in the oven. Carefully place the pie plate of quiche on top of the baking sheet in the oven and bake for about 45-55 minutes, until quiche puffs up and is set.

Remove from the oven and let it cool for 30 minutes to an hour before cutting it.