Archive | nuts RSS feed for this section

White Chocolate Pineapple Macadamia Cookies

23 Jan

IMG_0641

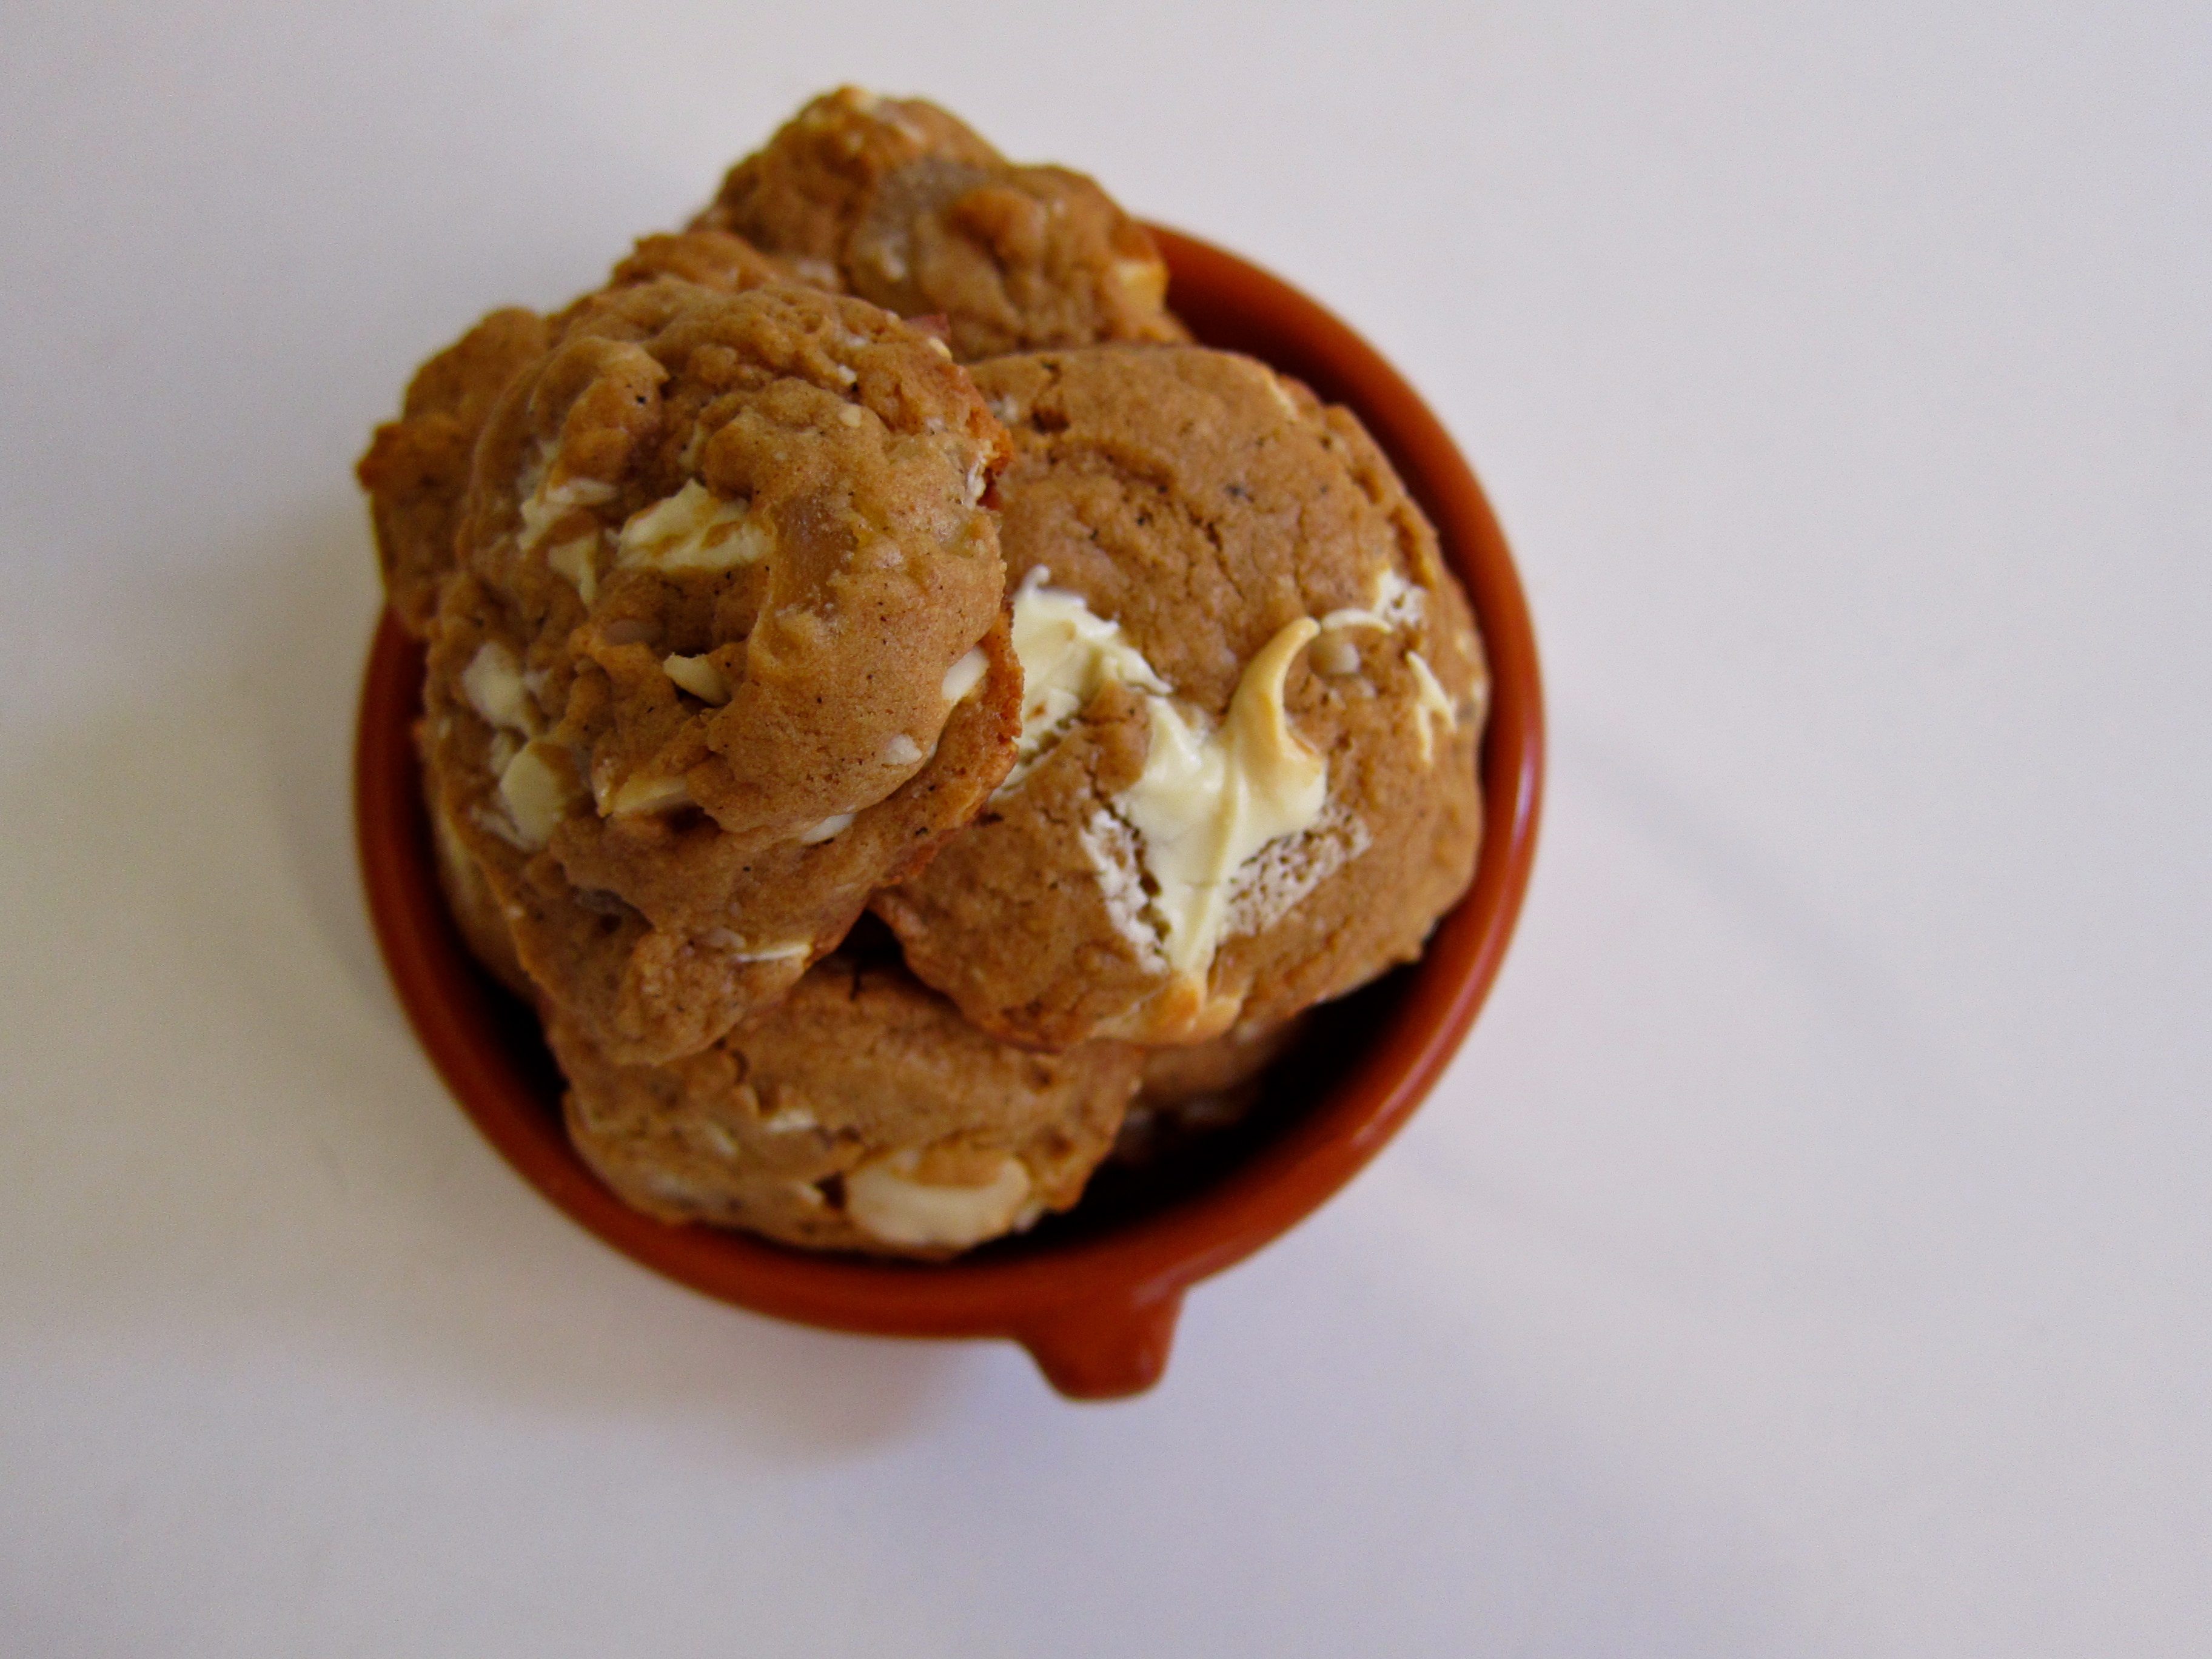
The white chocolate macadamia nut cookie got a little fancier today.

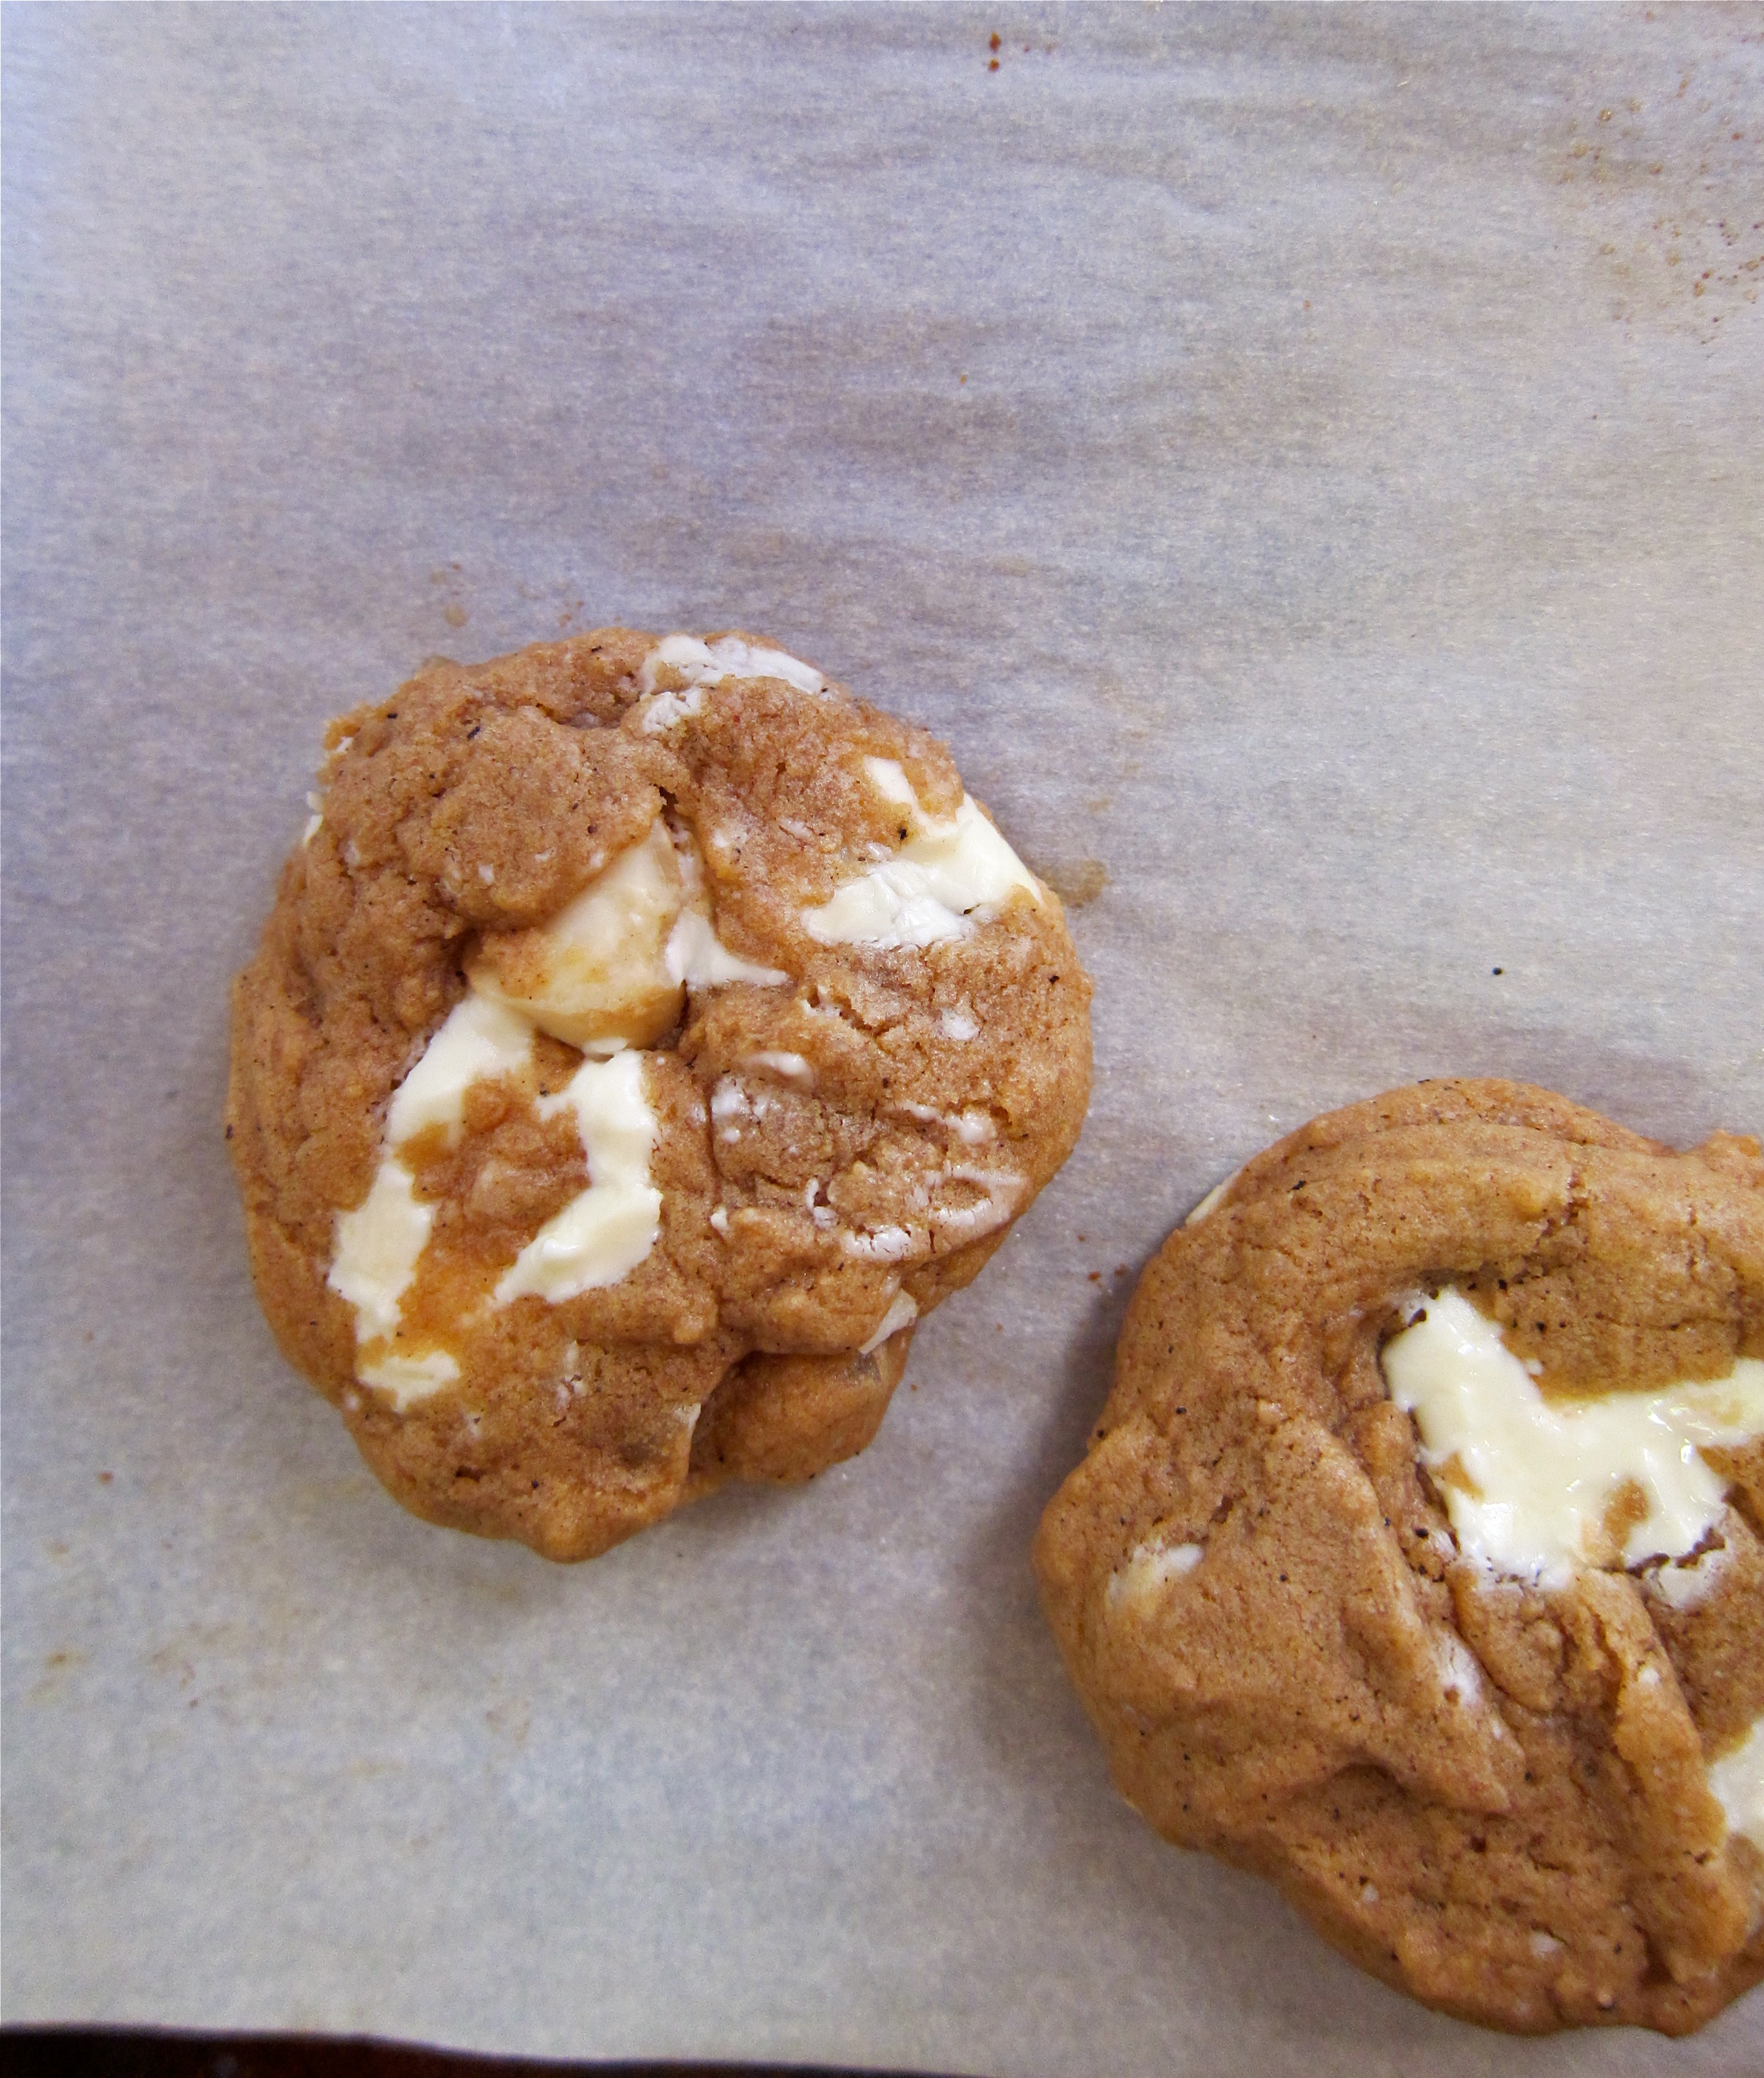
Partially whole wheat, with big chunks of chopped white chocolate (Callebaut brand), roasted macadamia nuts, dried pineapple chunks. You could use chips, but if possible, I recommend buying a block of good quality chocolate and chopping it yourself. It looks nicer, especially when using white chocolate, to have those uneven blobs of chocolate all melted and shining. Tastes better, too, what with the oozing chocolate hugging the slightly salty macadamias and pineapple bits.

IMG_0643

Browned butter adds an extra rich, nutty element to the cookies. Using browned butter makes things easier since you don’t have to wait for butter to soften…which can take hours in the cold weather temperatures.

IMG_0649

Macadamia nuts, eaten in moderation, are rich in the minerals calcium, iron, magnesium, manganese, and zinc. Alright alright, so we are about to chow down on some cookies, but…at least we can get a little pumped about the macadamias…

IMG_0640

White Chocolate Pineapple Macadamia Cookies

adapted from Joy the Baker

yields about 30-36 smallish cookies

1/2 cup (1 stick or 4 oz) butter

1 cup (200 grams) light or dark brown sugar

2 tablespoons milk (I used 1% milk)

1 egg (if possible, try to use an organic egg; even better, purchase your eggs locally at the farmer’s market or another reliable source…)

1 teaspoon vanilla extract

1 3/4 cup flour (I used 1 cup ap flour + 3/4 cup whole wheat pastry flour)

1/2 teaspoon baking soda

1/8 teaspoon salt

1/2 cup roughly chopped macadamia nuts

1/2 cup roughly chopped dried pineapple chunks

1 cup roughly chopped good quality white chocolate (a serrated knife works well for chopping chocolate)

Preheat oven to 350 degrees F. Brown the butter: in a medium saucepan, melt the butter, swirling and stirring until nice browned bits appear in the bottom of the pan. This may take 5-7 minutes. Once the butter is browned, remove from heat and set aside to cool a bit while you measure out the dry ingredients.

In a bowl of a stand mixer, add the brown sugar and slightly cooled browned butter. Beat on medium speed for about 2 minutes. Add the egg and beat for another minute. Add the milk and vanilla and beat until incorporated.

Turn the mixer off, scrape down the sides, and add flour, baking soda, and salt all at once. With either the stand mixer on low or by hand with a spatula, incorporate the dry ingredients until just mixed in. Fold in the chopped nuts, pineapple chunks, and white chocolate.

Scoop two teaspoon size balls onto a parchment lined baking sheet (this should use two baking sheets). Bake for 9-11 minutes, rotating once through baking, until the cookies are soft and golden. Remove from the oven and cool completely on a wire rack.

IMG_0642

5 Days of Simple Breakfasts…

31 Aug

Just a little post to show you what I’ve been eating for breakfast lately. It’s easy to get in a breakfast rut, and I’m here to offer you five small simple breakfast ideas that will help get your day started.

I like to exercise in the late morning, and these are all great pre-(or post) workout options for breakfast or a snack. I try to think: carb + a little protein. And it never hurts to keep in mind color and appearance. Even if it’s just a mini-meal, your belly will feel more satisfied if your eyes are entertained as well.

Toast with avocado and low-fat cottage cheese. Lots of fresh ground pepper. I never liked cottage cheese as a kid because I didn’t like the texture. Once I discovered that I could spread it on a crunchy piece of toast or crackers, there was no turning back. I can’t get enough of the stuff now! AND you get 15 grams of protein per serving of cottage cheese.

Almond butter schmeared on toast. With a squeeze of honey (or banana). I recently tried sunflower seed butter, which is another great alternative to add to the peanut/almond butter rotation.

Oatmeal. I like making rolled oats on the stove top. This time around my toppers included: cinnamon, coconut chips, a combo of walnuts/macadamias, frozen berries, plain yogurt, and honey. (you can just barely see the steam coming from my coffee…!!!)

Baby berry smoothie: 1 cup frozen berries, 1/2 cup plain yogurt, 1/4 cup milk, 1 teaspoon honey, 1/2 teaspoon vanilla. Whir it up in the blender. Add a frozen banana if you want to bulk this up a bit (I had some whole wheat crackers with nut butter shortly after this to complement the smallness of the smoothie). Pour into an old jam jar and enjoy.

A layered yogurt parfait. Plain yogurt, granola, more yogurt, melon (or whatever fruit you want), finished with more granola. You could even take something like this on the go in a small tupperware container (or a clean container from a previous yogurt).

Note that most of the ingredients for these breakfasts you can always have on hand. Frozen fruit, rolled oats, nut butters, bread (you can even put bread in the freezer and toast off as needed). Even yogurt stays fresh for a long time in the fridge. So much easier to whip up a quick healthy breakfast when your pantry and refrigerator/freezer are stocked with these simple breakfast staples.

Black Bean Brownies

30 Aug

I am always amazed when a brownie or cookie recipe calls for anything less than a stick of butter. Usually you see a shocking 2 sticks of butter!

As a pastry professional, I’ve learned to get over my fear of using generous amounts of butter. That’s just how the cookie crumbles in that world. But at home, I try to only use butter when I can really make it count. Less is more. I want to treat myself, but still look good, ya dig my flow?

Black beans are the new applesauce when it comes to baking. Their dark color blends in perfectly with the chocolate, and they’ve got protein and fiber that are not only good for you, but help retain the whole rich-dense brownie thing.

I live with 3 dudes who dove head first into these fudgy squares. Dudes are into black bean brownies. It especially helps to put walnut studs, extra chocolate chips, and some coarse salt on top.

I don’t have a food processor. I hope you have one because it makes life easier. If you have one, just give the beans a whir. If you are like me and do not have one, you can smash your beans with a fork or your fingers, or pour your beans into the melted chocolate/butter mixture and then use an immersion blender and get it as smooth as you can. It’s ok if there’s a little texture. It all gets baked up and masked by the chocolate anyway.

Note that I first tried to blend my beans in my blender, but the blender was too large for the small amount of beans and nothing was happening. Moral of the story, buy a food processor. I just like to take the hard way, mostly because I have no room for another kitchen gadget in my apartment.

Black Bean Brownies

makes 9-12 brownies

adapted from Joy the Baker

1/4 cup (half a stick/2 oz) unsalted butter, plus more for greasing the pan

3 oz semisweet chocolate, chopped

2 oz of the darkest dark chocolate you can find (think 72% and up), chopped

2 large eggs + 1 egg white

1/4 cup black beans, rinsed, drained, and pureed in the food processor

1 cup + 1 tablespoon granulated sugar

2 teaspoons pure vanilla extract

1 cup (155 g) all purpose flour

1/4 cup unsweetened cocoa powder

1/2 teaspoon baking powder

1/2 teaspoon fine grain sea salt

walnut chunks, chocolate chips, and coarse salt for sprinkling on top (optional)

Preheat the oven to 350 degrees F. Butter an 8-inch (9-inch is ok, too) square baking pan and line it with parchment paper, leaving a 2-inch overhang on all sides. Butter and flour the parchment paper as well.

In a small bowl, sift together all of the dry ingredients: flour, cocoa powder, baking powder, and salt. Set aside while you prepare the rest of the ingredients.

Fill a medium saucepan with 2 inches of water. Bring the water to a simmer. Place the butter and chocolates in a heat-proof bowl. Place the bowl over the simmering water and stir until the chocolates and butter are melted and combined. Carefully remove the bowl from the saucepan and let it cool for a minute or two.

Whisk the eggs and white into the chocolate/butter mixture, one at a time. Next whisk in the pureed beans, sugar, and vanilla extract.

Dump the sifted dry ingredients into the mix all at once and fold and incorporate everything together with a spatula. Once thoroughly combined, pour the batter into the prepared pan. Sprinkle with walnuts, chocolate chips, and coarse salt, if using.

Bake the brownies for about 25-28 minutes. Note that brownies are better slightly underdone than overdone. Right? Right. Let the brownies cool on a wire rack for 10-20 minutes, then lift them out of the pan using the parchment overhang. Slice and enjoy.

Farmer’s Market Veggie Explosion with Miso Curry Dressing

6 Aug

A variation on the Miso-Curry Delicata Squash that I was making over and over again last fall.

This time around there’s eggplant, heirloom tomato, baby potatoes, and zucchini from the farmer’s market. And tofu for protein!

Dressed with a smash and a stir of white miso, red Thai curry paste, and extra virgin olive oil. Finished with a squeeze of lemon, fresh herbs, and slivered almonds.

I was inspired by the produce at the farmer’s market. I suggest you do the same and use whatever strikes your interest–corn, peppers, sprouts, peas, baby eggplants…

I think my favorites right now have to be the cherry tomatoes. Farmer’s market tomatoes taste SO much better than any grocery store variety. Just remember not to put them in the refrigerator or they will lose their luscious tomato taste. They are great roasted or raw.

Looking for another quick, farmer’s market-inspired dinner idea? Tacos are always the answer in my book.

I know that this Miso Curry Veggie Explosion requires you to turn on the oven. If you just can’t take the heat, make a raw salad with some kale, tomatoes, snap peas, corn etc. You could still use tofu. Just cut everything in bite size pieces and drizzle the miso-curry dressing with a little lemon and chopped herbs, and add the nuts or seeds for texture. No oven required. Stay cool.

Endless possibilities.

Veggie Explosion with Miso Curry Dressing

adapted from Heidi Swanson’s Super Natural Everyday 

serves 4

1/4 cup/ 60 ml extra-virgin olive oil

Scant 1/4 cup/ 2.5 oz/ 70 g white miso (I purchase mine at Whole Foods)

Scant 1 tablespoon red Thai curry paste

1 14-oz package of extra firm tofu, cut into cubes

1 large handful of small potatoes, unpeeled and cut into chunks

1 medium eggplant, cut into small chunks

1/2 of a medium zucchini, cut into strips

1 large heirloom tomato, cut into cubes

2 tablespoons fresh lemon juice (half a lemon)

1/4 cup slivered almonds

small handful of fresh basil or cilantro leaves, roughly chopped

Preheat the oven to 400 degrees F.

In a medium bowl, whisk together olive oil, miso, and curry paste.

Combine the tofu, potatoes, eggplant, zucchini, and tomato in a large bowl with all but 2 tablespoons-worth of the miso-curry paste. Use your hands to toss well, then turn your vegetables onto a rimmed baking sheet lined with parchment and arrange everything in a single layer. Roast for about 30 minutes, until everything is tender and browned. Toss once or twice along the way, after things start to brown a bit. When the veggies come out of the oven, squeeze half of a lemon over them.

Serve the veggie explosion with some toasted almond slivers, fresh basil or cilantro, and a spoonful of the remaining sauce with a little more lemon.

NOTE: You can always make a raw salad. No oven. Dressing is the same. Enjoy.

Carrot Cake With Orange Ginger Cream Cheese Frosting

30 Jul

Yep. I made a gigantic layered cream cheese-frosted carrot cake. In the middle of summer.

Sometimes, you just have to go with your gut. My gut wanted carrot cake.

There’s walnuts and fresh ginger. Those are the kickers. Sweating like a crazy lady, I grated 1.3 pounds of carrots by hand. I called it my workout for the day.

I baked the cake in two 9-inch cake pans to make a two-layer cake. They baked off with nice, flat, even tops, so I did not have to trim the cakes before frosting. Hallelujah.

I’ve used bundt pan in the past. You could make your life easy and do it that way, too. Or you could join in me in the madness of layer cake making in the middle of summer.

Pro tip for ultra silky frosting: You MUST MAKE SURE YOUR BUTTER AND CREAM CHEESE ARE ROOM TEMPERATURE so that everything whips up nice and silky smooth. You may want to sift your powdered sugar to get rid of lumps.

When I frosted the cake, I used a combo of different techniques I learned from reading, watching videos, and working in restaurants. In the end, I did it in my own free-form sloppy way, but somehow it turned out looking pretty great.

Cake frosting is a bit complicated, there’s this thing called a crumb coat, then the cake gets refrigerated for about 30 minutes, and then I put on the final layer of frosting. You could read Joy’s tutorial to help you get started. Melissa Clark has a great video tutorial as well. I recommend using a small offset spatula. I don’t have a cake stand or cardboard cake rounds. I just used a flat plate and turned the plate as I frosted. Works fine.

Oh, and never frost a cake that is right out of the oven. Make sure it is completely cool. Meg Ray from Miette Bakery in San Francisco will vouch for this tip.

I hope I didn’t scare you. Maybe one day I will attempt to do a more in-depth cake frosting tutorial, but I’ve got to get a little more confident first. Just have fun. Good luck. Don’t forget to share.

Carrot Cake with Orange Ginger Cream Cheese Frosting

adapted from Martha Stewart

NOTE: The original recipe calls for 3 sticks of melted butter. I swapped canola oil for the butter to reduce the saturated fat content of the cake. I wanted to save up and use the butter in a rich cream cheese frosting instead.

Serves 10-12; store any leftovers it in the refrigerator (I actually think the cake tastes better a few days later cold from the fridge…)

Ingredients

* Unsalted butter, for pans
* 3 cups all-purpose flour, plus more for pans
* 1 cup walnut halves
* 1 1/3 pound large carrots, peeled
* 3 large eggs, room temperature
* 1/3 cup buttermilk (I have used plain Greek yogurt in the past and it works just as well)
* 1 teaspoon pure vanilla extract
* 2 cups sugar
* 1 ½ cups canola oil
* 1 ½- 2 tablespoons freshly grated ginger (depending on how spicy you like it)
* 2 teaspoons baking powder
* 1 teaspoon baking soda
* 1 teaspoon salt
* 1 teaspoon ground cinnamon + 1/4 teaspoon freshly grated nutmeg and 1/4 teaspoon ground cloves

Cream Cheese Frosting (this makes a LOT of frosting, you will probably have some left over)

*3/4 cup (1 1/2 sticks) unsalted butter, room temperature
*3 bars (8 ounces each) cream cheese, room temperature
*3 cups confectioners’ sugar, sifted
*1 tablespoon freshly grated orange zest
*2 tablespoons freshly grated ginger
*Pinch of salt

Directions

1. Heat oven to 375°F. Butter two 9-inch round cake pans (or a bundt pan). Dust pans with flour, and tap out any excess. Set pans aside. Spread nuts in a single layer on an ungreased baking pan, and toast in the oven until lightly golden, about 7 minutes. Remove pan from oven, and let stand until completely cool. Reduce temperature to 300°F. Roughly chop the nuts, and set aside.

2. Peel the carrots and grate them to yield 1.3 pounds, or a little over 3 cups (you could also use a food processor).

3. Peel the ginger (I like to use a metal spoon) and use a microplane to grate the fresh ginger.

4. Place carrots, eggs, buttermilk, vanilla, sugar, vegetable oil, and ginger in a large bowl; whisk until well combined.

5. In a medium bowl, whisk together flour, baking powder, baking soda, salt, cinnamon, nutmeg, and cloves. Using a rubber spatula, fold the flour mixture into the carrot mixture until combined. Fold in the toasted nuts.

6. Divide the batter between the two cake pans (I weighed my pans to make sure they were even), and bake until a cake tester inserted into the middles comes out clean, about 50 minutes to 1 hour. Remove pan from oven, and transfer to a wire rack to cool, 15 minutes. Turn cake out onto rack; let stand until completely cool.

7. To make the frosting: place butter in bowl of an electric mixer fitted with the paddle attachment, and beat on medium-high speed until fluffy, about 2 minutes. Add cream cheese, and beat until well combined and fluffy, about 2 minutes more. Add sugar, orange zest, ginger, and salt, and beat for 5 minutes.
*any leftover frosting can be kept in an airtight container for about 7 days (I had a little over a cup leftover).
Frost the cakes as you wish. I recommend watching some online video tutorials first.