Archive | gluten-free RSS feed for this section

Spring Quinoa Salad with edible flowers

25 May

Processed with VSCOcam with f2 preset

Spring has sprung in New York City, and there is so much to eat!

Yesterday was my last “composting and healthy snacks” session for seniors with mild memory loss, in conjunction with The Memory Tree Program, Teachers College, and the Morningside Gardens Co-op. Read more about our first session and our Earl Grey Spiced Fruit Compote here.

The Memory Tree is New York City’s first program devoted to people with mild memory loss, and their family and caregivers.

This was the end (for now!) of a series of “Going Greener” workshops, continuing a previous project about nutrition, cooking, and farmer’s markets. The “Going Greener” project came about as a way to learn how to keep the world healthy, focusing specifically on composting and easy snacks. 

The series comprised 5 sessions, with each session consisting of a compost component, a media workshop, and a healthy snack and drink. Each week, we gave the seniors digital cameras to use so that they could document the colorful snacks and activities. We also made little youtube videos with the photographs. Check out some of the fun videos on our channel.

My main role was to find and/or develop our recipes, purchase the ingredients, and gather the necessary kitchen tools and gadgets . In other words, I was the official “Recipe Consultant.”

These were the 5 snacks and drinks:

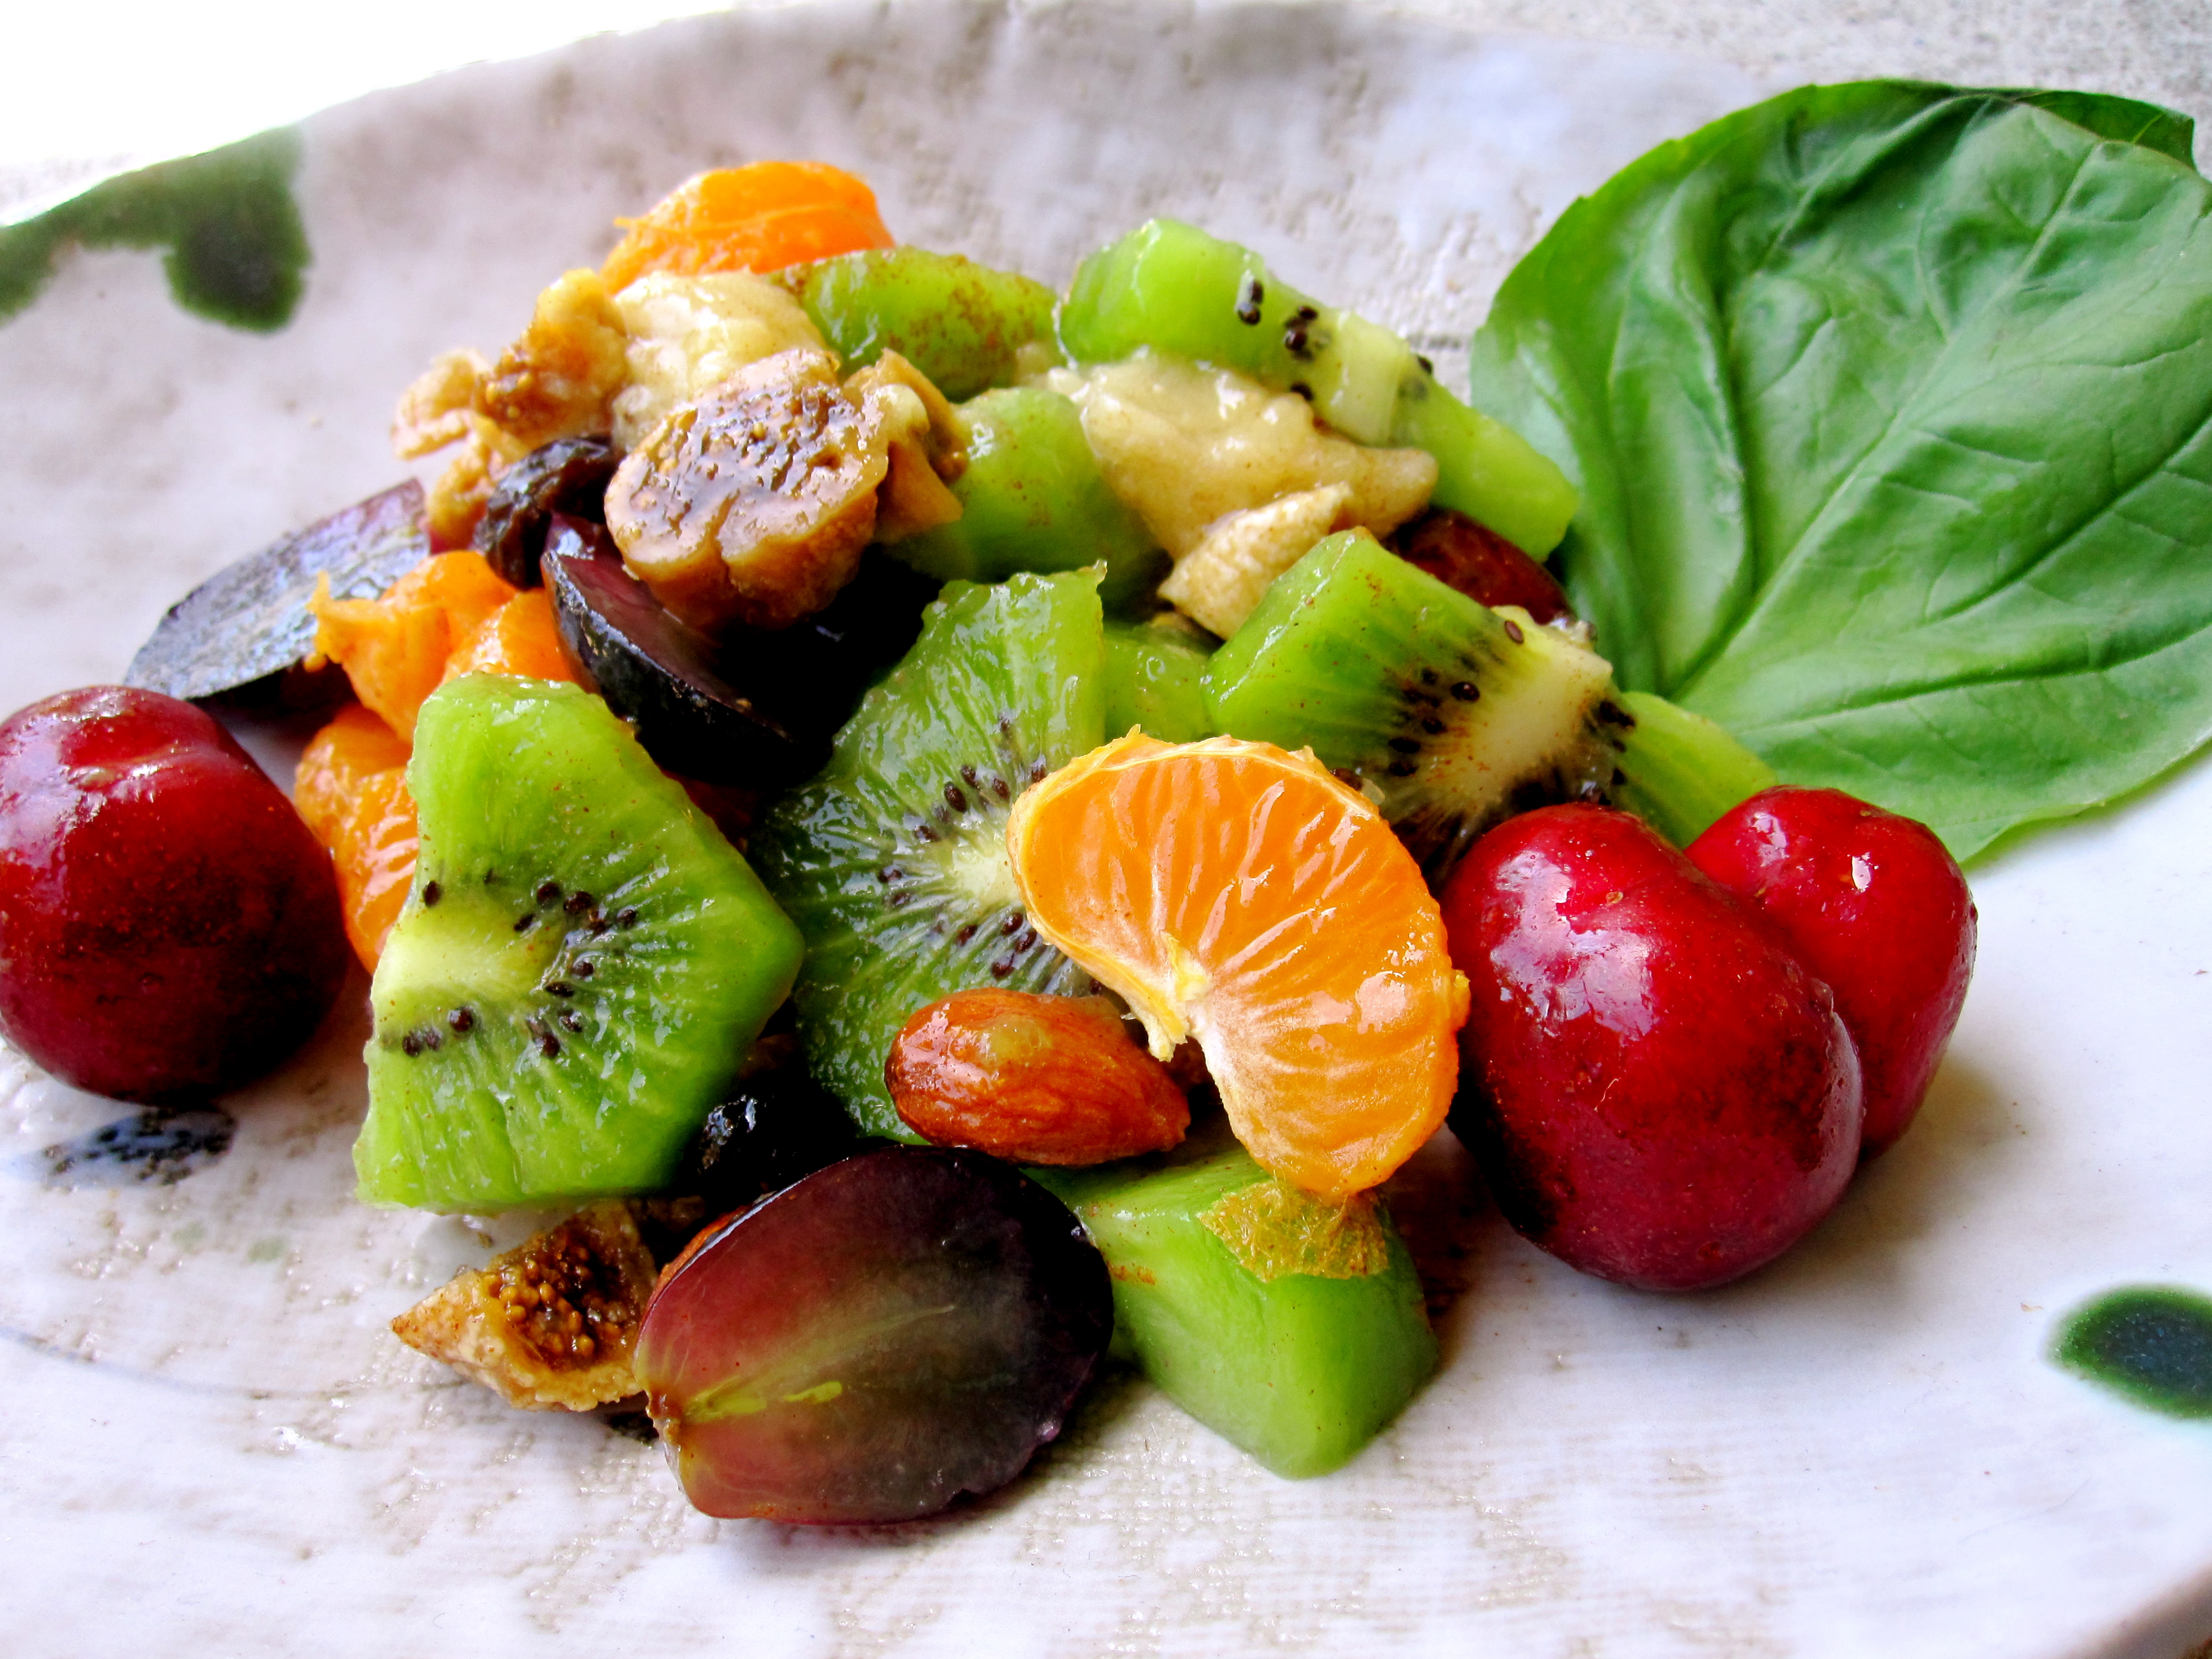
1. Earl Grey Spiced Fruit Compote with Lemony Water

2. Carrot and Hummus “Sushi Sandwiches” with Cucumber “Spa Water”

3. Peanut Butter Oat Snack Bites with Minted Ice Cubes and Earl Grey Ice Tea

4. Mud Pudding aka Chocolate Tofu Pudding with Strawberries and Seltzer

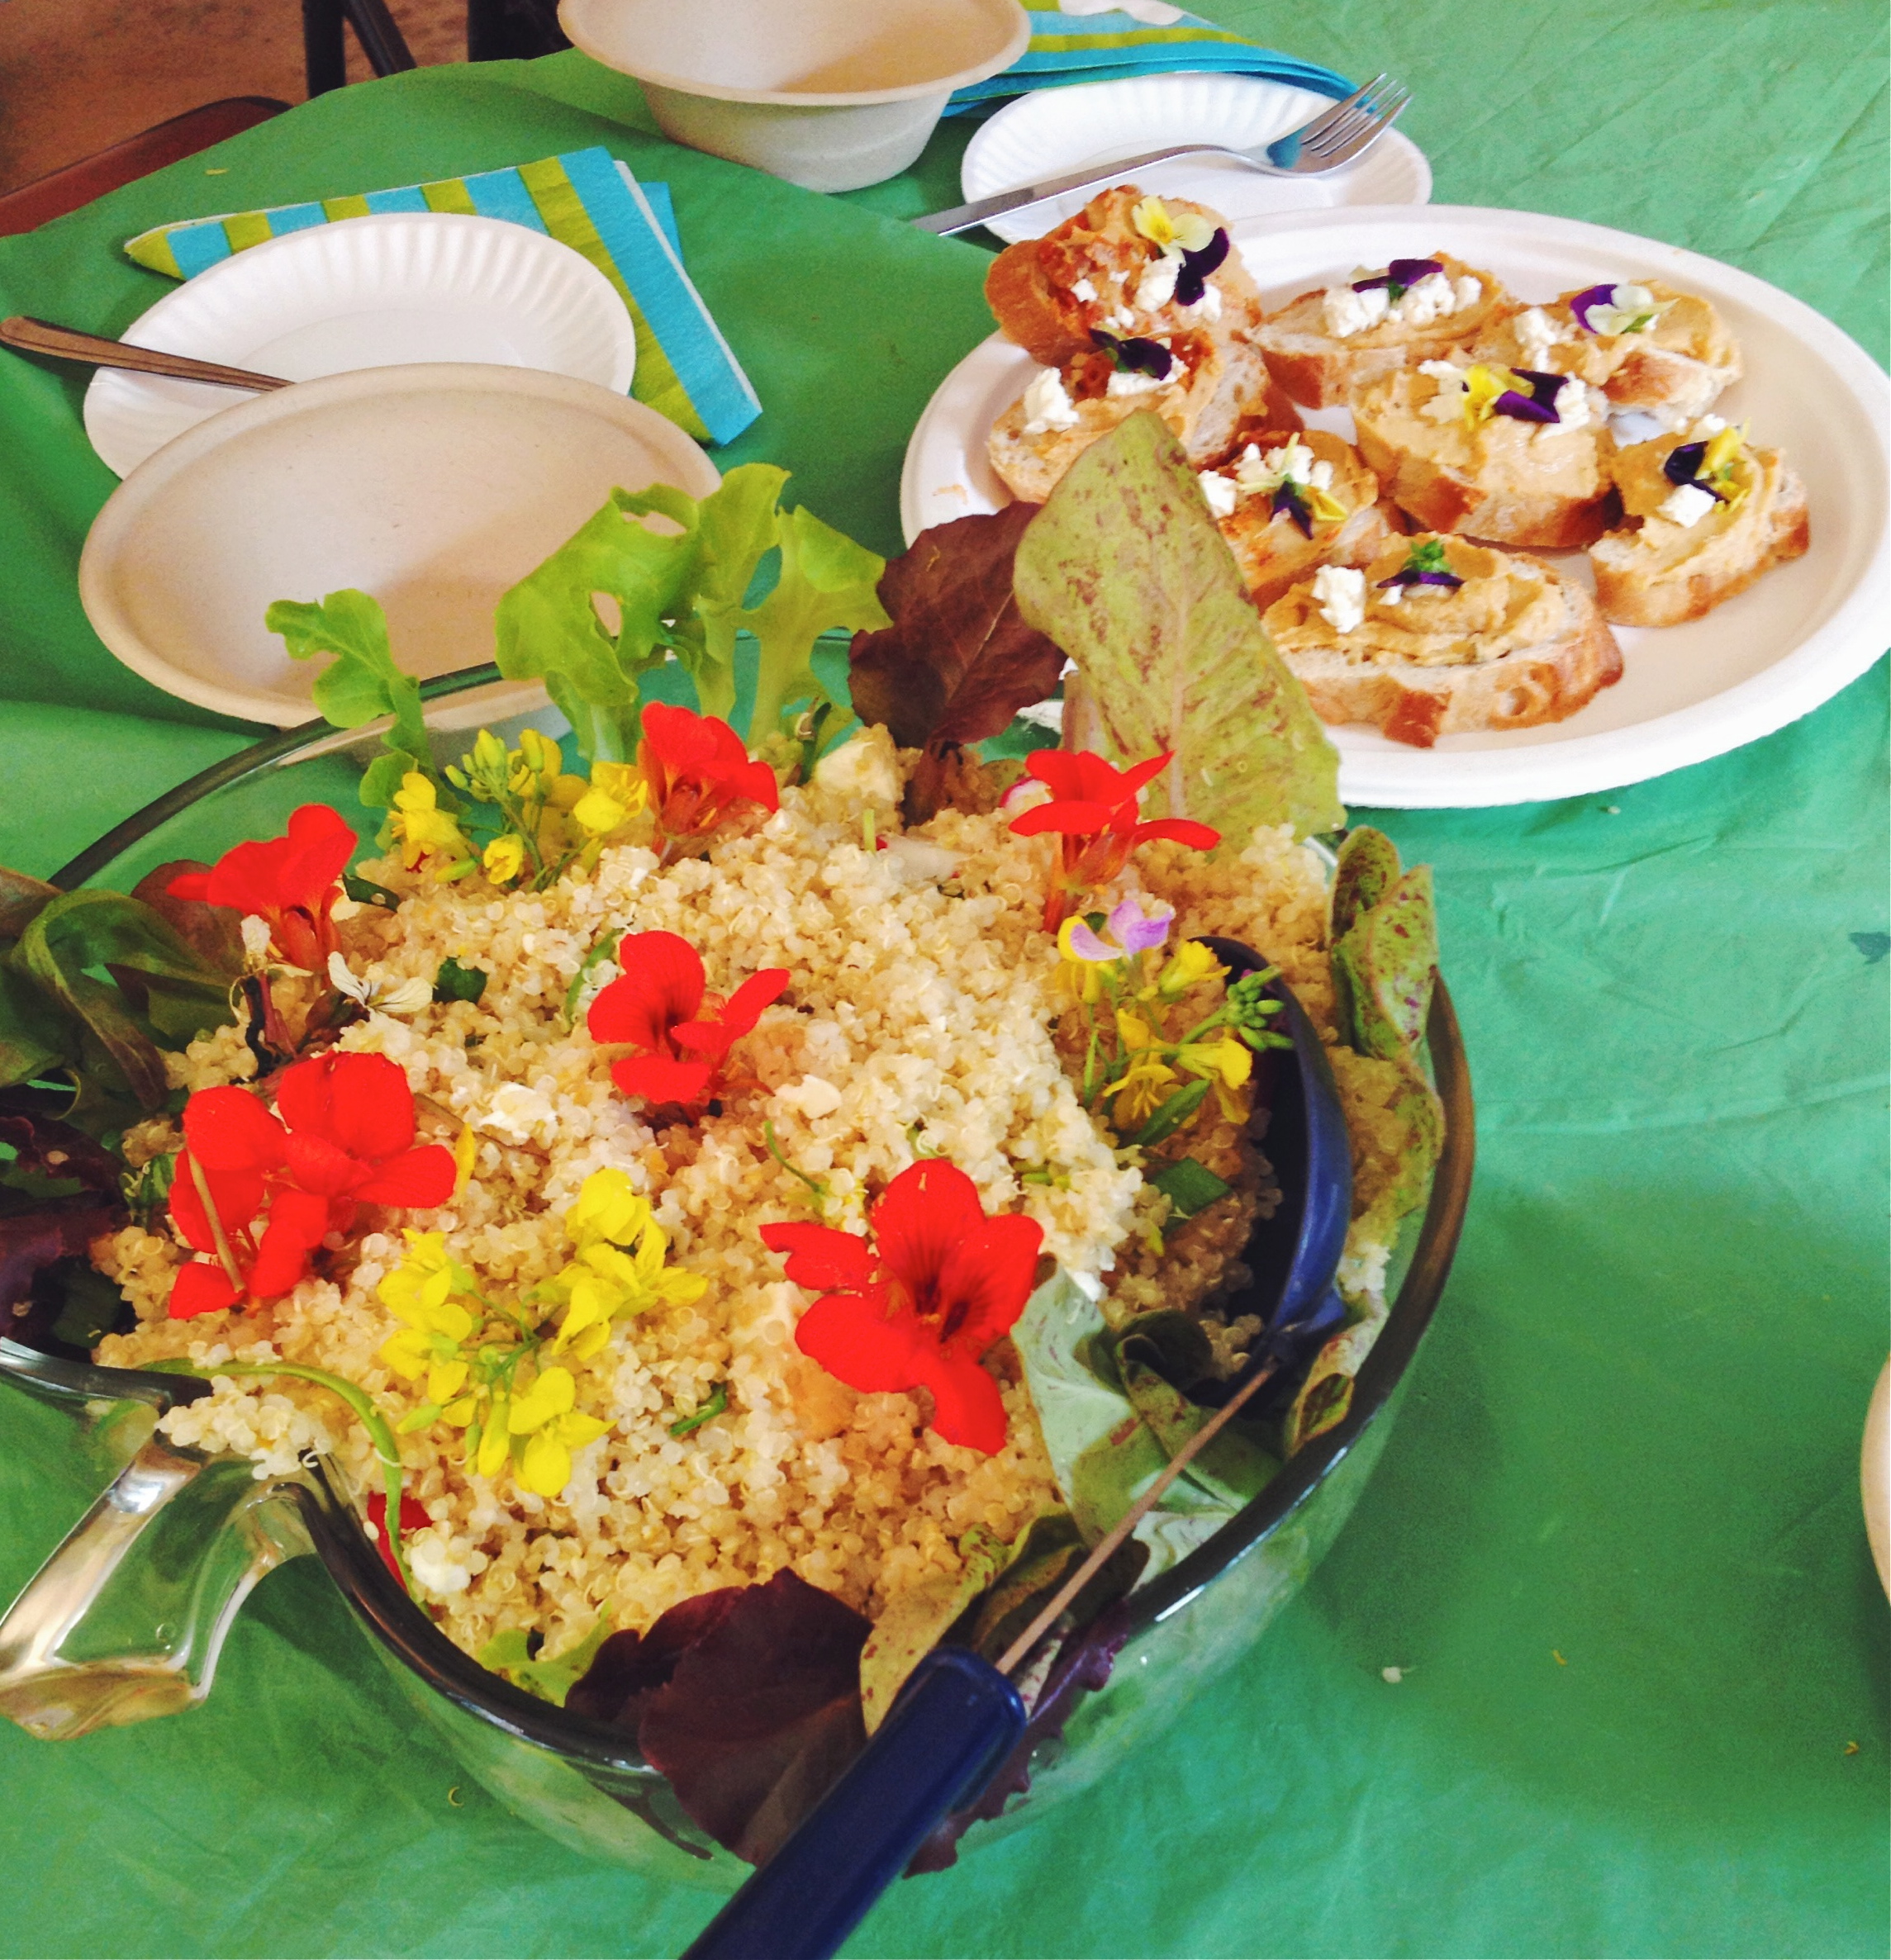
5. Spring Quinoa Salad with Edible Flowers, Hummus Feta Toasts with Pansies, Blueberry Frozen Yogurt Bites, and Sparkling Cider

IMG_2573

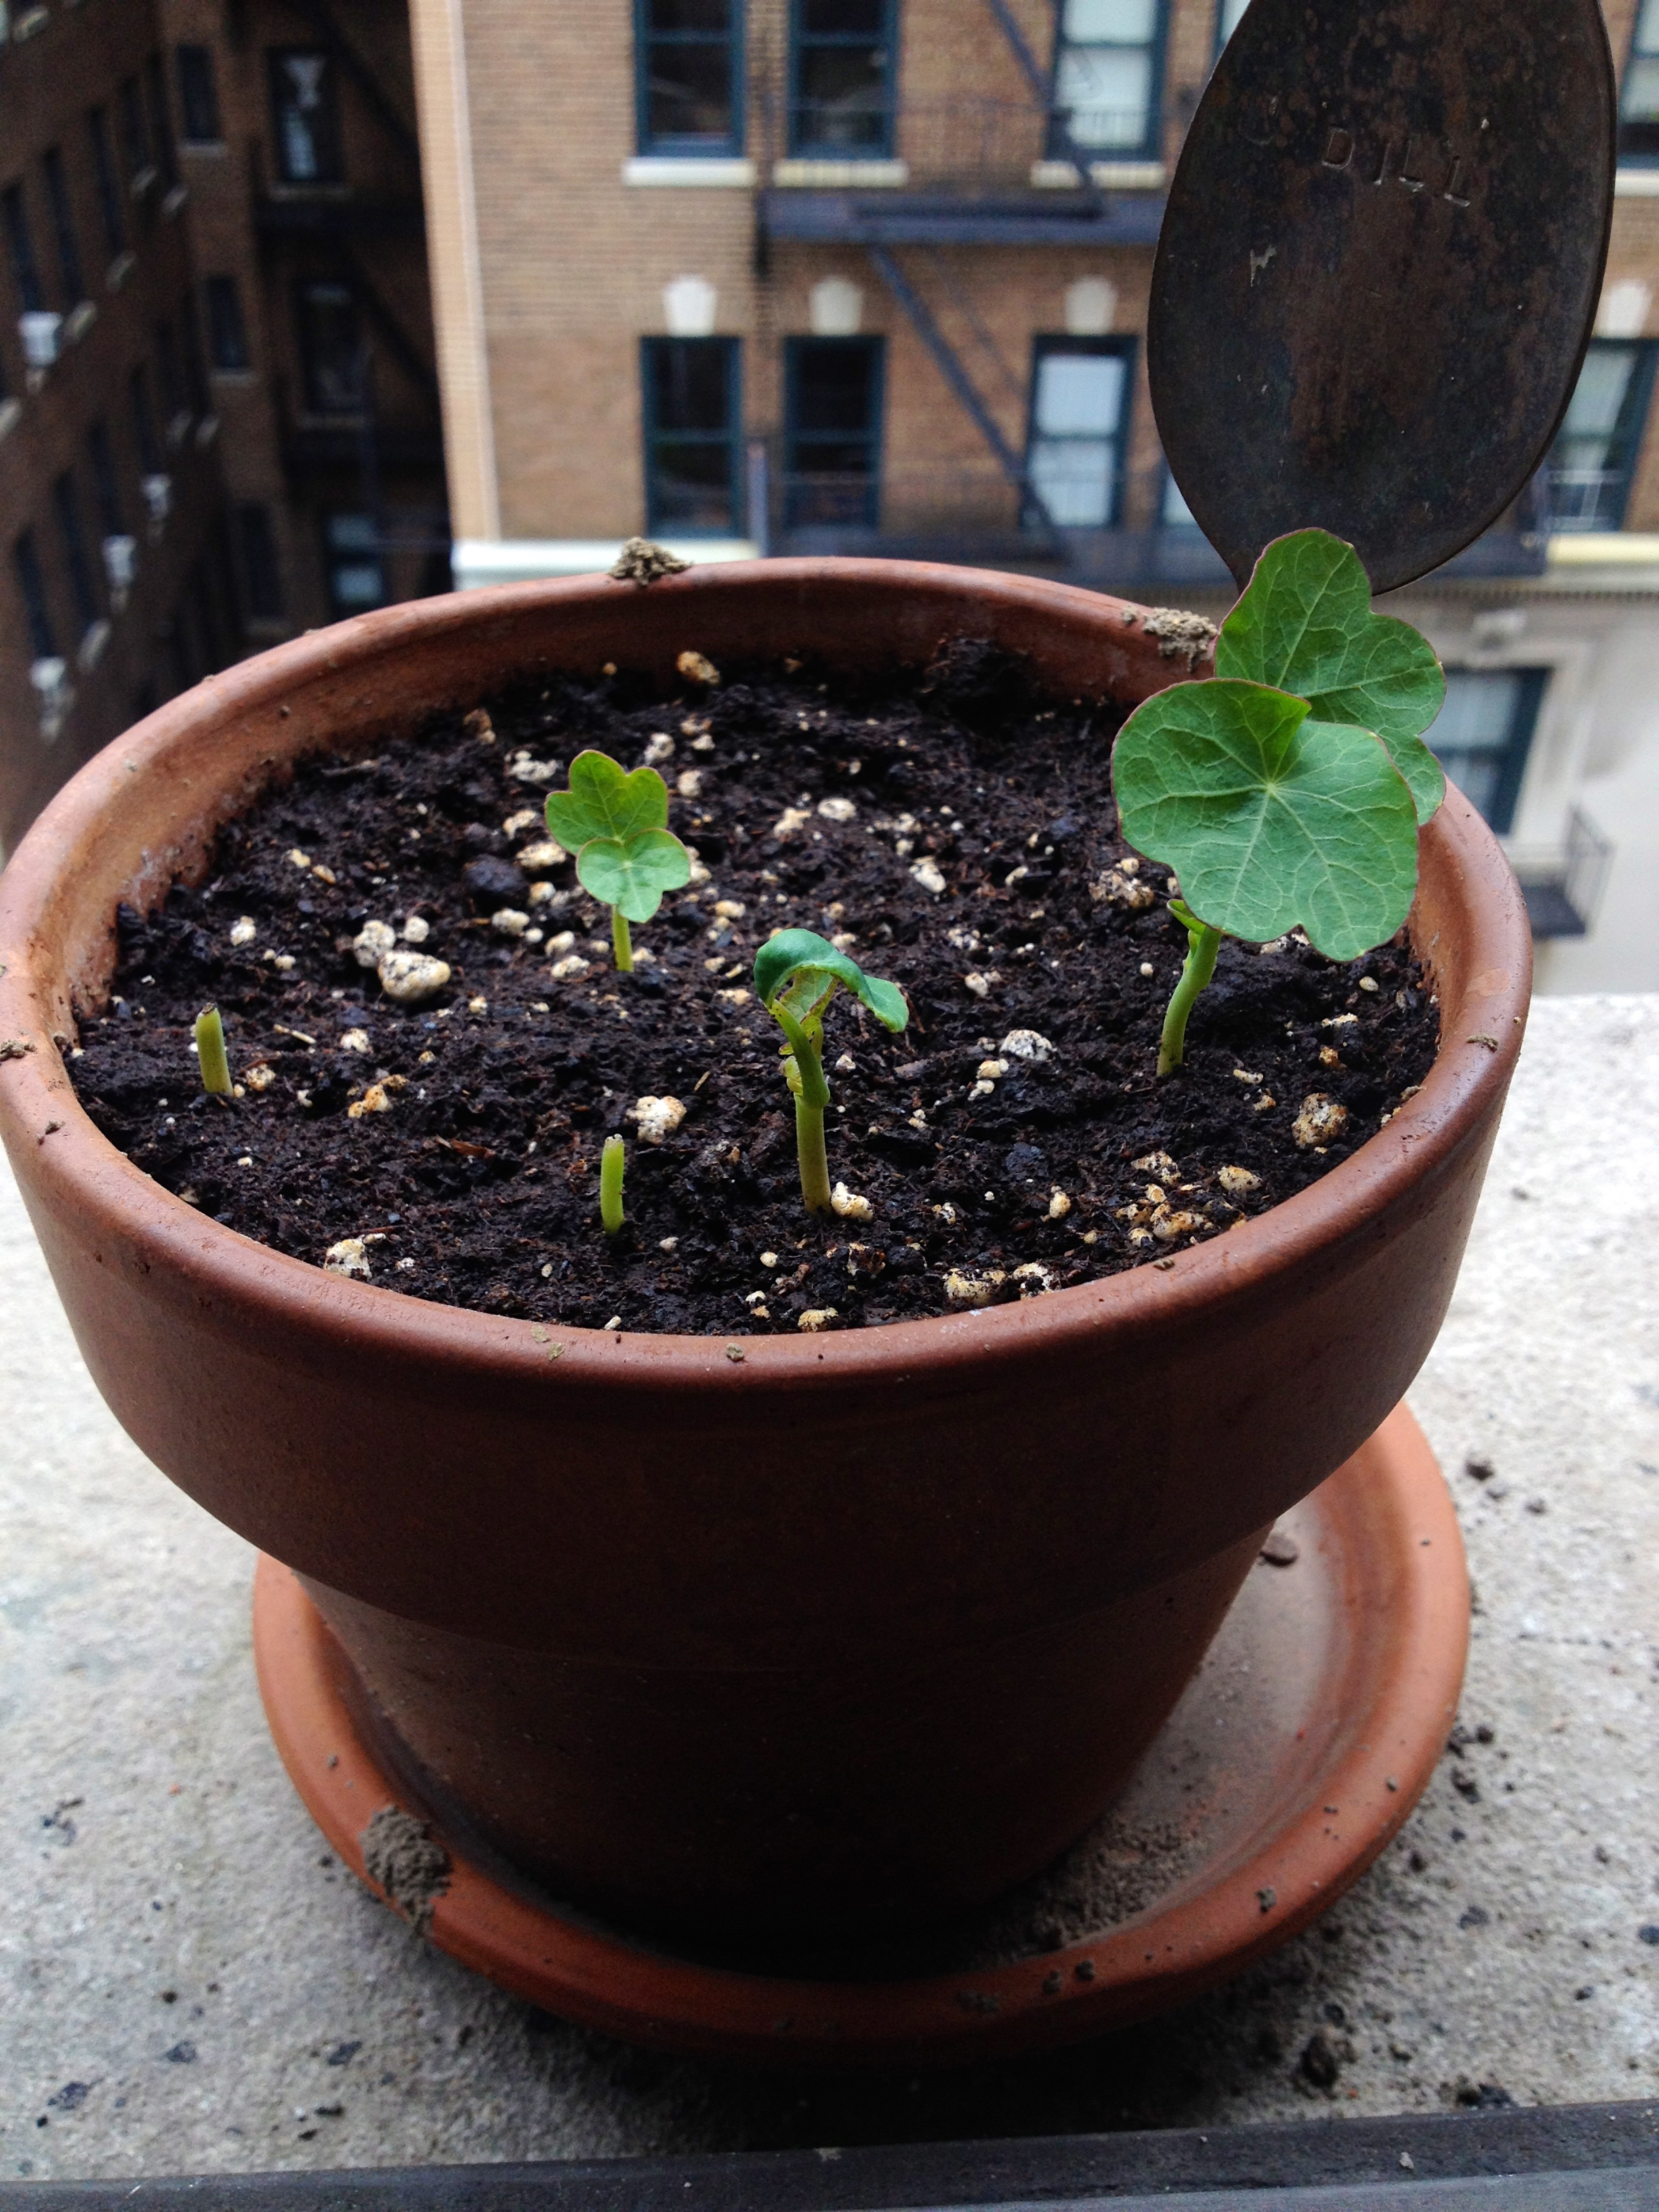
Edible flowers are fun to eat and beautiful to photograph, so we planted nasturtium seeds with the intention of eating them at the final session. I took a few seeds home to plant, too! If you have never tasted an edible flower, the flavor and texture are similar to a slightly peppery lettuce leaf.

IMG_2587

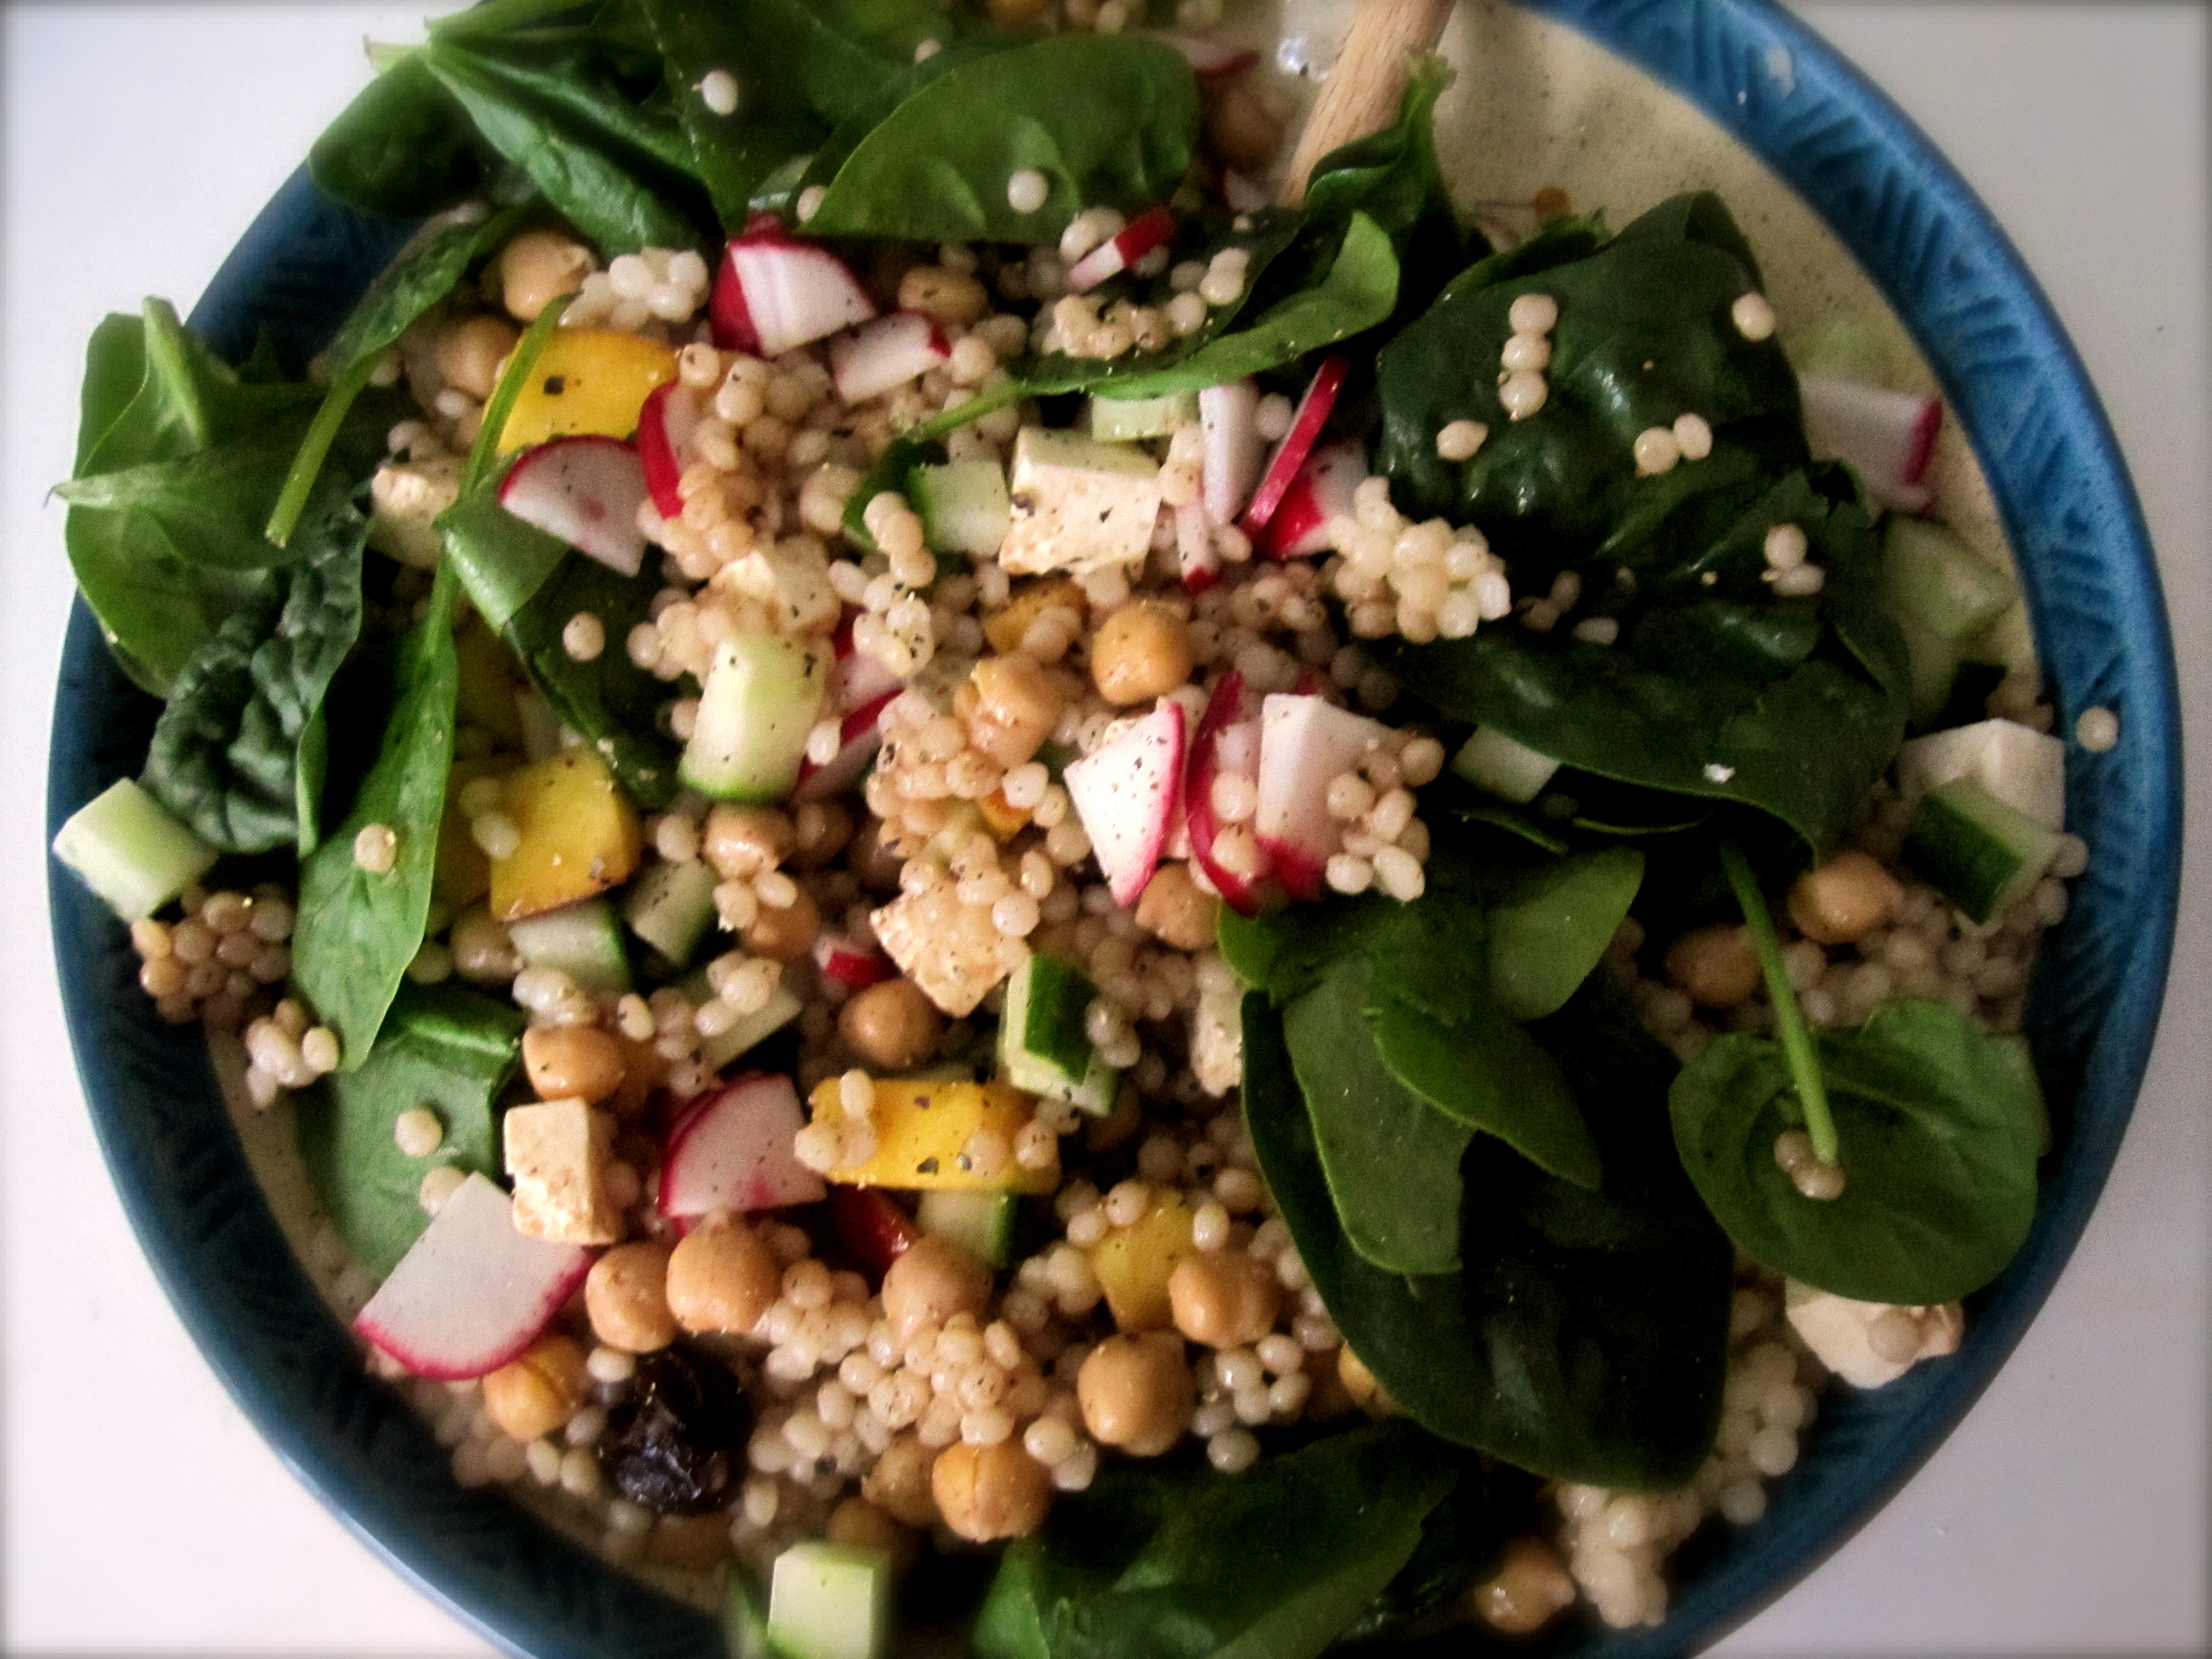
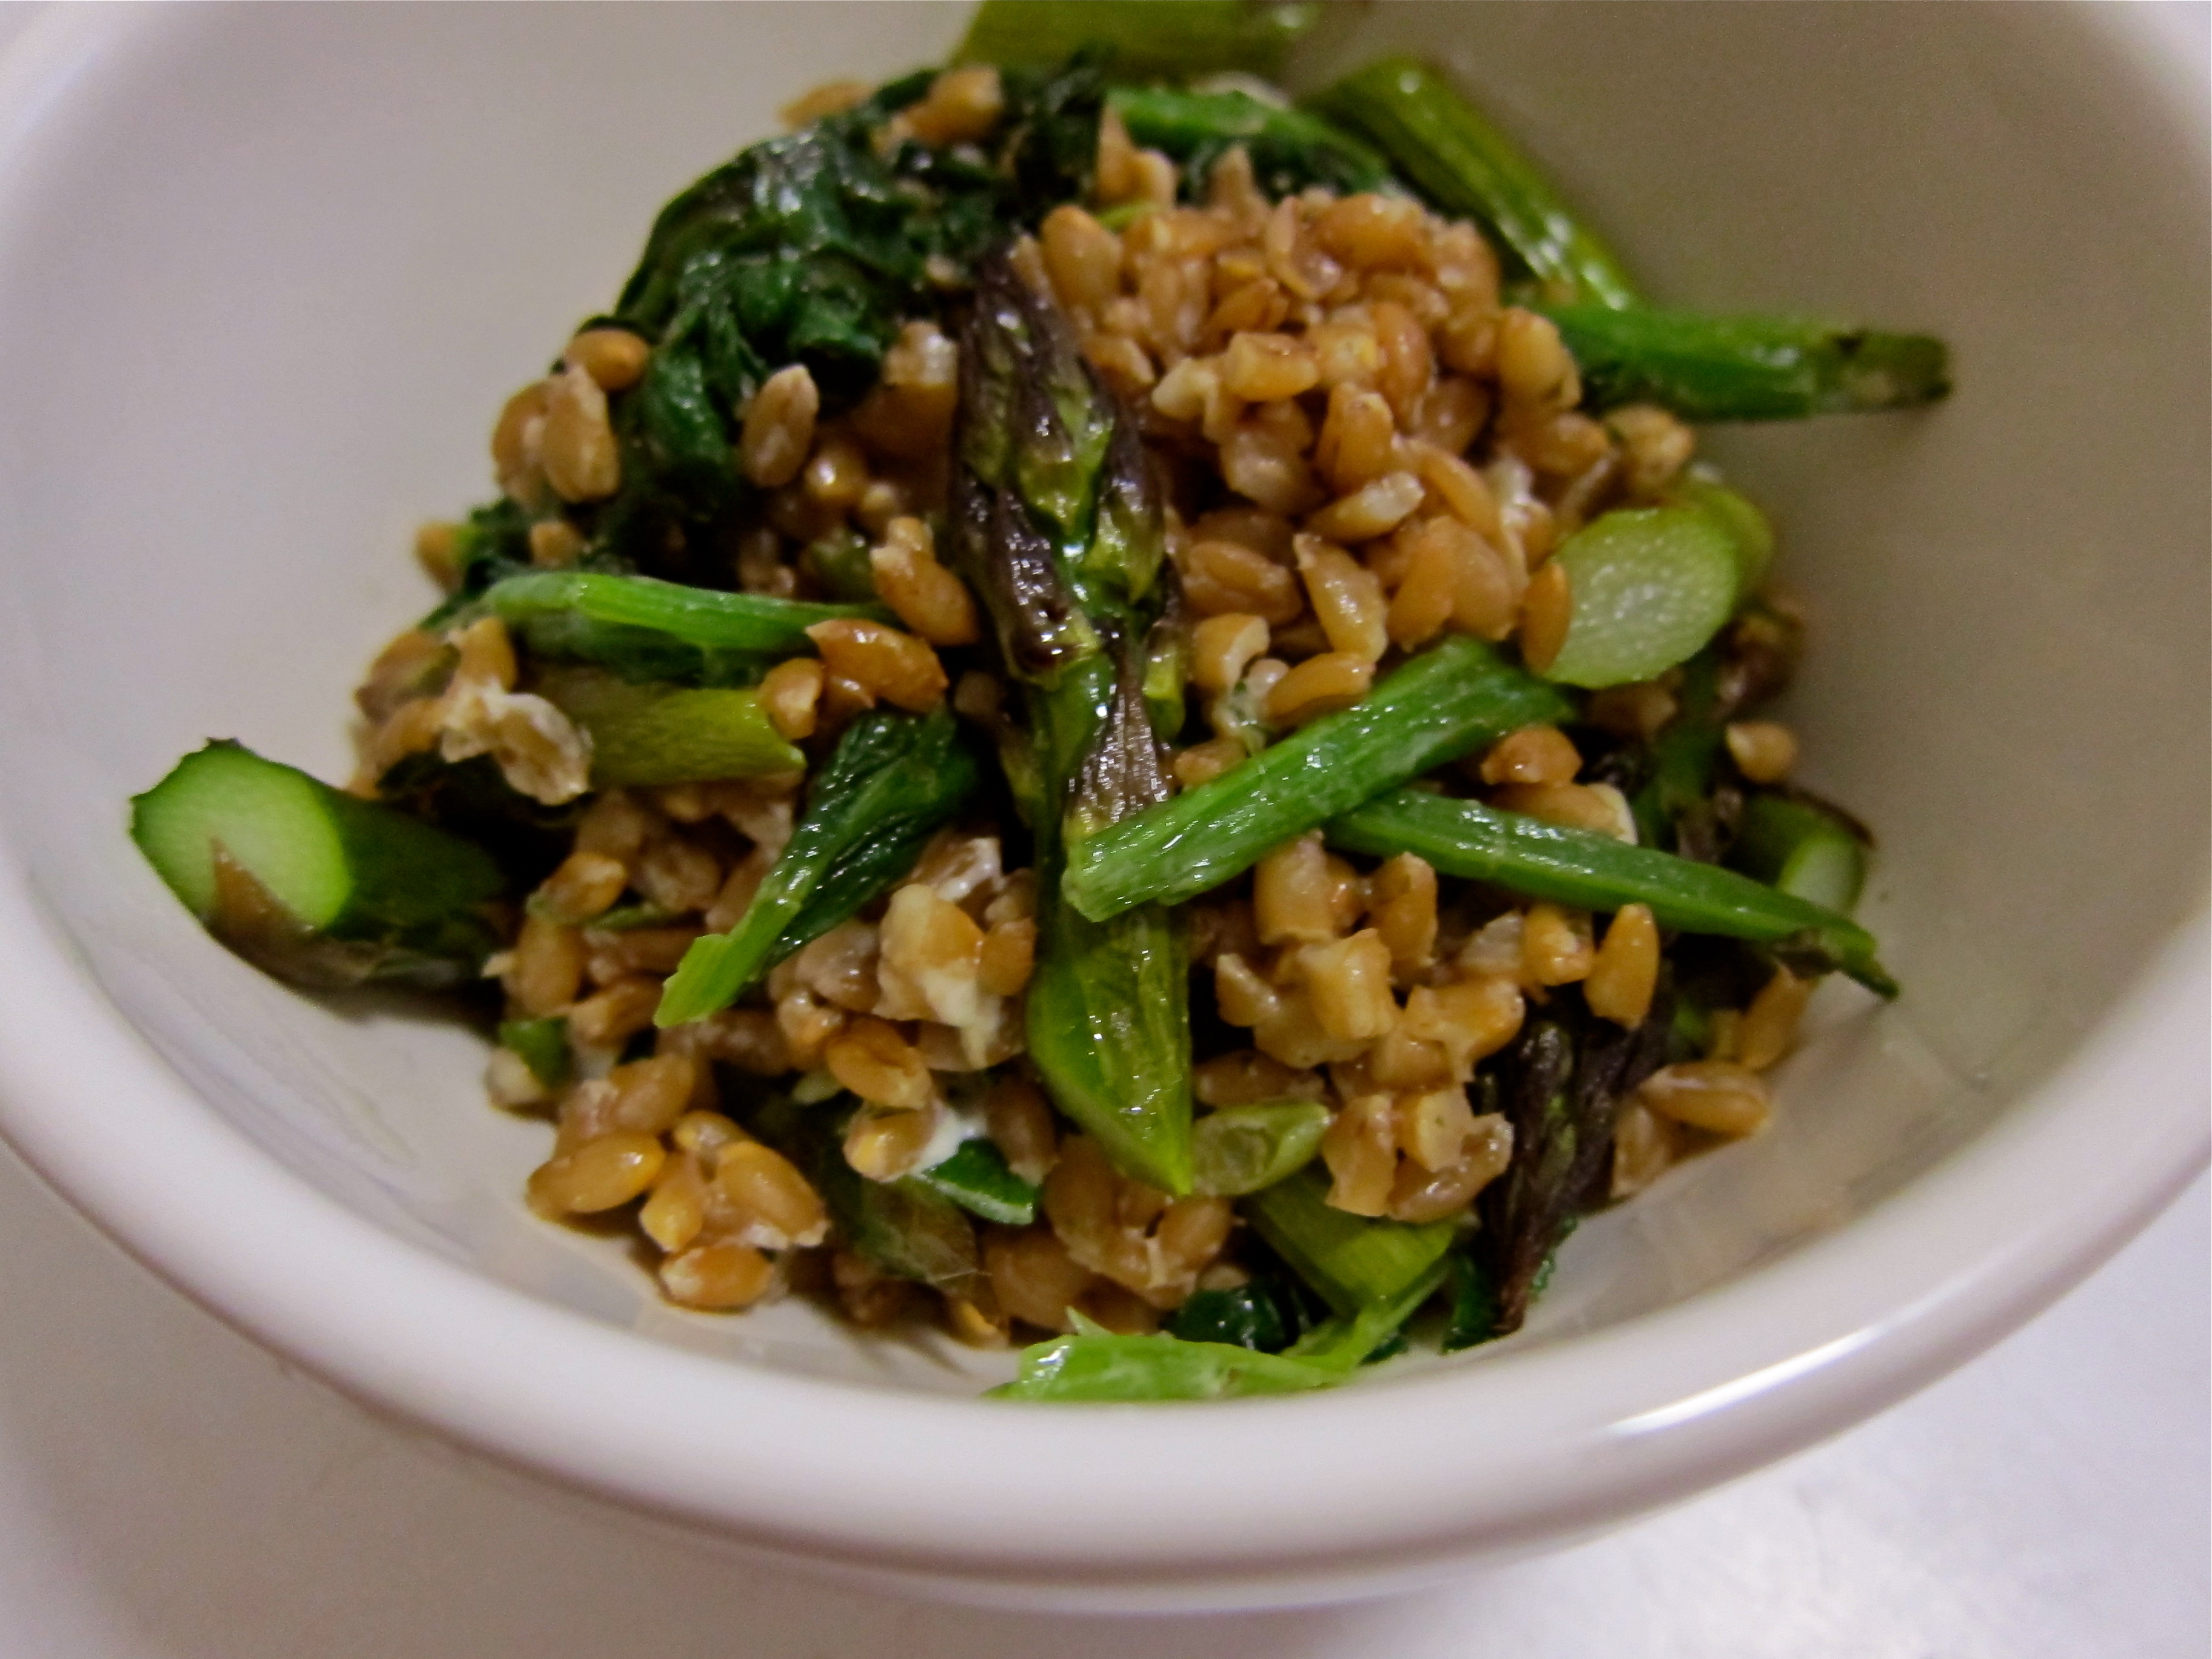
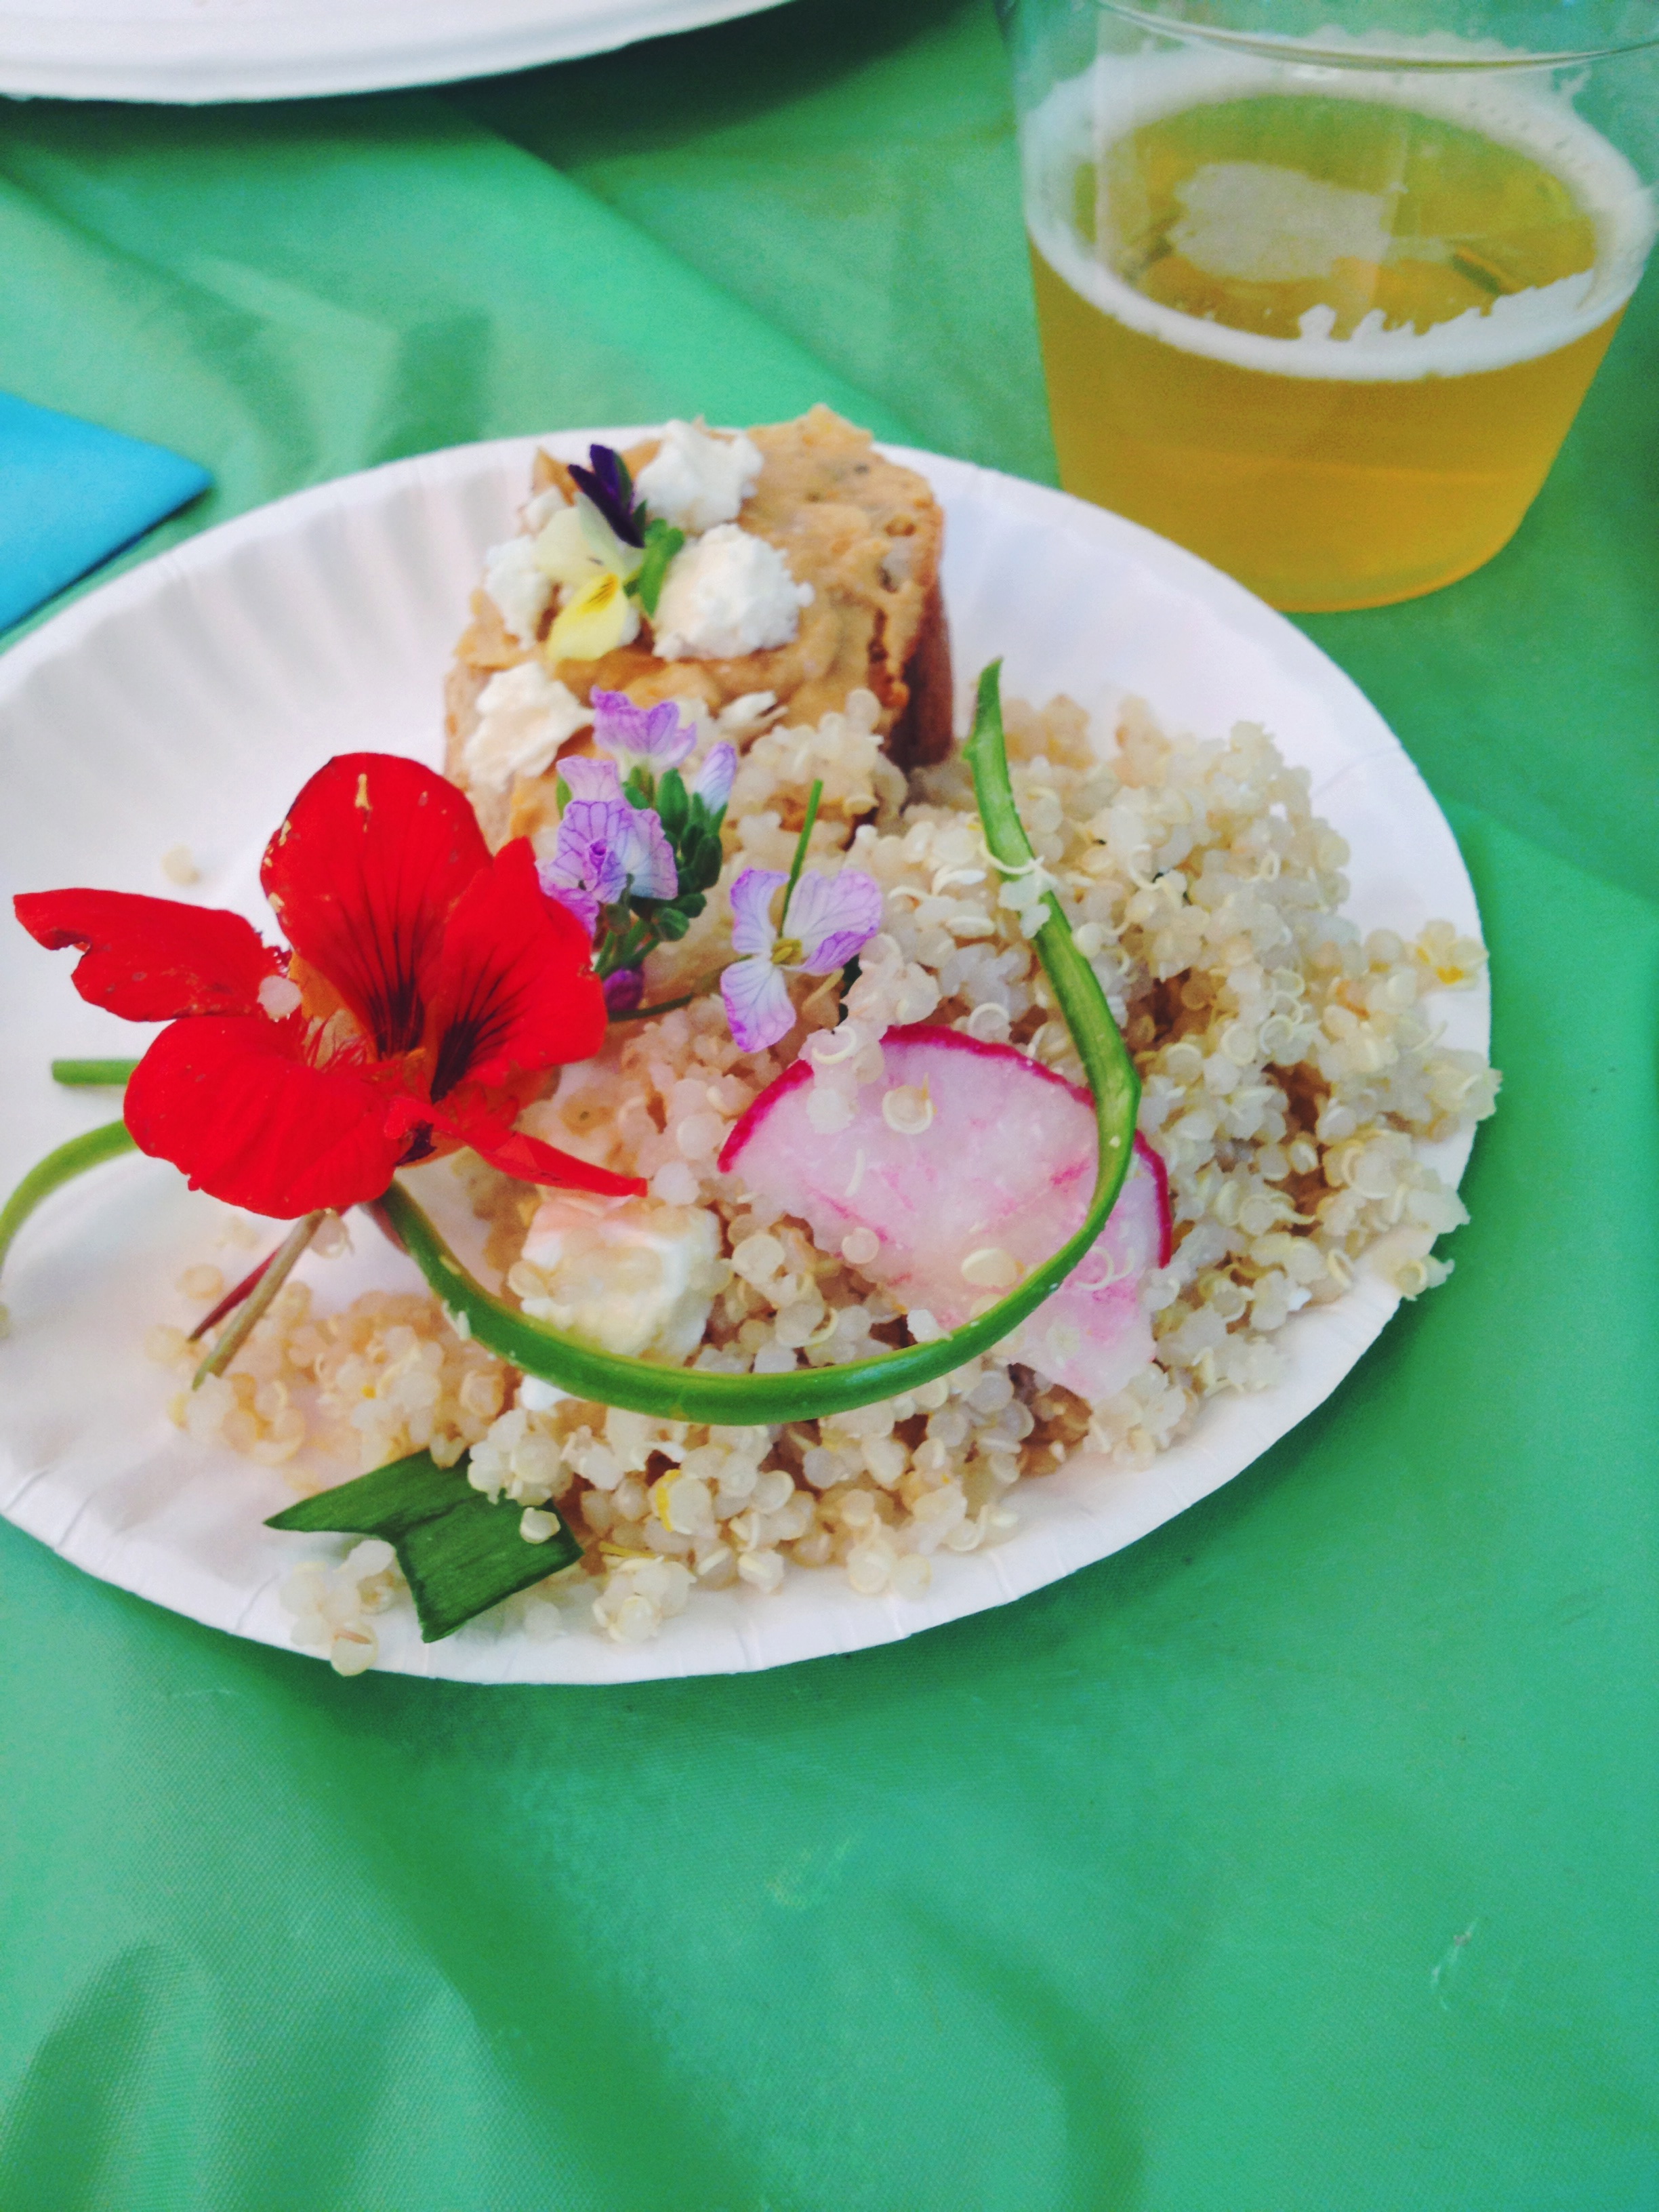
The final snack (it was more of a meal this time) was a Spring Quinoa Salad. All of the veggies were from the greenmarket: radishes (did you know radishes have about as much or more potassium as a banana?!), ramps, asparagus, and baby lettuces. We also found an assortment of edible flowers: broccoli rabe flowers, radish flowers, and arugula flowers.

IMG_2586

We chopped the radishes and ramps, and shaved the asparagus into ribbons with a vegetable peeler. Then we tossed everything together with the quinoa, added crumbled feta cheese, lemon zest, and lemon juice. We scooped the quinoa onto a nice bed of lettuces and delicately topped everything with nasturtium.

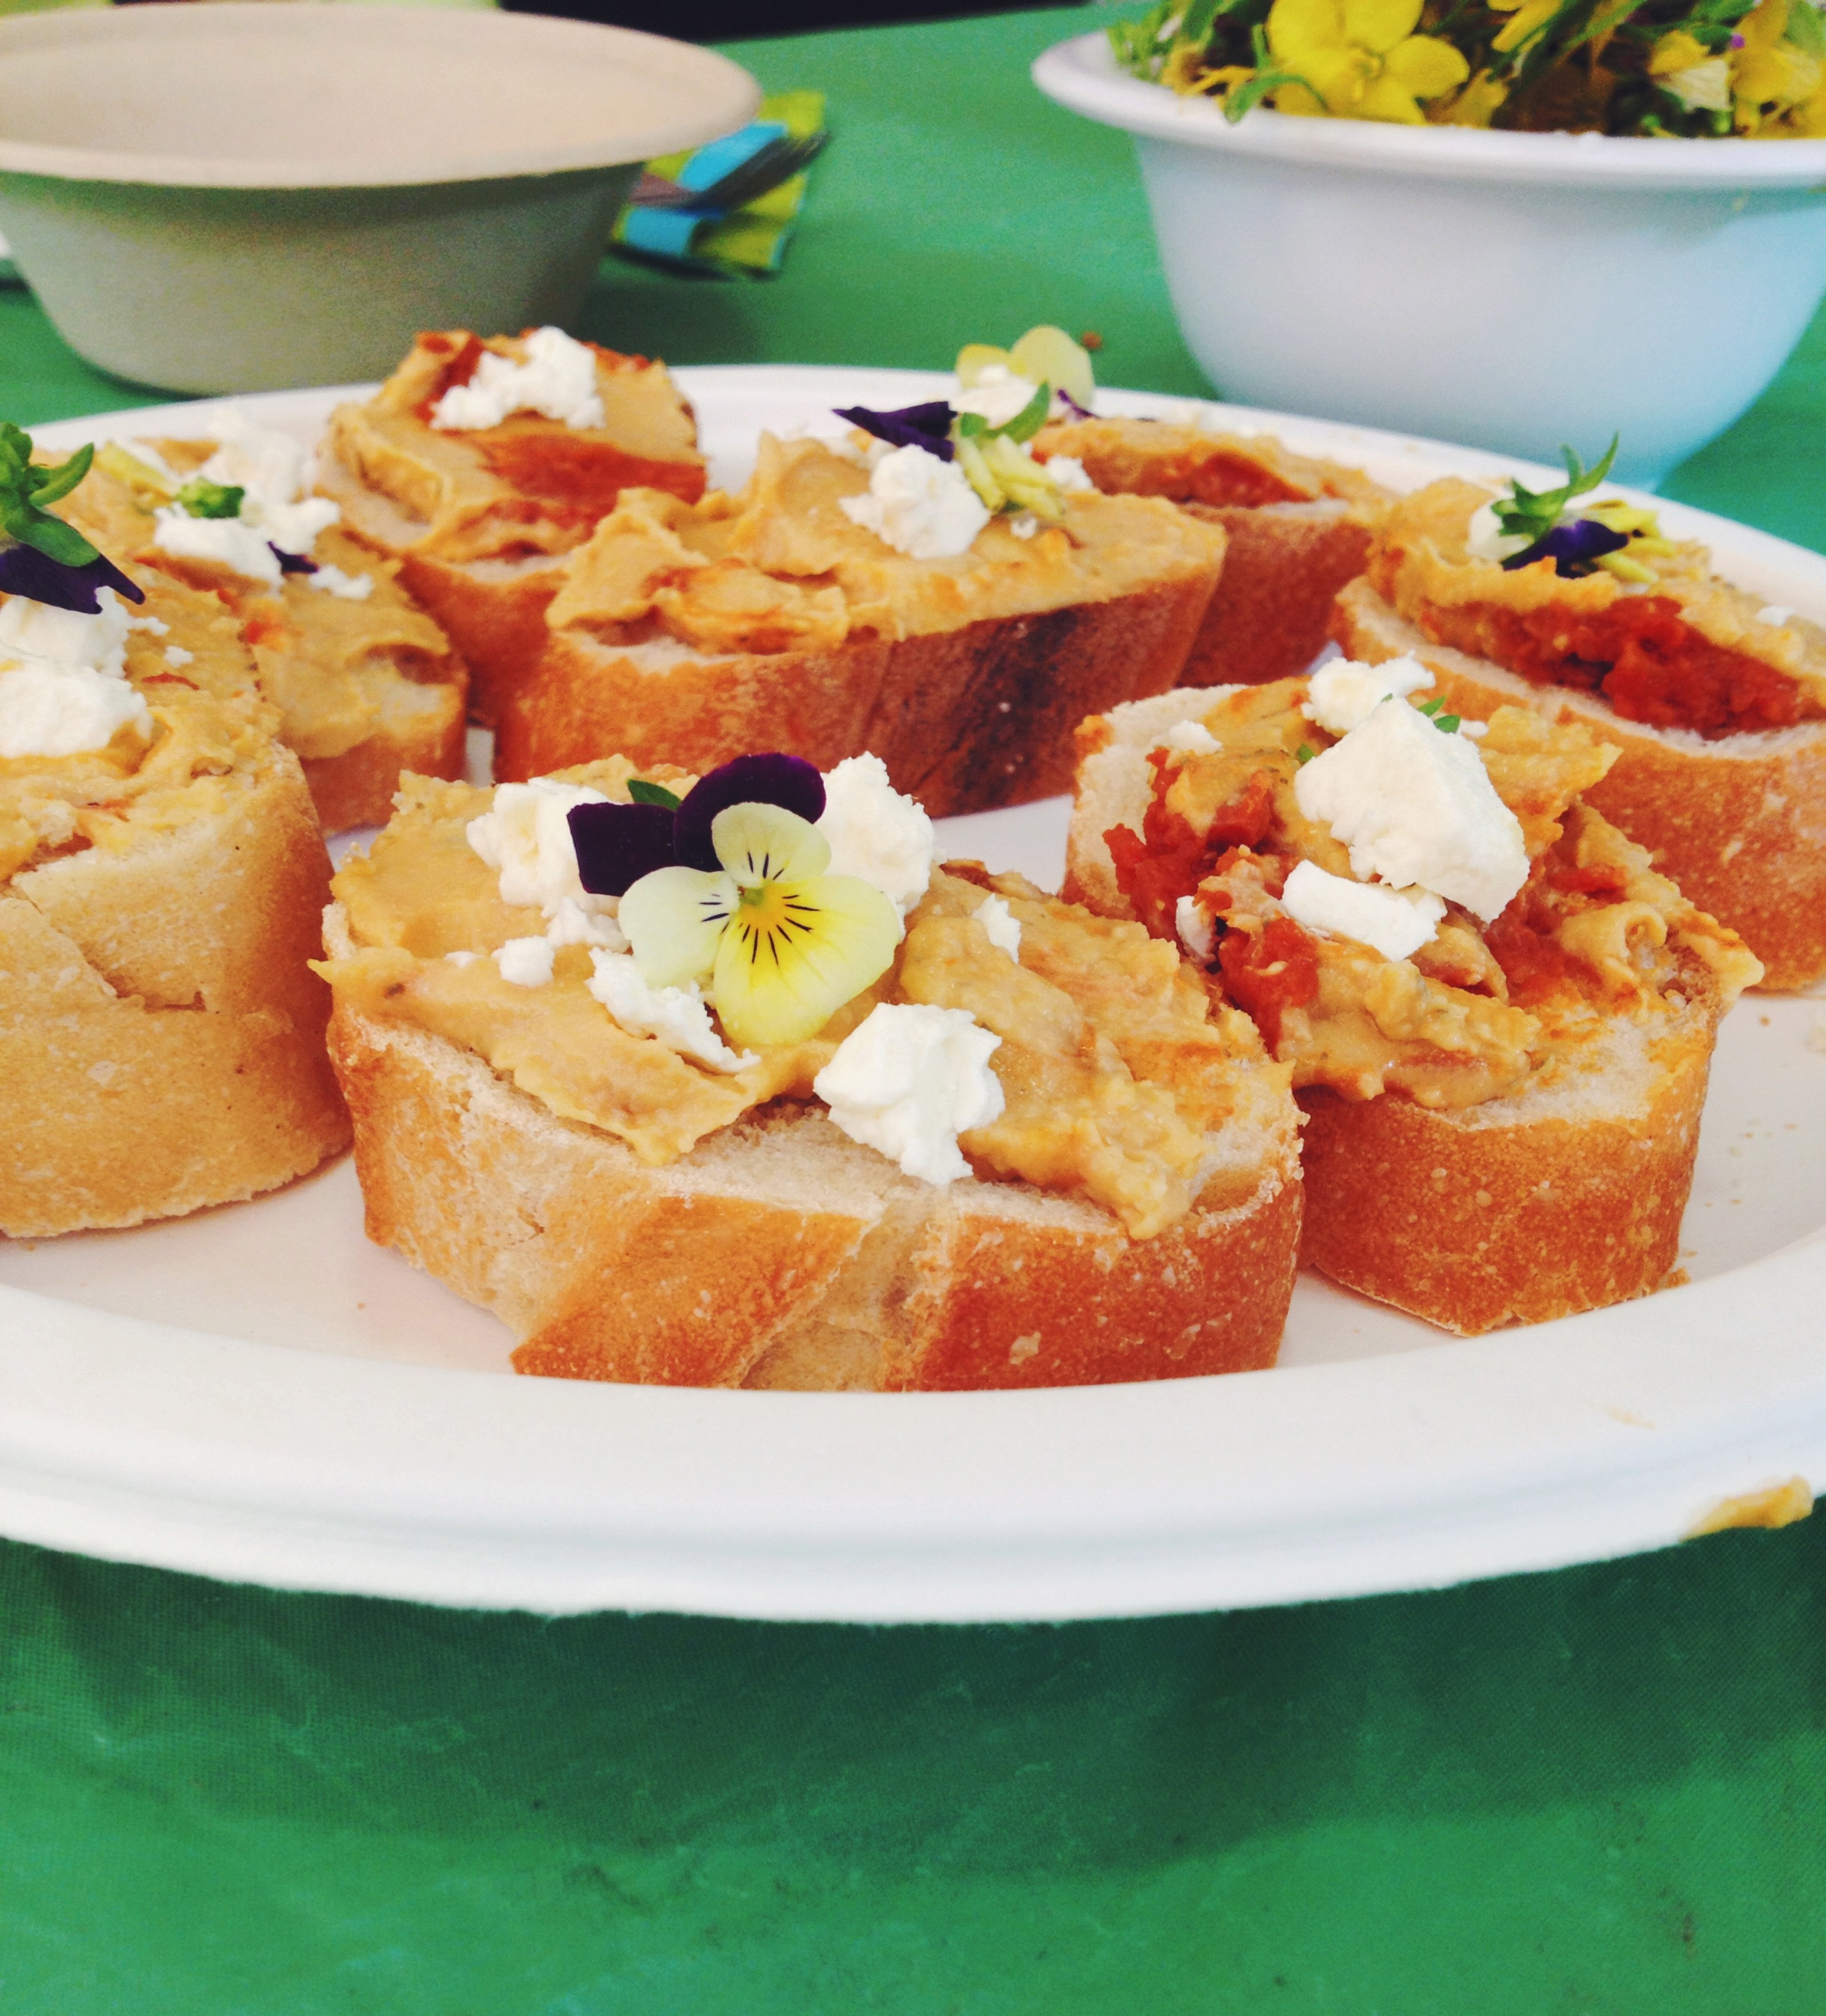
We also sliced into a baguette, spread the bread rounds with hummus, and sprinkled feta and edible pansies over the top. The pansies were from a plant we bought at the greenmarket.Who knew you could eat pansies?

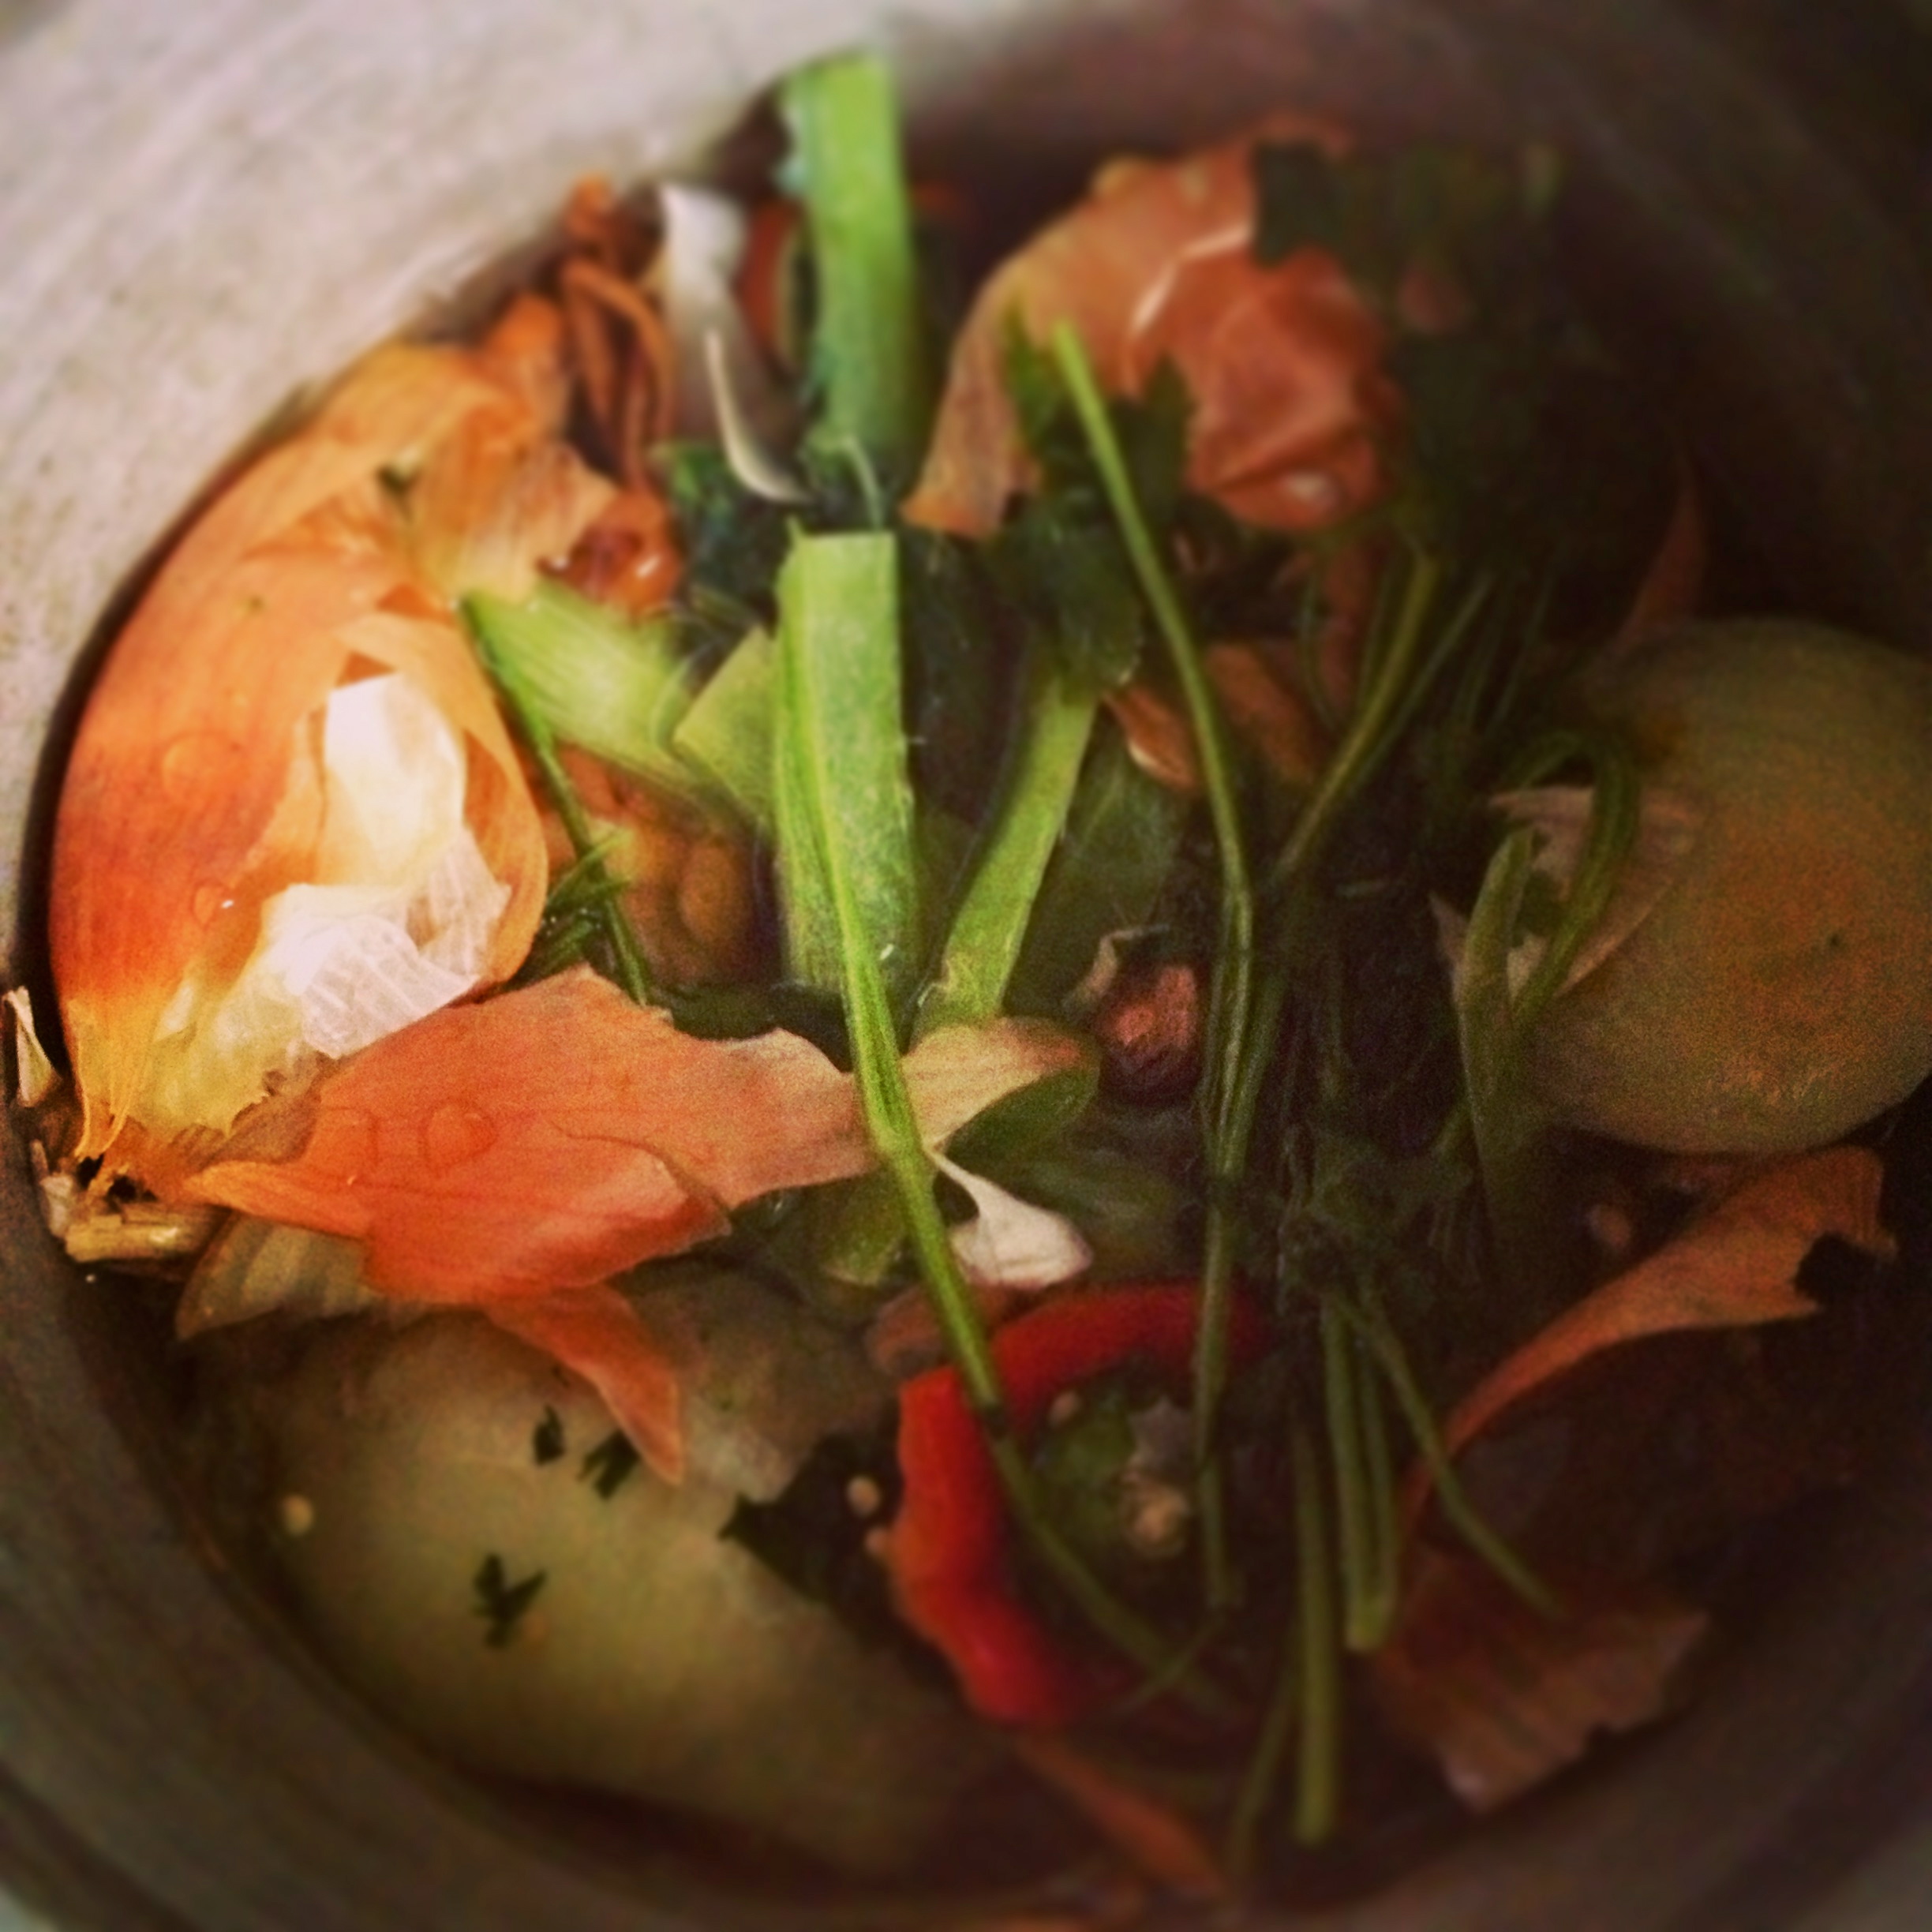
Before every snack or meal, we all would set the table and clink our glasses together, toasting to good food and good company. Cheers! And don’t forget to compost the food scraps.

Processed with VSCOcam with f2 preset

I didn’t get a picture of our blueberry frozen yogurt bites, but they were so easy and so good. I got inspired after seeing this recipe.

Also, if you are looking for more fun, spring veggie talk, check out this episode of one of my favorite podcasts, Spilled Milk Podcast. They talk about ramps, fiddleheads, pea shoots, and nettles.

And for more spring quinoa inspiration, check out Megan’s post on Elevating Lunch.

Processed with VSCOcam with f2 preset

Spring Salad with Edible Flowers

Quinoa is full of good-for-you protein and fiber, and it cooks in just minutes. Throw in some seasonal veggies and creamy cheese, and delicately dot with fresh herbs and nasturtium for a picture perfect spring salad! 

*This recipe is very much to your own taste. Once you have your quinoa base, throw in the suggested add-ins as you like! 

serves 4

1 cup quinoa

Seasonal veggies i.e. asparagus (shaved into ribbons), ramps or spring onions, radishes, baby lettuces…

Feta or soft goat cheese (about 2 oz. or so)

Edible flowers i.e. nasturtium, pansies, or broccoli rabe flowers/arugula flowers/radish flowers

Lemon, zest and juice

  • Rinse the quinoa and drain it. Cook the quinoa in a saucepan (2 cups water to 1 cup quinoa) for about 15 minutes or until cooked and fluffy. Put aside.
  • Chop the seasonal veggies into small pieces. If using, shave asparagus with a vegetable peeler (that way you can enjoy it raw).
  • Crumble the cheese.
  • Zest the lemon.
  • In a bowl, combine the cooked and cooled quinoa, the chopped veggies, the crumbled cheese, and the lemon zest. Squeeze lemon juice over the top and toss to combine.
  • Delicately place the edible flowers on top and serve!

Brain Food: Seasonal Frittata with a Potato Hash Crust

25 Sep

IMG_1482

School is in full swing, and I am having writers block like woah.

It is so hard to concentrate when I get paid to stare at these salty gems 3 mornings a week:

IMG_1460

…but I must remember to eat my veggies so that my brain can start working properly again…

IMG_1481

This is a funky time of year at the farmer’s market in New York City. Apples, pears, potatoes, and winter squash abound, but the tomatoes, peaches and plums, and corn are still pulling through for their final hurrah.

I just learned about the “nuke and shake method” for husking corn, and now before I blink my eyes three times, all of the corn will be gone! Drat.

IMG_1483

This is a simple egg bake that you could do with any seasonal ingredients–vegetables, herbs, cheeses, and meat. I adapted the recipe from Sara Forte’s The Sprouted Kitchen Cookbook. Sara’s recipe includes sweet potatoes and goat cheese; I happened to have a variety of small colorful potatoes on hand and a ball of mozzarella hanging out in the fridge, so into the frittata they went.

Fresh corn got thrown into the mix as well, because corn + eggs = awesome.

Processed with VSCOcam with f2 preset

Sure, I love a good quiche. How could you not love anything baked up in a flaky, buttery crust? But remember, we need brain fuel here, so potatoes for a “crust” will do. A few dashes of hot sauce always help fire up those neurons, too.

IMG_0799

Seasonal Frittata with a Potato Hash Crust

adopted from Sprouted Kitchen, also seen on Cookie and Kate

serves 4-6, depending how you slice and serve

6-8 eggs (I used 6 extra large eggs)

1/2 cup milk

pinches of salt and pepper

2 small sweet potatoes, or about 2 cups of colorful new potatoes, chopped

1 tablespoon olive oil

1 teaspoon cumin

2 garlic cloves, chopped

2 cups baby spinach

1-2 ears of corn, husked and sliced off the cob

3 oz. cheese, mozzarella ball or goat cheese

herbs, hot sauce, salt n’ pepper for topping

  1. Preheat the oven to 425 degrees F. In a large bowl, whisk together the eggs, milk, a pinch of salt and black pepper.
  2. Chop the potatoes into 1/4-inch cubes. In a 10-inch sauté pan (or well-seasoned cast iron skillet), warm the olive oil over medium heat. Add the potatoes and toss to coat, then sprinkle with cumin and 1/2 teaspoon salt and stir. Cook the potatoes, stirring occasionally, until they are cooked through and have brown marks, 10 to 15 minutes (add another little splash of olive oil if the potatoes start sticking to the pan).
  3. Sprinkle the garlic on top of the potatoes, then the spinach and corn. Cover the pan with a lid or cookie sheet if you have one, and cook until the spinach wilts, a minute or two.
  4. Turn the heat down to low. Whisk the eggs one last time and pour them over the spinach. Crumble or slice the cheese and plop over the top of the frittata. Put the pan in the oven and bake until you can shake the pan and see that the middle is just barely set, about 12 to 18 minutes.
  5. Set the frittata aside to cool down slightly. You can either leave it in the pan or flip it onto a plate. Sprinkle with more salt and pepper, and add some herbs and hot sauce if you’re feelin’ it.

Yellow Split Lentil Dal with Seasonal Veg.

4 Jul

IMG_0751

A year ago I was blogging about green split lentils and blubbering about leaving my amazing job as a pastry cook.

Today I am officially done with my first year of nutrition graduate school!!! Woo woo. To celebrate, I will bring you full circle and present another split lentil recipe: Yellow Split Lentil Dal.

No matter how many different things I learn about in my nutrition classes, I always come back to FOOD.

A big fan of reading (and drooling over) Martha Rose Shulman’s NYTimes Recipes for Health, I never actually made anything of hers until recently. In the last month, I’ve gone on a Martha spree, making an eggplant pasta inspired by her recipe, finding my new FAVORITE way to prepare steel cut oats, and reading about her “sweet secret” (I guess there are a lot of us “health mavens” who find a niche in the world of dessert!). And this week when I bought a beautiful bag of yellow legumes, where did I find the inspiration to make a spiced lentil dal? Yep. Ms. Shulman strikes again!

Yellow split lentils (or peas) are super high in protein (10g per serving) and fiber (3g soluble fiber, 7g insoluble fiber per serving), and are a great source of folate and magnesium, with a decent amount of iron and zinc. Yay for plant-based protein! The slight downside is that they take about 45 minutes to cook, but you can just get your brown rice going in a rice cooker and simmer the lentils on a pot and by the time you’ve checked your email and browsed the Internet for what feels like a moment, dinner is basically ready.

Ooo and apparently yellow split peas can be used in baked desserts? Has anyone ever seen or tried a dessert with split peas in it?!

IMG_1166

Yellow Lentil Dal with seasonal veg.

adapted from Martha Rose Shulman of the NYTimes’ Recipes for Health

**I loved the flavor of the cumin seeds with the garlicky vegetables. I happened to have a bunch of seeds laying around from when I made these roasted nuts a while back. Feel free to use ground cumin if that is all you have on hand. 

1 cup split yellow lentils, rinsed

1 teaspoon minced fresh ginger

1 1/2 teaspoons turmeric

1/2 medium onion (intact), peeled

Salt to taste

1 1/2 tablespoons fresh lime juice

2 tablespoons oil

1-2 cups finely chopped seasonal veg. (I used a few asparagus sprigs, a small broccoli stalk, and a yellow squash)

1 plump garlic clove, minced

1 teaspoon cumin seeds

1. Combine the lentils, ginger, turmeric and onion half (don’t chop it) with 1 quart water and salt to taste (about 1 to 1 1/2 teaspoons) and bring to a gentle boil. Stir only once to make sure there are no lentils sticking to the bottom of the pot. Reduce the heat to medium – the lentils should simmer briskly – and cook uncovered until the lentils are tender, 30 to 40 minutes.

2. Stir in the lime juice. Stir together and simmer for another minute. Turn off the heat and using an immersion blender, an Indian mathani (a wooden tool used for mashing dal) or a wooden Mexican hot chocolate mixer, partially pureé the dal. It should be thick but not like a pureed soup.

3. Meanwhile, heat the oil over medium-high heat in a pan. Add the cumin seeds and allow to sizzle, stirring, for 10 seconds. Add the garlic and cook until lightly colored, about 15 seconds. Add the vegetables and cook until slightly softened, about 4-5 minutes. Remove from the heat and pour over the lentils.

Serve over your favorite grain. I used short grain brown rice.

Summer Salad Round-Up!

24 May

Summer is about to hit us in full force, and I want us to be prepared for the potlucks, barbecues, picnics, and shenanigans to come. Pretty soon I will transition from roasting all of my veggies to shaving them into ribbons and enjoying them raw, preparing grain-based salads, bouncy pastas, light sautés, and brothy soups. It will simply be too dang hot turn on the oven.

Here are some ideas for no-cook (or very-little cook…) hearty salads to ring in the sunshine and keep us lookin’ nice and cool. Variations and substitutions are encouraged. Have fun and experiment.

IMG_0392

Potato Salad with Pickled Red Onion. Can you say 4th of July party?! This salad is salty, crunchy, acidic, herby, and creamy all-in-one. Heck yes.

IMG_0296

Get your fix of beans with this 3 Bean Summer Salad with Corn, Tomato, Avocado & Lime. Colorful and bright, this salad is great on its own or even used as a taco filling or chip dip.

IMG_1026

Radishes are taking over the farmer’s marktes in NY right now. Snag a bunch, slice them thin, and add them to this Israeli Couscous Salad. You could also try making a variation of this salad with a Miso Dressing.

IMG_0778

This Sweet and Savory Quinoa Salad is an old-time favorite. If it’s too hot to roast cauliflower, feel free to use whatever vegetable is easy to prepare and catches your eye. The dried fruit and Mediterranean spices remind me of summer fun.

IMG_0716

You better get your hands on asparagus NOW, before it goes out of season! Enjoy it in a Farro Salad. I recently made a variation of the potato salad above and added asparagus to it.

IMG_0750

No Cook Summer Fruit Salad. I like to use a mix of fresh fruit and dried fruit, with some fresh herbs and cinnamon to pack a punch. It is hard not to eat the whole bowl in one sitting.

Easy DIY Recipe: Homemade Vegetable Stock

13 Mar

IMG_0845

For the last month or so, I have been saving my vegetable scraps in the freezer with a plan to make my very own VEGETABLE STOCK!!!

All of the carrot tops and parsnip nubs, the onion peels and fennel fronds that I normally would discard/compost are actually quality components of an unctuous stock. Thrown into a pot with a little water and good simmer on the stove, and I had my own preservative-free stock ready in an hour’s time (hands-off time!).

I froze my stock in ice cube trays, noting that 6 cubes is the equivalent of about half a cup of stock. Now I have flavor at my hands, ready-to-go whenever I am in a pinch. I see risotto in my future…

Here’s to getting one more bang for my buck.

IMG_0847

Homemade Vegetable Stock

via vegetarianventures

4-5 cups vegetable scraps (you can use them right from the freezer)

flavoring (bay leaf, Parmesan cheese rinds, herbs, salt, peppercorns…)

garlic (if you don’t already have scraps of garlic in your frozen veggie bag)

Place all ingredients in a large pot and cover with cold water (just enough so all the veggies are covered). Bring water to a boil and let simmer for an hour (don’t let it simmer for much more or it starts to lose flavor.

Strain the vegetable mixture and discard the scraps. Let cool completely and either use right away or freeze/refrigerate in quantities that will suit you best (ice cube trays was a genius idea, I also did some in pint size containers).

Store in fridge for up to 5 days and in freezer for up to 3 months.