Archive | July, 2012

Carrot Cake With Orange Ginger Cream Cheese Frosting

30 Jul

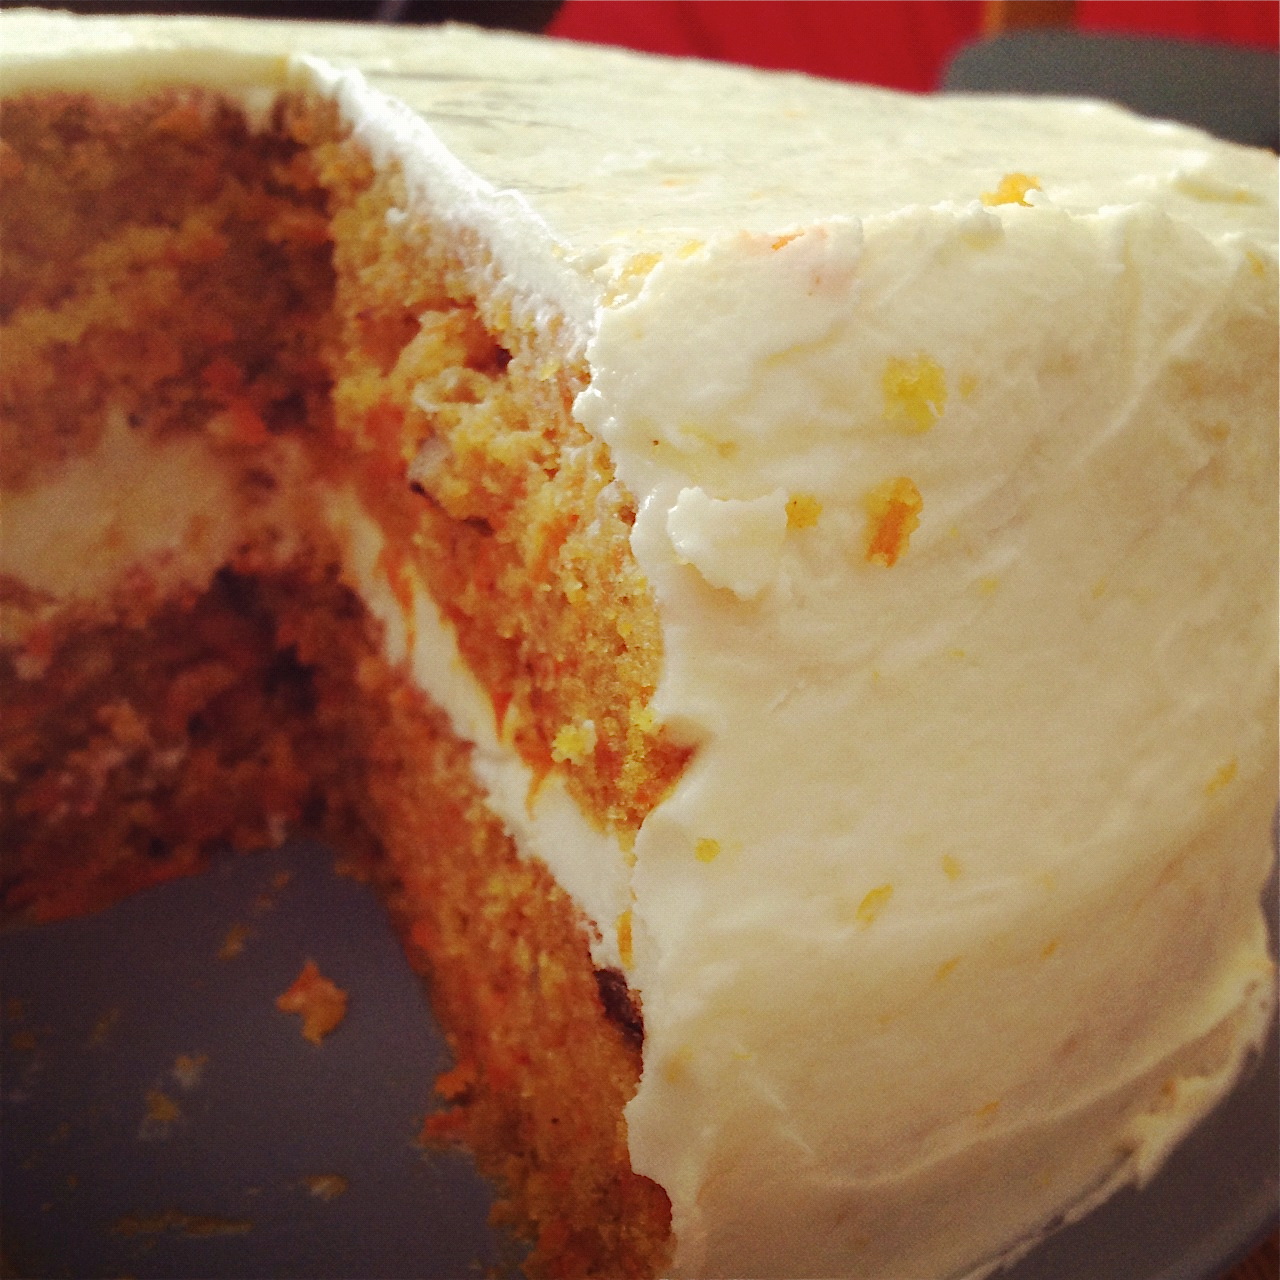
Yep. I made a gigantic layered cream cheese-frosted carrot cake. In the middle of summer.

Sometimes, you just have to go with your gut. My gut wanted carrot cake.

There’s walnuts and fresh ginger. Those are the kickers. Sweating like a crazy lady, I grated 1.3 pounds of carrots by hand. I called it my workout for the day.

I baked the cake in two 9-inch cake pans to make a two-layer cake. They baked off with nice, flat, even tops, so I did not have to trim the cakes before frosting. Hallelujah.

I’ve used bundt pan in the past. You could make your life easy and do it that way, too. Or you could join in me in the madness of layer cake making in the middle of summer.

Pro tip for ultra silky frosting: You MUST MAKE SURE YOUR BUTTER AND CREAM CHEESE ARE ROOM TEMPERATURE so that everything whips up nice and silky smooth. You may want to sift your powdered sugar to get rid of lumps.

When I frosted the cake, I used a combo of different techniques I learned from reading, watching videos, and working in restaurants. In the end, I did it in my own free-form sloppy way, but somehow it turned out looking pretty great.

Cake frosting is a bit complicated, there’s this thing called a crumb coat, then the cake gets refrigerated for about 30 minutes, and then I put on the final layer of frosting. You could read Joy’s tutorial to help you get started. Melissa Clark has a great video tutorial as well. I recommend using a small offset spatula. I don’t have a cake stand or cardboard cake rounds. I just used a flat plate and turned the plate as I frosted. Works fine.

Oh, and never frost a cake that is right out of the oven. Make sure it is completely cool. Meg Ray from Miette Bakery in San Francisco will vouch for this tip.

I hope I didn’t scare you. Maybe one day I will attempt to do a more in-depth cake frosting tutorial, but I’ve got to get a little more confident first. Just have fun. Good luck. Don’t forget to share.
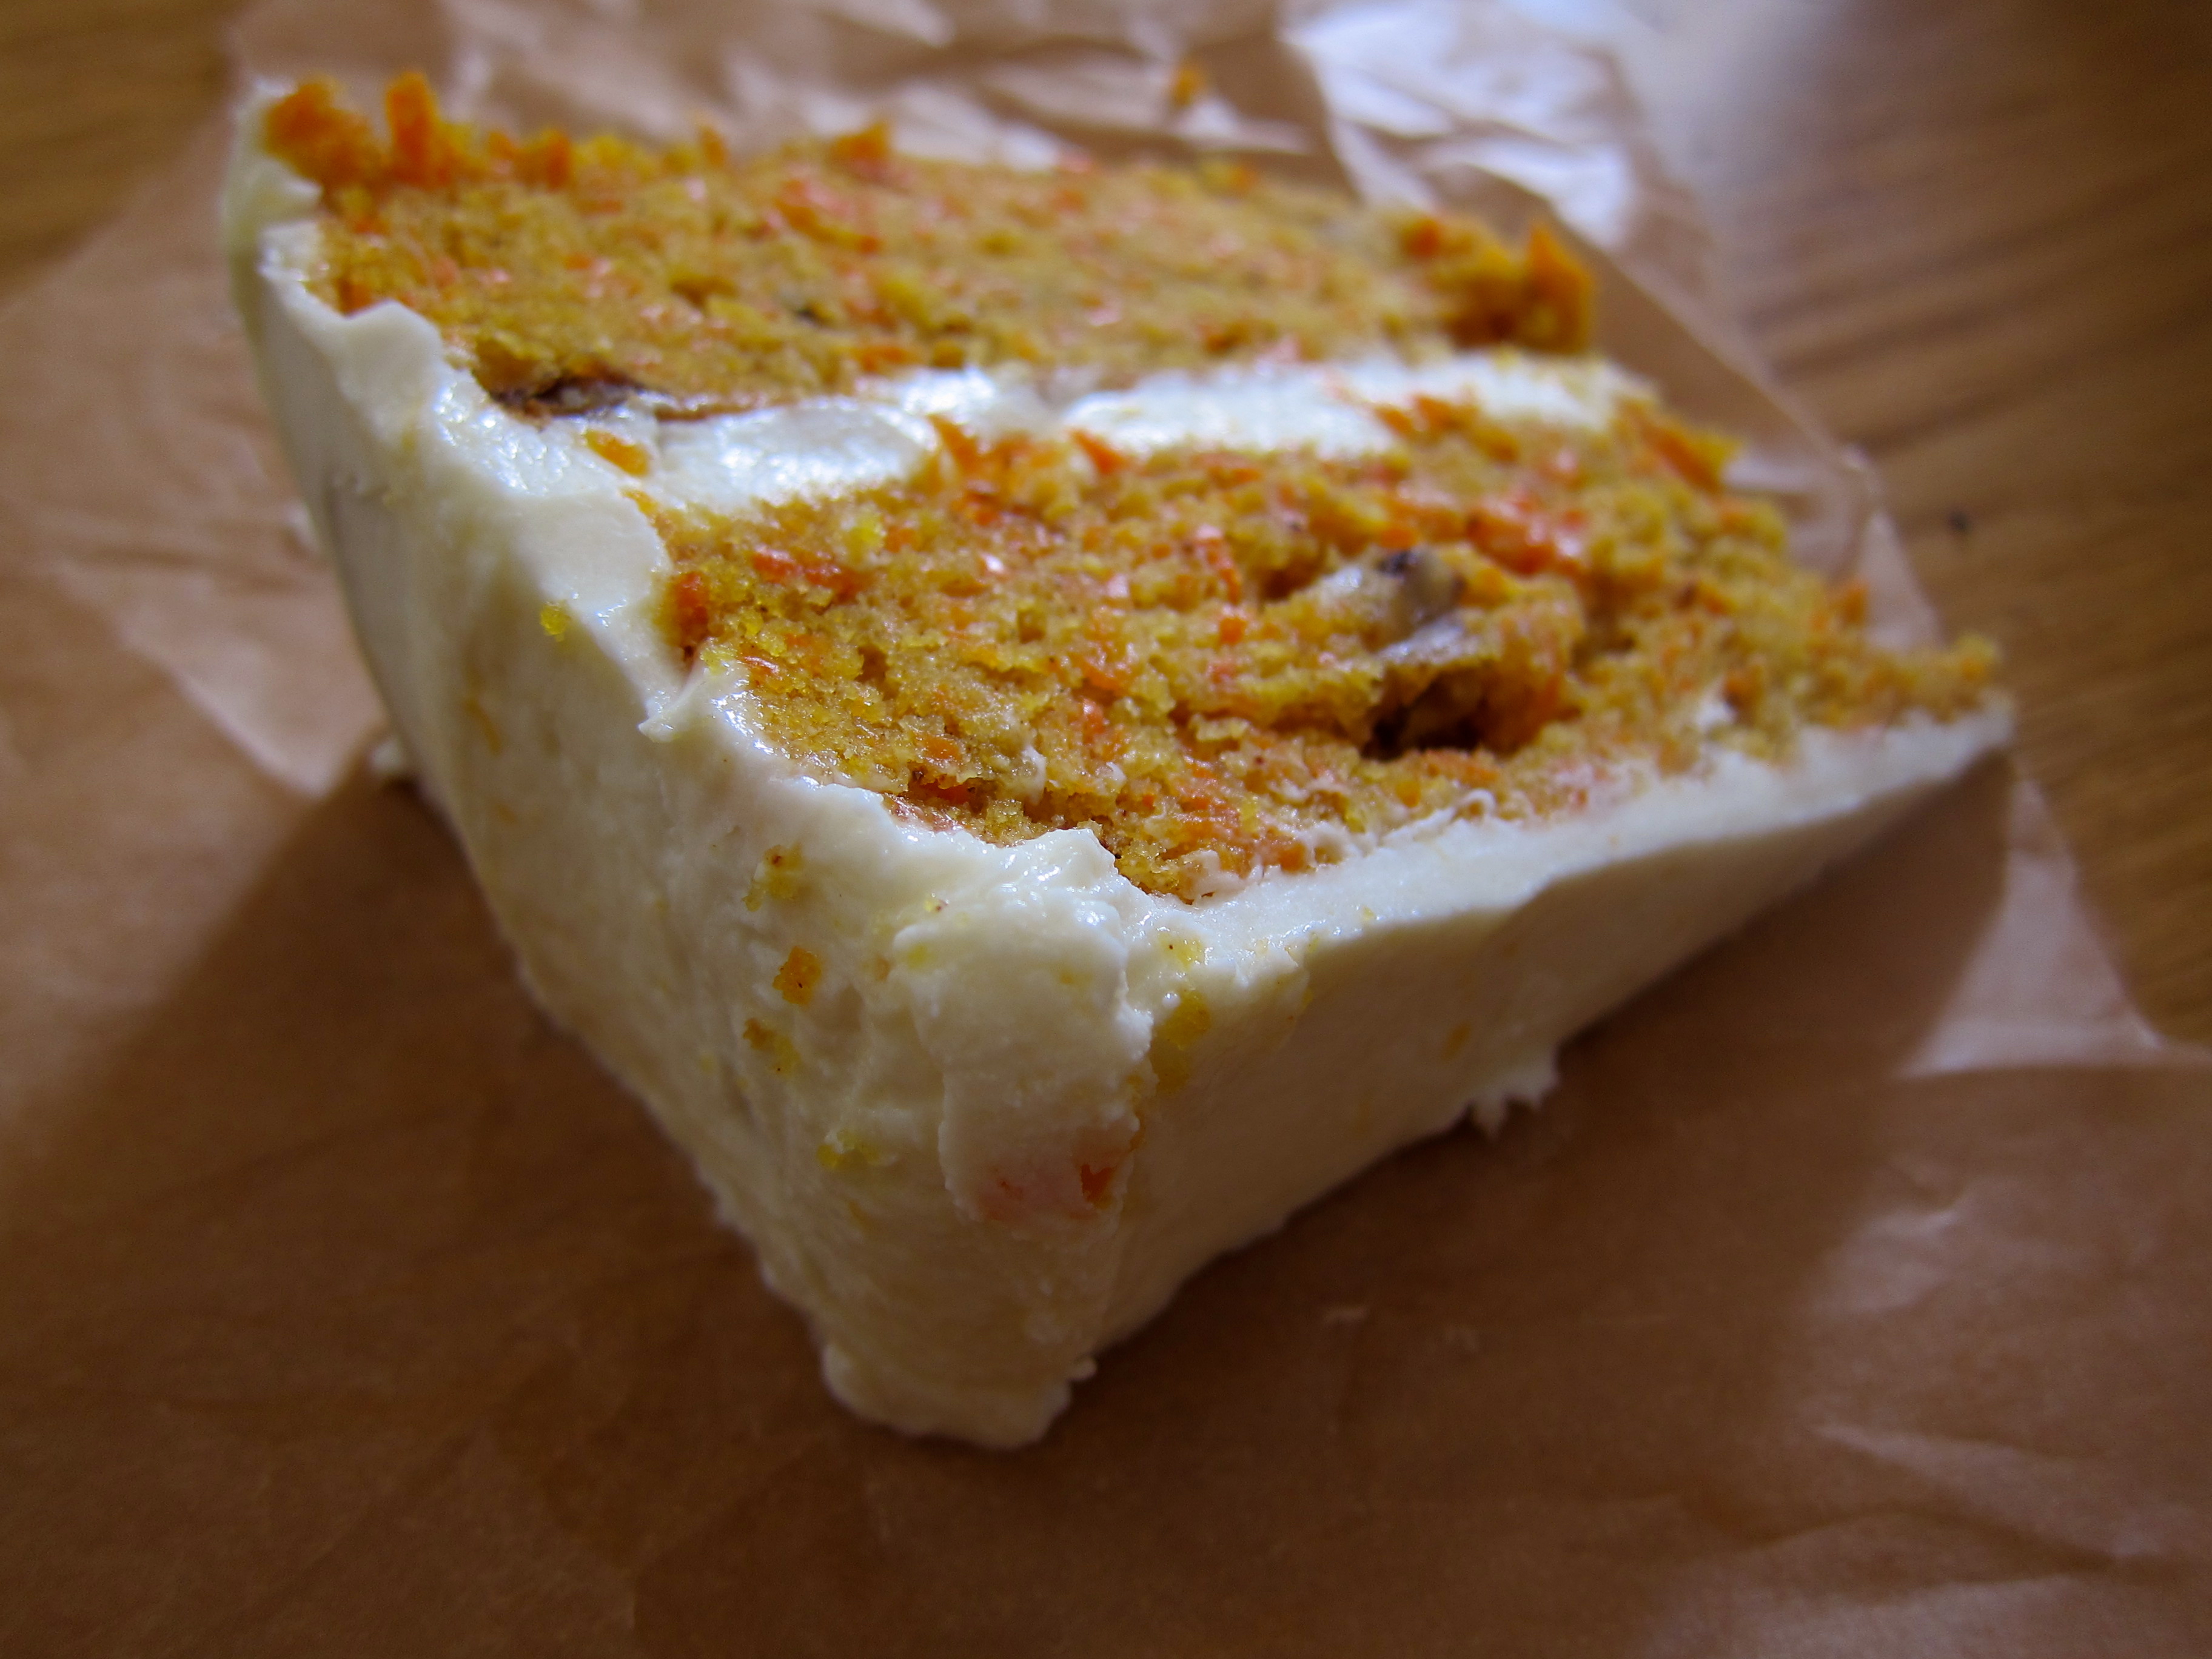
Carrot Cake with Orange Ginger Cream Cheese Frosting

adapted from Martha Stewart

NOTE: The original recipe calls for 3 sticks of melted butter. I swapped canola oil for the butter to reduce the saturated fat content of the cake. I wanted to save up and use the butter in a rich cream cheese frosting instead.

Serves 10-12; store any leftovers it in the refrigerator (I actually think the cake tastes better a few days later cold from the fridge…)

Ingredients

* Unsalted butter, for pans
* 3 cups all-purpose flour, plus more for pans
* 1 cup walnut halves
* 1 1/3 pound large carrots, peeled
* 3 large eggs, room temperature
* 1/3 cup buttermilk (I have used plain Greek yogurt in the past and it works just as well)
* 1 teaspoon pure vanilla extract
* 2 cups sugar
* 1 ½ cups canola oil
* 1 ½- 2 tablespoons freshly grated ginger (depending on how spicy you like it)
* 2 teaspoons baking powder
* 1 teaspoon baking soda
* 1 teaspoon salt
* 1 teaspoon ground cinnamon + 1/4 teaspoon freshly grated nutmeg and 1/4 teaspoon ground cloves

Cream Cheese Frosting (this makes a LOT of frosting, you will probably have some left over)

*3/4 cup (1 1/2 sticks) unsalted butter, room temperature
*3 bars (8 ounces each) cream cheese, room temperature
*3 cups confectioners’ sugar, sifted
*1 tablespoon freshly grated orange zest
*2 tablespoons freshly grated ginger
*Pinch of salt

Directions

1. Heat oven to 375°F. Butter two 9-inch round cake pans (or a bundt pan). Dust pans with flour, and tap out any excess. Set pans aside. Spread nuts in a single layer on an ungreased baking pan, and toast in the oven until lightly golden, about 7 minutes. Remove pan from oven, and let stand until completely cool. Reduce temperature to 300°F. Roughly chop the nuts, and set aside.

2. Peel the carrots and grate them to yield 1.3 pounds, or a little over 3 cups (you could also use a food processor).

3. Peel the ginger (I like to use a metal spoon) and use a microplane to grate the fresh ginger.

4. Place carrots, eggs, buttermilk, vanilla, sugar, vegetable oil, and ginger in a large bowl; whisk until well combined.

5. In a medium bowl, whisk together flour, baking powder, baking soda, salt, cinnamon, nutmeg, and cloves. Using a rubber spatula, fold the flour mixture into the carrot mixture until combined. Fold in the toasted nuts.

6. Divide the batter between the two cake pans (I weighed my pans to make sure they were even), and bake until a cake tester inserted into the middles comes out clean, about 50 minutes to 1 hour. Remove pan from oven, and transfer to a wire rack to cool, 15 minutes. Turn cake out onto rack; let stand until completely cool.

7. To make the frosting: place butter in bowl of an electric mixer fitted with the paddle attachment, and beat on medium-high speed until fluffy, about 2 minutes. Add cream cheese, and beat until well combined and fluffy, about 2 minutes more. Add sugar, orange zest, ginger, and salt, and beat for 5 minutes.
*any leftover frosting can be kept in an airtight container for about 7 days (I had a little over a cup leftover).
Frost the cakes as you wish. I recommend watching some online video tutorials first.

Vegan Fettuccine Alfredo

24 Jul

Fettuccine Alfredo. A classic childhood favorite.

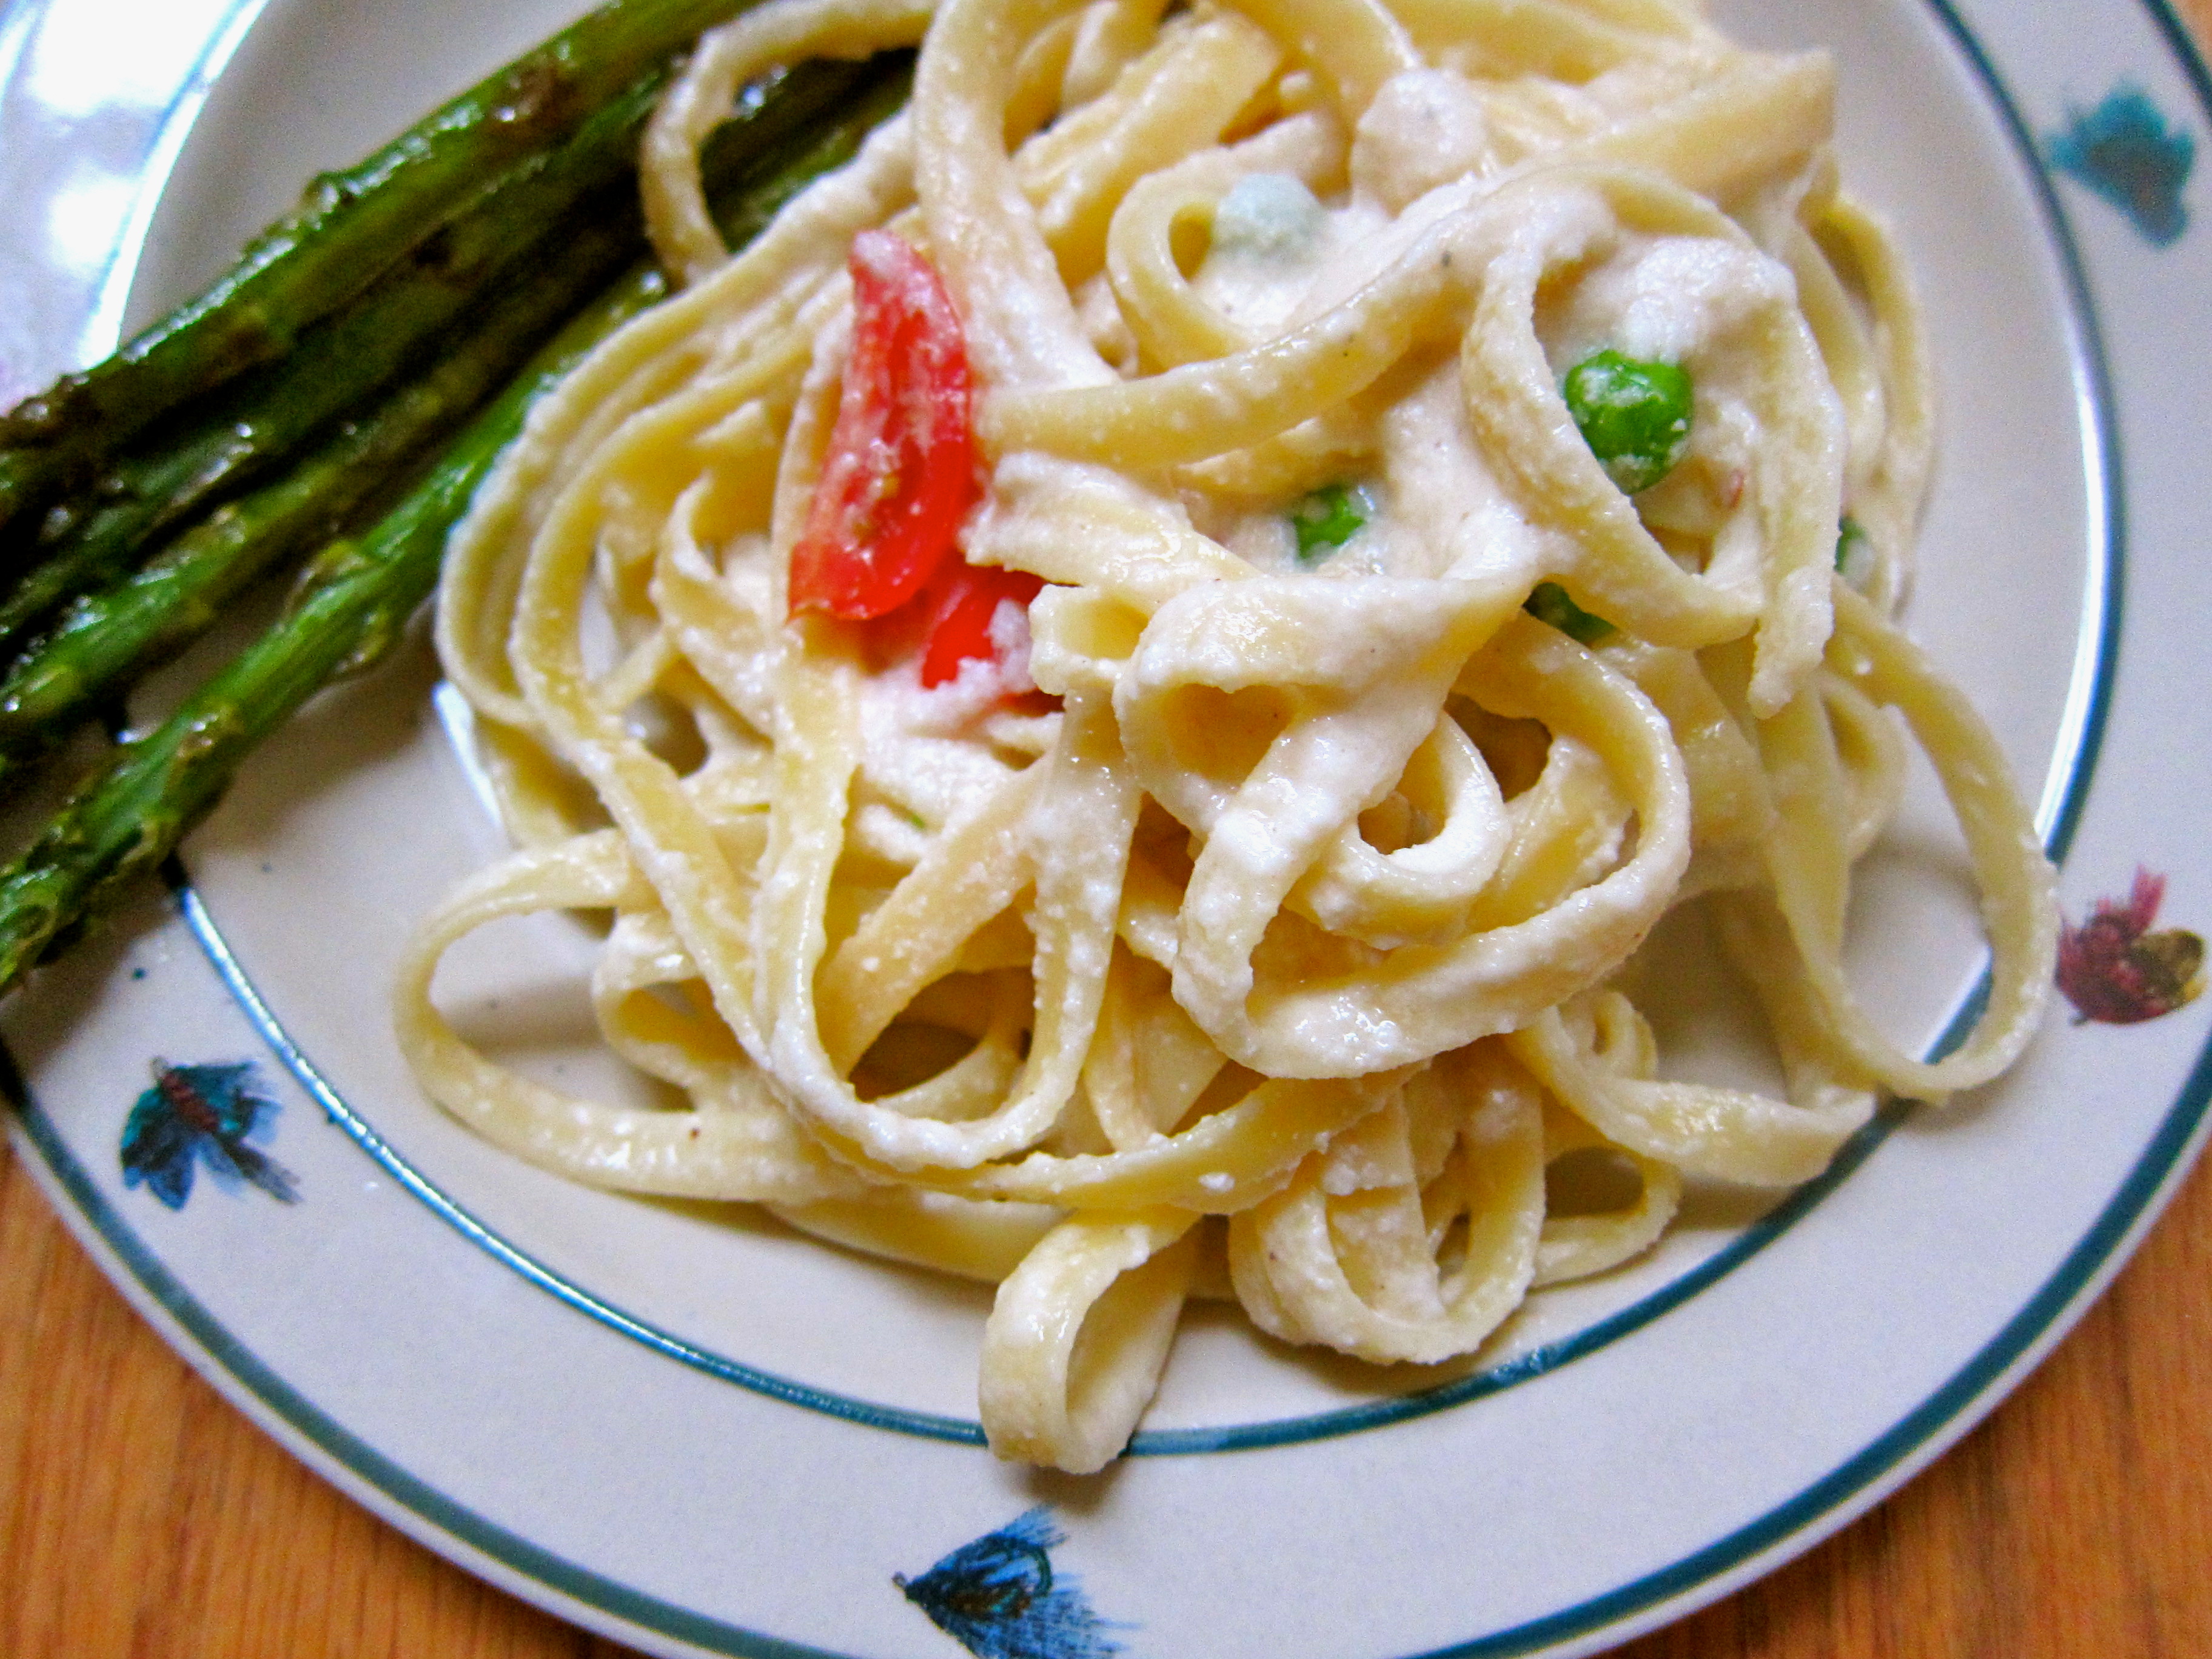
Here’s a recipe that can satisfy your craving without weighing you down. Yep, this recipe is vegan, dairy-free, cholesterol-free, saturated fat-free. Now don’t you worry, there is still a heck of a lot of creaminess going on. Cashews=creamy, buttery, rich. Cashews get soaked in water, drained, and blended with aromatic onions and garlic. Unctuous, silky sauce.

The Alfredo sauce really comes together with a few dashes of lemon juice and white miso paste (Chloe says this is optional, but I love white miso and I would not skip it; you can purchase white miso at Whole Foods).

I added some peas and a few halved grape tomatoes to my noodles, and slurped it all up alongside roasted asparagus spears.

I kid you not, this tastes like traditional fettuccine alfredo. Maybe even better since I know how much healthier this version is…

Vegan Fettuccine Alfredo

From Chloe’s Kitchen

serves 4-6

1 pound fettuccine

2 tablespoons olive oil

1 large onion, chopped

3 cloves garlic, minced

1 cup raw cashews or blanched almonds*

2 cups water

2 teaspoons white miso paste

1 tablespoon lemon juice

1 teaspoon sea salt

1/4 teaspoon freshly ground black pepper

optional: chopped Italian parsley, frozen or fresh peas, halved grape tomatoes…

*Soak your cashews or almonds in water overnight to soften. This ensures that the sauce will blend up nice and smooth. Alternatively, you could boil the nuts for 10 minutes and then drain.

Bring a large pot of heavily salted water to a boil. Add fettuccine and cook according to the package directions. If you are using frozen peas, drop them (I used about 1/2 cup?) into the water about 2 minutes before the pasta is done cooking. Drain and return to pot.

Meanwhile, heat the oil in a medium skillet over medium-high heat. Add onions and let cook until soft. Add garlic and let cook a few more minutes. Remove from heat.

In a blender, combine the onions and garlic, cashews, water, miso paste, lemon juice, salt, and pepper. Process on high until very smooth, about 2 minutes.

Toss the hot pasta with the sauce until the noodles are evenly coated. Adjust seasoning to taste. If the sauce gets too thick, add a little water, 1 tablespoon at a time. Garnish with fresh tomato slices and parsley, if using.

Cast-Iron Skillet Blueberry Pancakes

22 Jul

Fresh blueberry pancakes. All of the best breakfast flavors joined forces and jumped inside these ‘jacks. There’s almond extract in the batter. And oats. And buttermilk. And a touch of OJ.

Let me tell you a little secret. I didn’t really use buttermilk in these pancakes. I faked it. Stir together 1/2 cup of milk + 1 teaspoon vinegar (I used cider vinegar, but white vinegar or even lemon juice work great, too). Let it sit for 2 minutes or so. Now you have ‘buttermilk.’ Easy in a pinch.

Once upon a time, I was afraid of my cast-iron skillet. I wanted one so bad, so then I bought one to be like all the cool kids. BUT, I was never quite sure how to clean it, I never knew if I was using it correctly, I was just confused and scared. Not to worry, we can work through this together.

To start, here are 2 great resources for cast-iron skillet cleaning and care: OneTwo.

I believe the more I cook with my skillet, the better it will get. In other words, more cooking means a more “seasoned” skillet, which, in English, basically means more of me cooking like a mad woman will create a lovely non-stick indoor grilling device.

You can grill dogs in the cast-iron skillet. You can make a Dutch Baby come out of the oven. I highly recommend you make a Cherry Clafoutis before cherry season is over. Cast-iron skillet quesadillas? Yes, please.

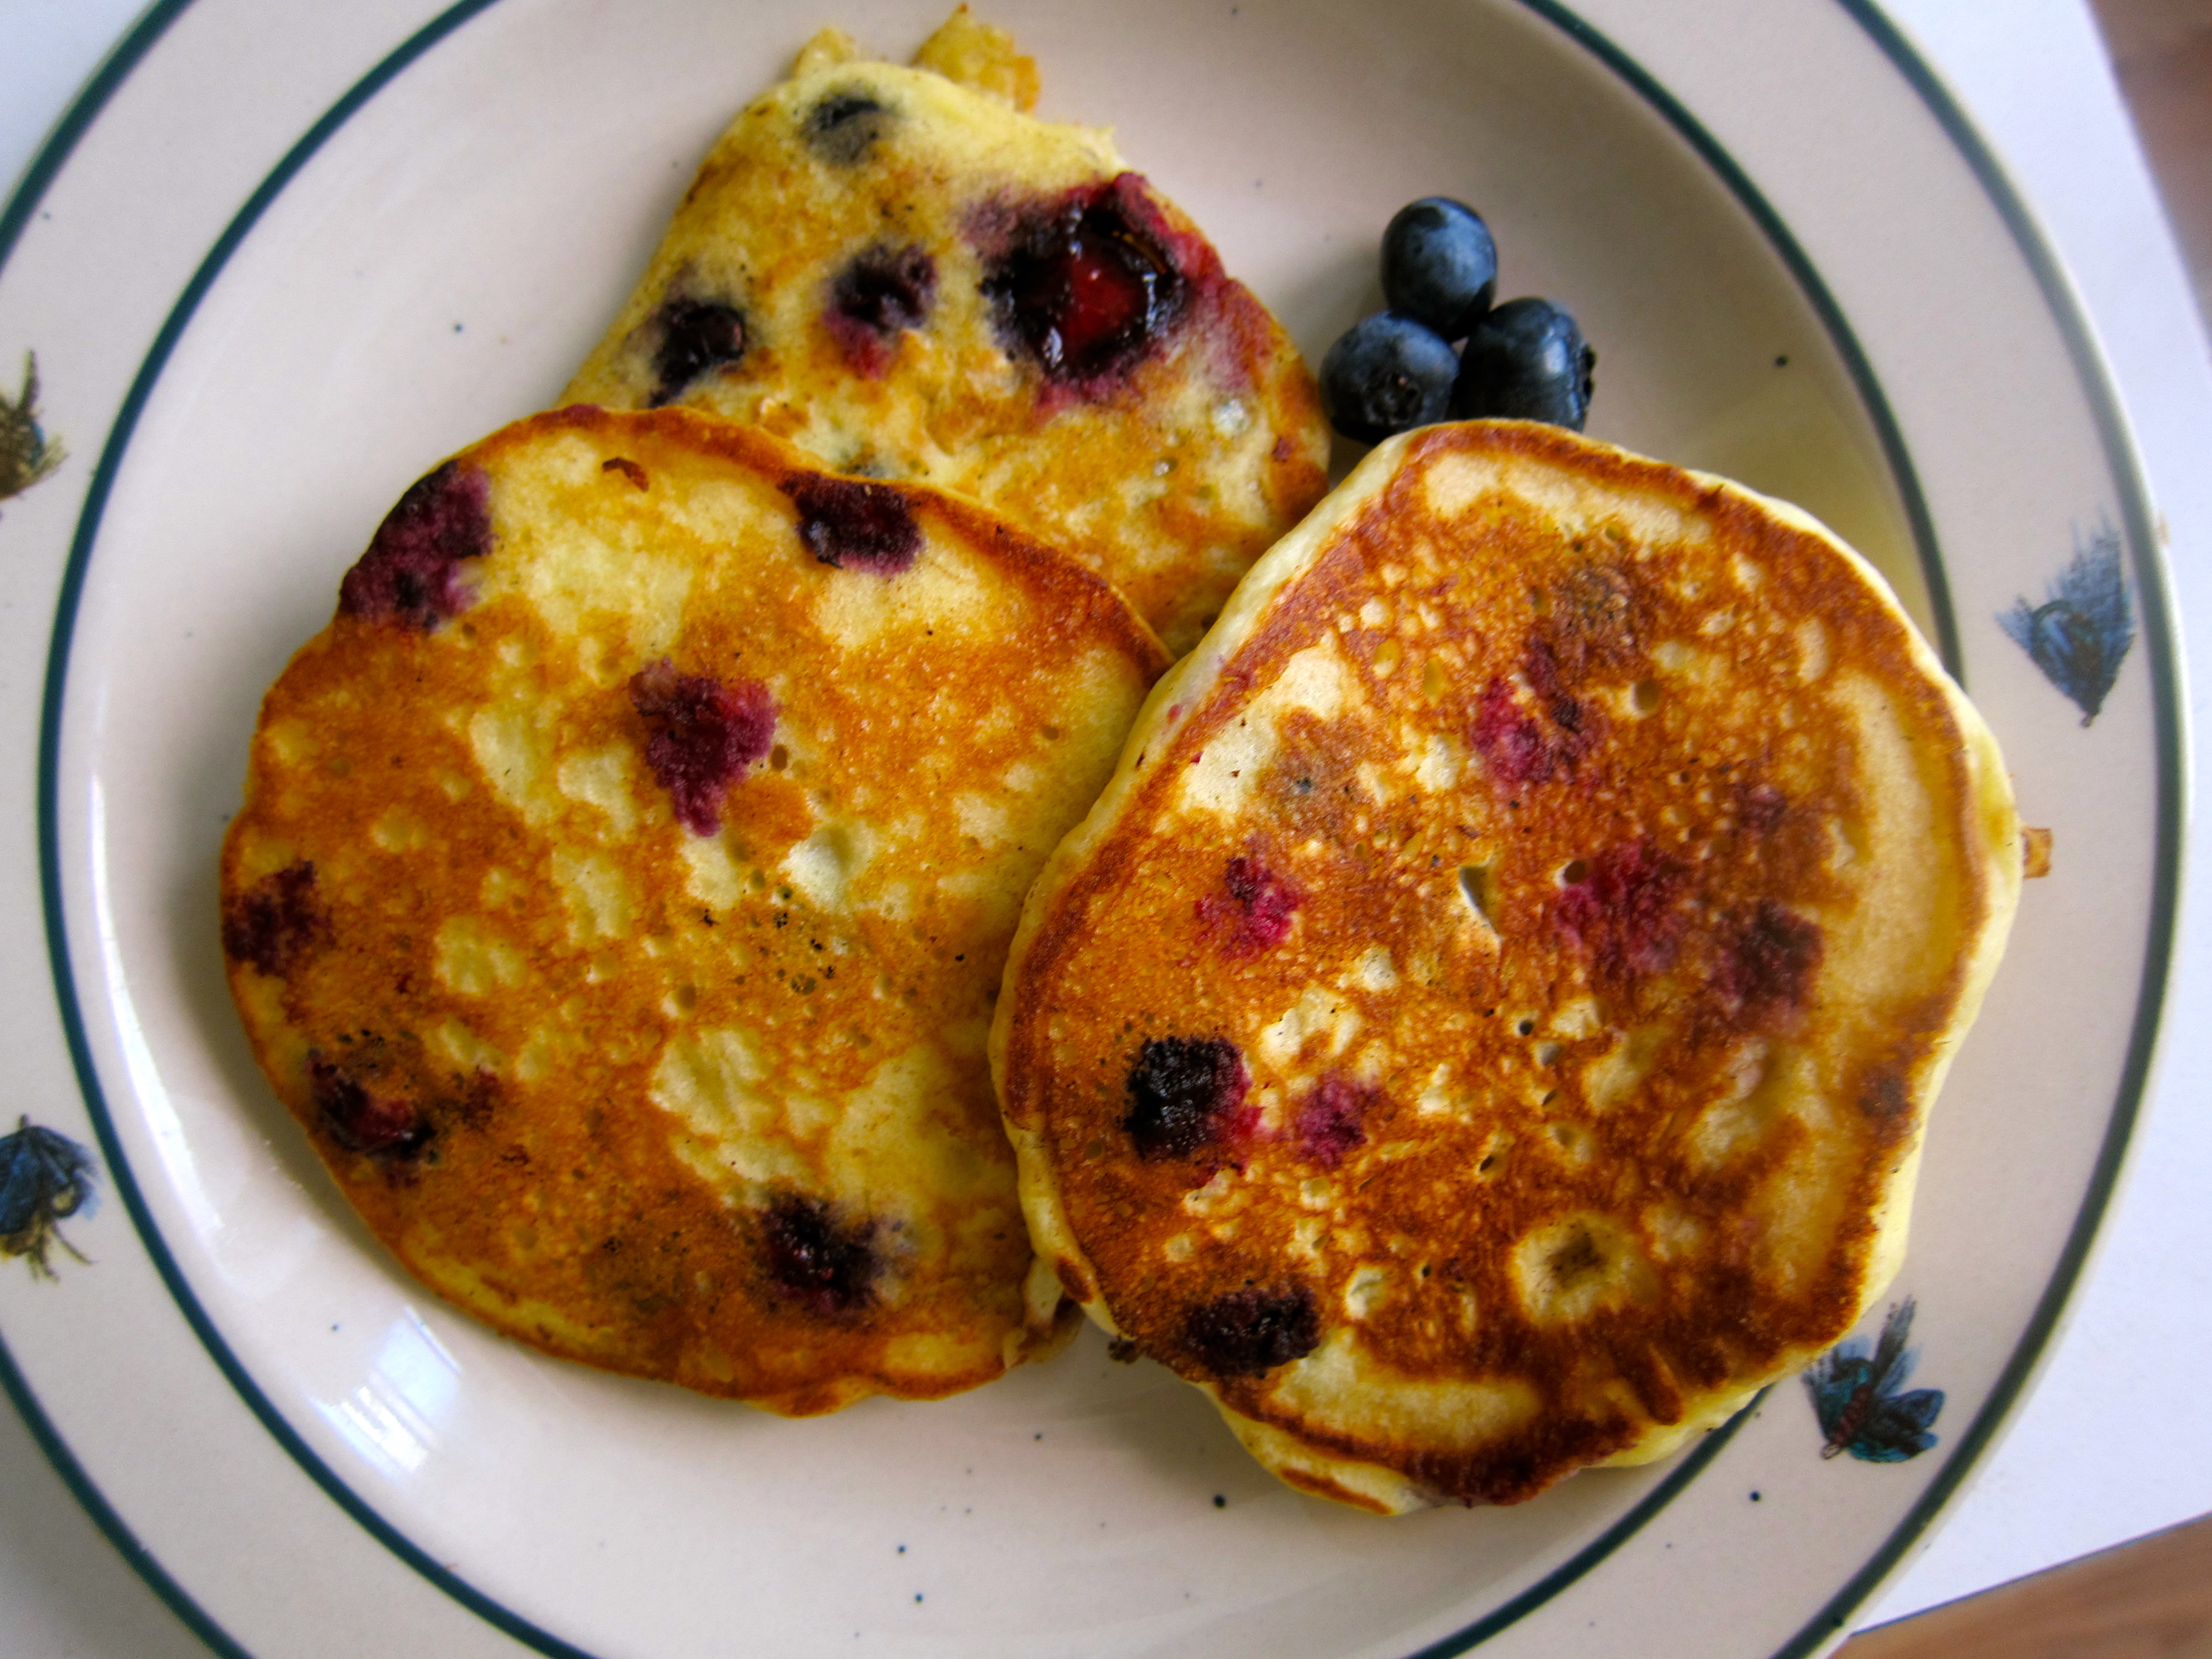
If it weren’t for my cast-iron skillet, I would have never produced such a perfectly golden seared pancake this morning. Truth.

Pancake Massacre. Warm blueberries exploding in your mouth with every bite you take. Sweet n’ juicy breakfast heaven.

Serve with more blueberries and perfectly ripe peaches. A winning combo.

Blueberry Pancakes

adapted from the JoytheBaker cookbook

serves 2 (4 pancakes each) **if you want more, double the recipe or triple it, etc…

NOTE: If you are making a larger batch of this recipe and want to keep your pancakes warm, heat the oven to 200 degrees F and place finished pancakes onto an ovenproof plate or tray while you cook the remaining batter. 

1/2 cup all-purpose flour

1/4 cup rolled oats

1 1/2 teaspoons sugar

1/2 teaspoon baking powder

1/4 teaspoon baking soda

1/4 teaspoon salt

1 medium size egg

1/2 cup buttermilk (I used 1/2 cup regular milk + 1 teaspoon cider vinegar)

2 tablespoons orange juice

1/2 teaspoon almond extract

1/2 cup fresh blueberries

1 tablespoon of butter, divided, for frying the pancakes

1. In a medium bowl, whisk together the flour, sugar, baking powder, baking soda, and salt.

2. In a small bowl, whisk together the egg, buttermilk, orange juice, and almond extract.

3. Pour the wet mixture into the dry, and whisk until just combined. Fold in the blueberries. Let the mix sit for 5 minutes while you heat your griddle or cast-iron skillet.

4. Heat the cast-iron skillet for about 5 minutes over medium heat to get it warmed up (I made some coffee while waiting for the skillet to heat). Drop in a small amount of butter, enough to coat the skillet. I used a 1/4 cup measure to portion my pancakes. Drop the batter into the hot buttered skillet (I dropped 2 pancakes at a time). Let them cook for 2 minutes, flip, then cook about 2 minutes more. Re-butter the skillet as needed and cook the remaining pancakes the same way (they will start to cook quicker now that the skillet has been on for a while, just keep an eye out).

I served my pancakes with more blueberries, fresh peach slices, a hearty helping of good-quality pure maple syrup, and strong black coffee. 

Stuffed Peppers With Quinoa, Feta & Summer Veggies

17 Jul

This weekend was filled with chicken sausages and potato salad.

This weekend was filled with a shared lunch at the Spotted Pig-the gargantuan burger with Roquefort cheese and shoestring fries, and the poached eggs with corned beef hash.

There was a cappuccino to be had at the new cafe around the corner from me, Kuro Kuma.

I wanted to squeeze in a meal at the new ramen joint nearby, Jin Ramen, but my belly just could not budge any further.

Sometimes you just have to sit back and indulge yourself. Hey, at least I was eating healthy breakfasts all weekend: I had oatmeal one day and a banana almond smoothie the next. With some plums and nectarines to fill in the gaps. So sweet and ripe, they tasted like honey!

I’m balancing things out today with loads of summer vegetables and a healthy bean and grain combo.

Holy smokes, people, do you know how good red bell peppers are for you?

Red bell peppers rank very high in Vitamin C content, with 140 mg of Vitamin C per 1/2 cup chopped red bell pepper. That’s higher than orange juice (75mg per 3/4 cup), broccoli (50mg per 1/2 cup), and strawberries (50mg per 1/2 cup).

The red color in bell peppers comes from natural plant pigments in the carotenoid family (specifically lycopene, lutein, and zeaxanthin). Lycopene is a carotenoid and an antioxidant that helps the body reduce the risk for certain types of cancer, and heart disease, in addition to helping lower blood pressure and LDL cholesterol. It is also great for protecting the tissues in your body and strengthening your immune system.

I won’t get into any more technical terms, but red bell peppers and red tomatoes pack quite the punch. Not to mention how good zucchini and corn and onion are for you. And you can be sure that the ever touted holy grail of grains, quinoa, is a steal when it comes to your health.

Once upon a time I lived in a big cooperative-living house. 2 people would cook dinner five or six nights a week for the whole house (~60 people). Stuffed peppers was an ever popular dish that was guaranteed to please a hungry household. So versatile, you could fill these gems with any kind of grain/veg./protein combo and never get bored. I was drifting down memory lane tonight while enjoying my pepper, prepared my favorite way…

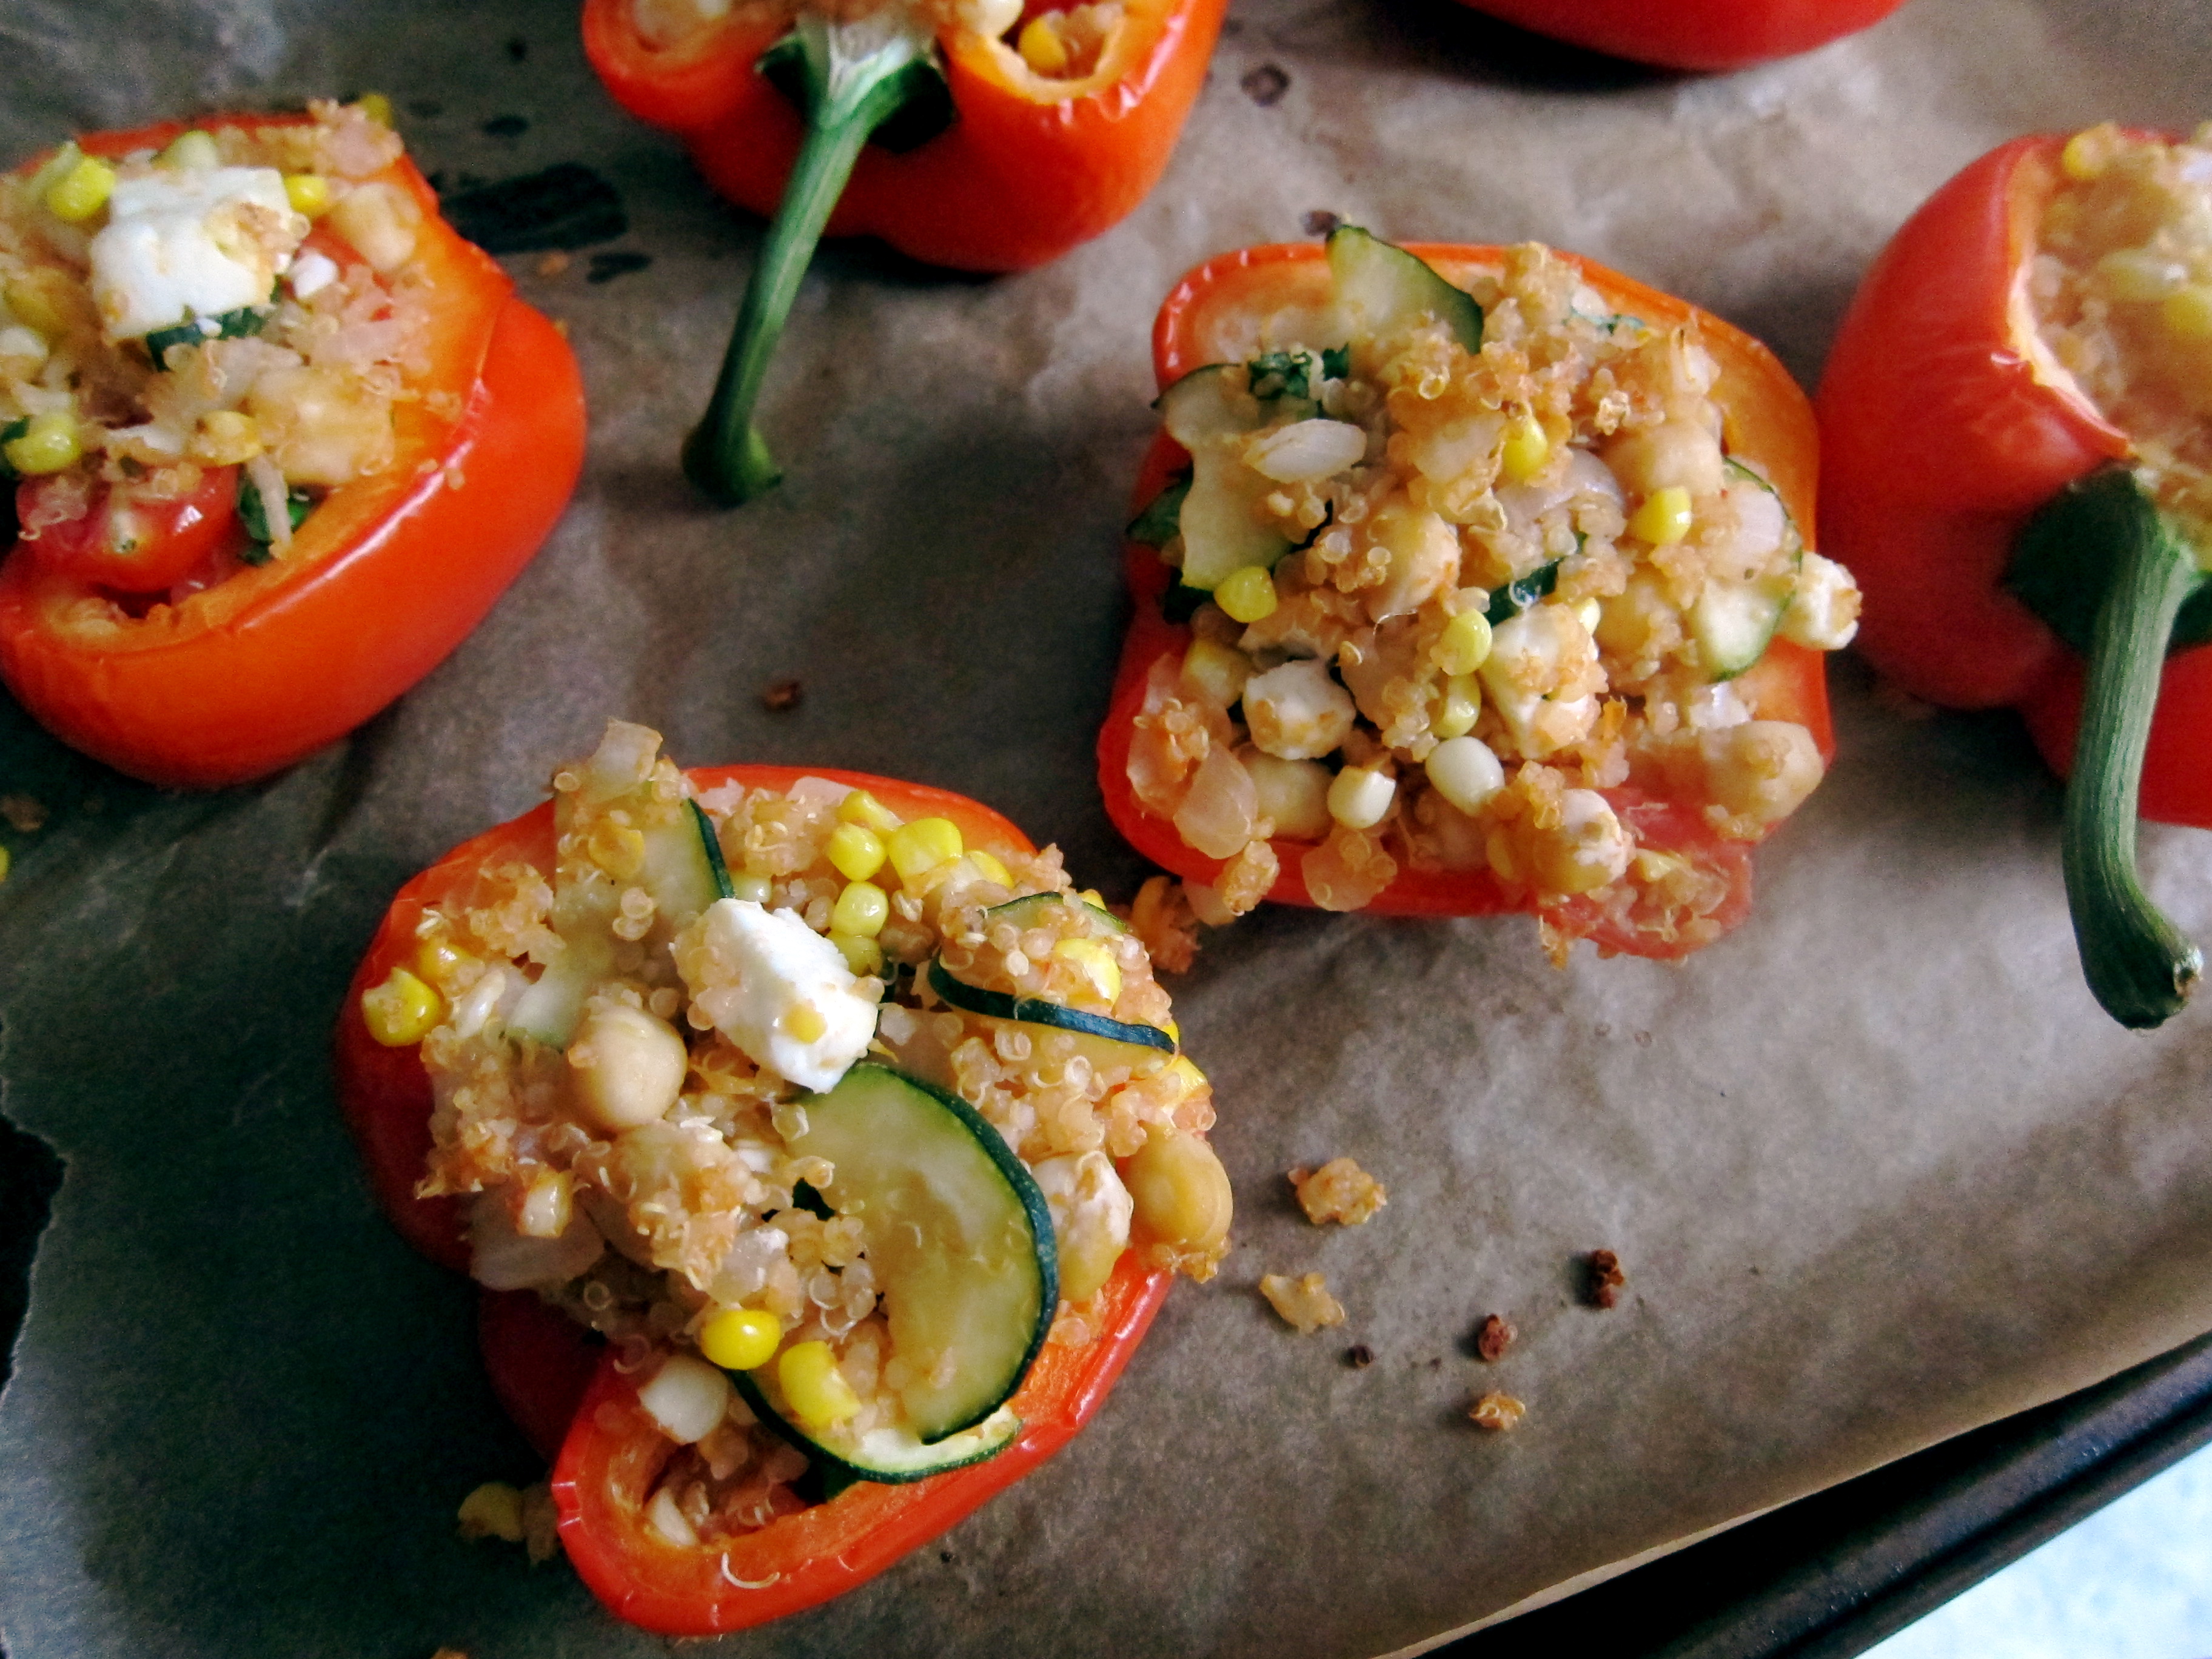
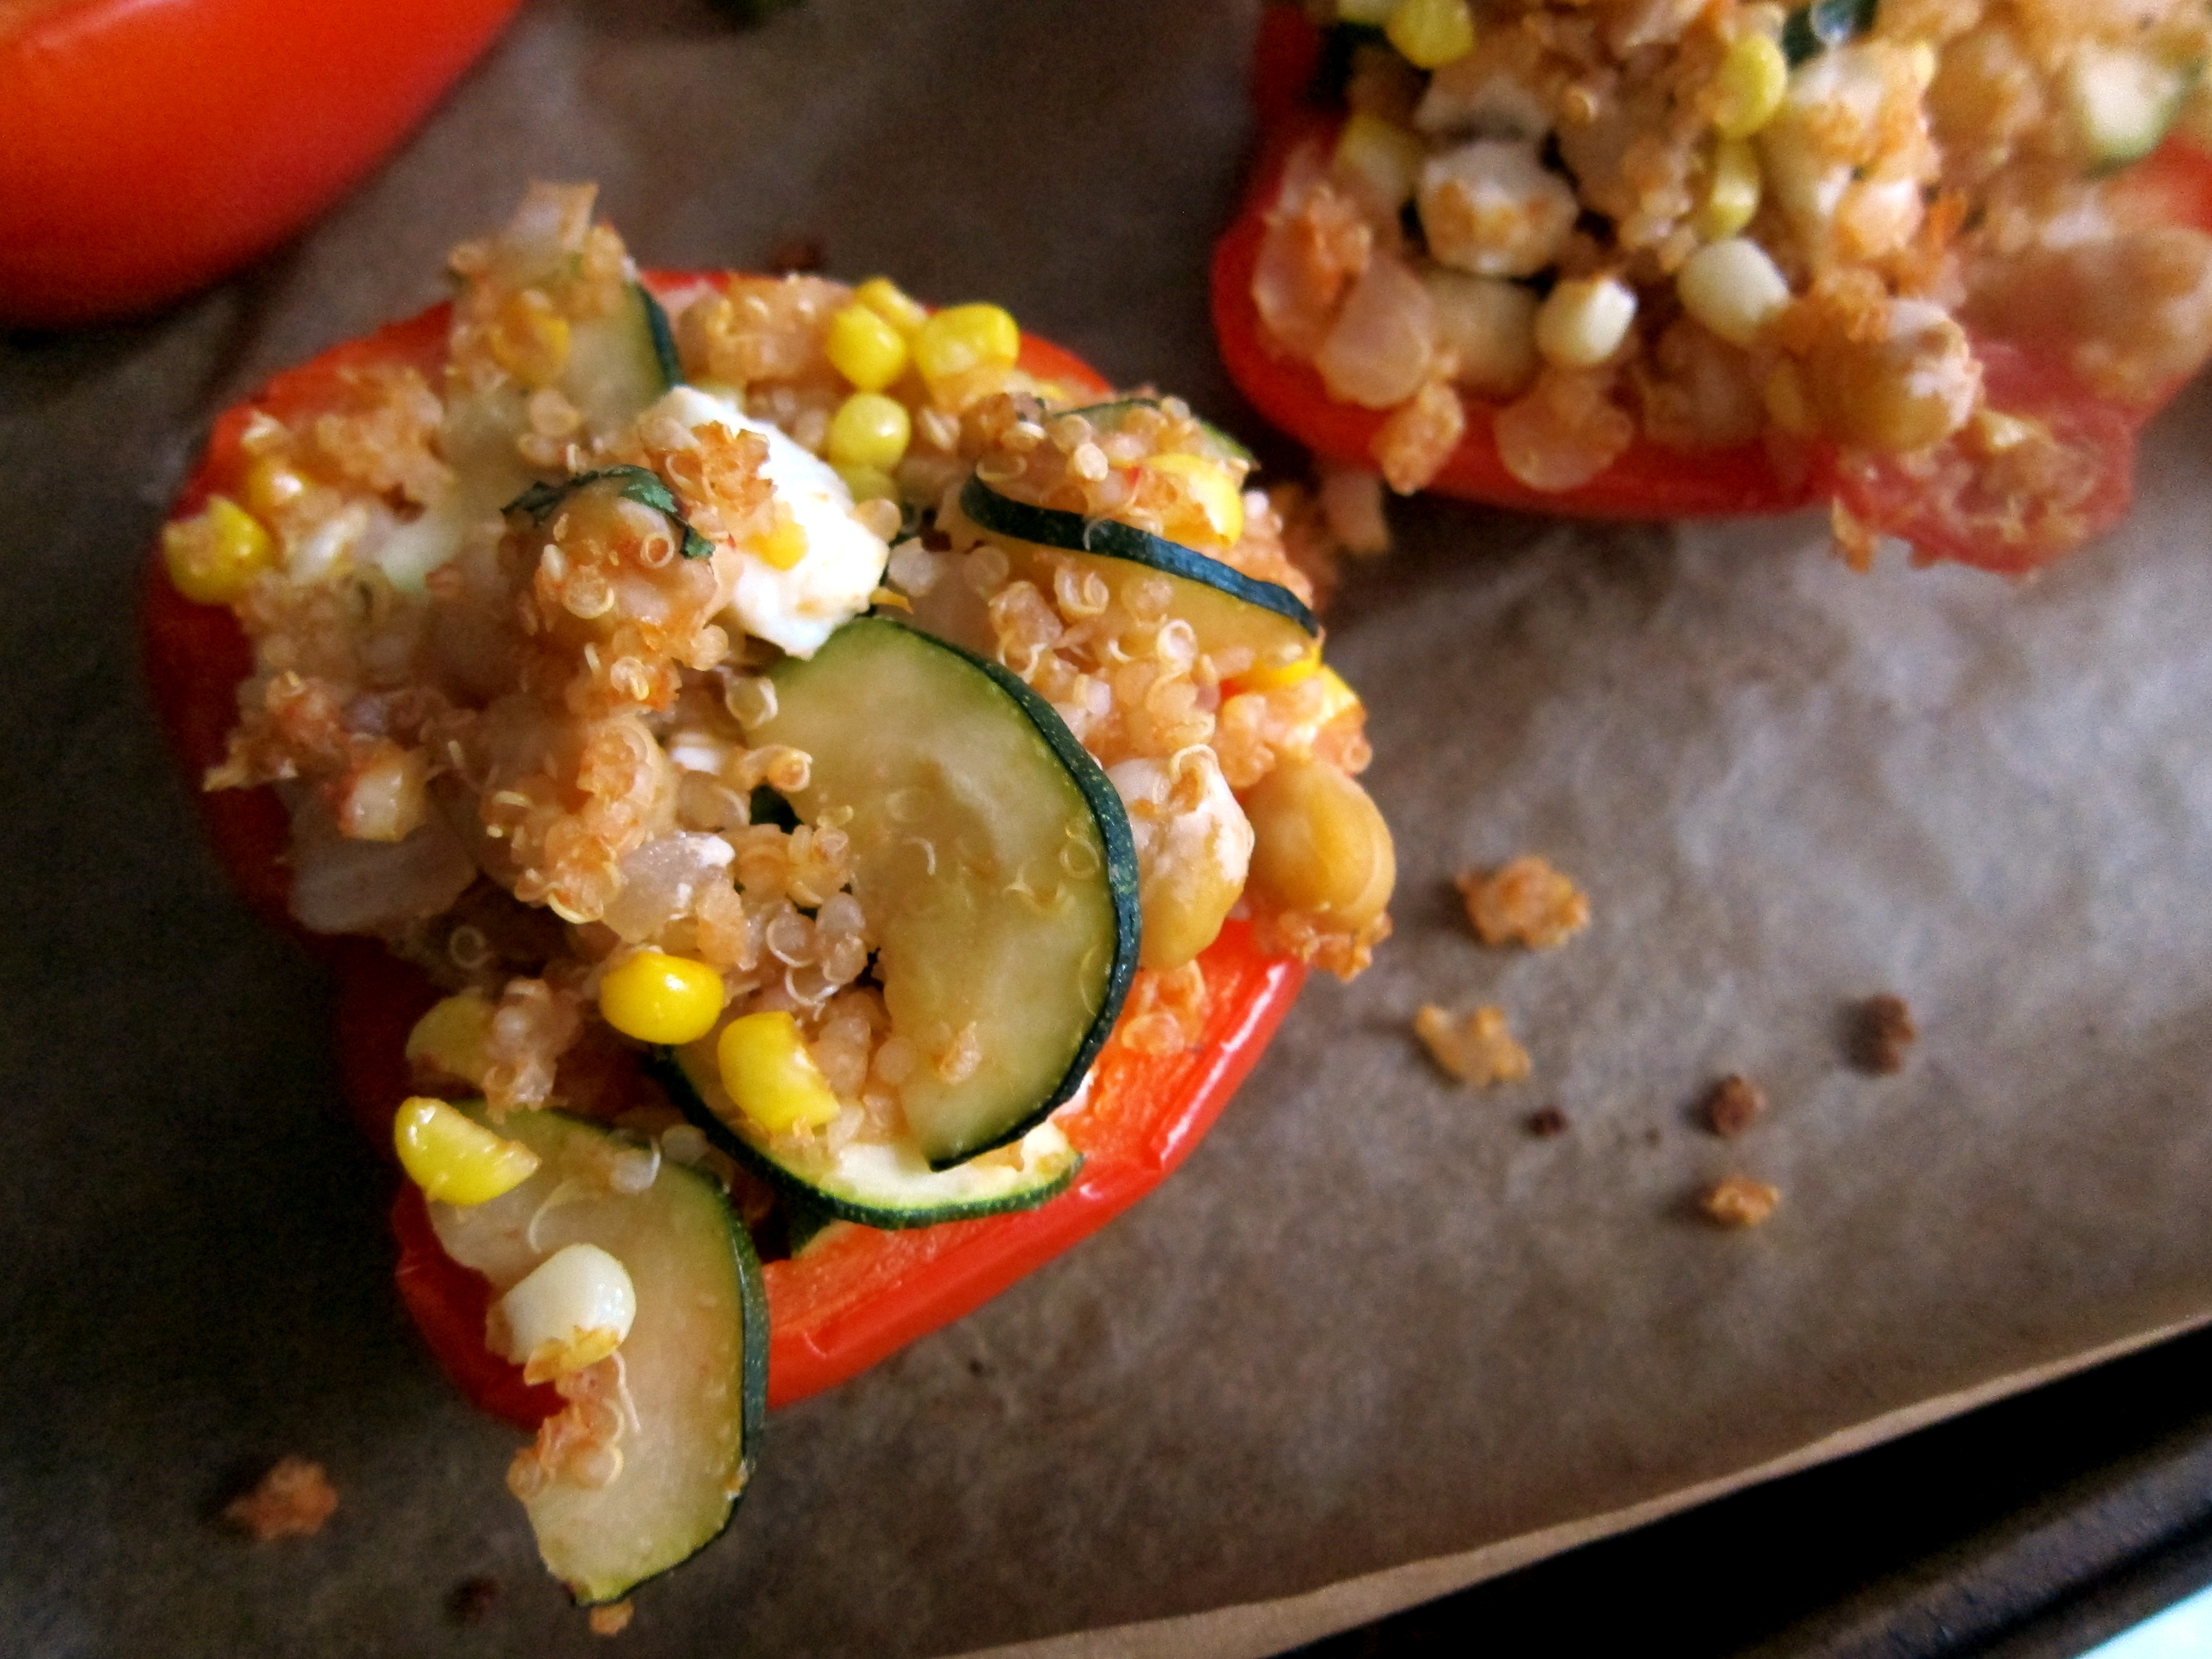
The feta cheese holds its shape nicely under the oven heat, but once you pop a cube in your mouth, it just melts on the tongue into salty savory bliss. And I love how the quinoa gets slightly crunchy on top after being in the oven. Ugh, so good.

Stuffed Peppers with quinoa, feta & summer veggies

adapted from SmittenKitchen

1 cup dry quinoa

bell peppers (I used 3 peppers, but still had some quinoa salad left over, which I was happy about)

1 tablespoon olive oil

1/2 of a large onion, chopped

2 ears of corn, shaved off the cob

1-2 medium zucchini or summer squash

3 tablespoons tomato paste*** see note

1 cup halved cherry/grape tomatoes

1 15-oz can chickpeas, drained and rinsed

4 oz of feta, chopped

seasonings: salt, pepper, dry oregano (maybe 1/2 teaspoon), fresh basil (to taste)

1. Rinse the quinoa. Add the quinoa and 2 cups of water to a small pot or saucepan. Bring to a boil. Reduce the heat to a simmer, cover the pot, and let it go for about 12-15 minutes, until the quinoa is cooked (should be light and fluffy with all of the water absorbed). Set aside.

2. Preheat the oven to 350 degrees F. Halve the bell peppers and take out the seeds and membrane (I like to keep the green stem for aesthetics). Line a baking sheet with parchment and place the pepper halves face up on the sheet. Bake for 15-20 minutes, until the peppers start to soften slightly. Take the peppers out of the oven and let them sit while you prepare the filling.

3. Heat the olive oil in a large pan. Add the onion, corn, and zucchini. Cook for about 5-8 minutes until the veggies start to soften slightly. Add some seasonings (salt, pepper, herbs) to taste.

4. Turn off the heat and add the tomatoes, chickpeas, and tomato paste to the veggie mixture. Add 2 cups of cooked quinoa to the mix (save the remaining quinoa for another use i.e. muffins?!). Toss in the feta cheese.

5. Fill the pepper halves with heaping amounts of the quinoa mixture. It is ok to have some leftover mixture for nibbling on later in the week. Bake the filled peppers for another 15  minutes. Enjoy!

***Note: Don’t you just hate opening up a can of tomato paste only to use a mere few tablespoons worth? Me, too. A great tip from registered dietitian Jackie Newgent is to freeze leftover tomato paste (wrap it in a cylinder in saran) and slice it off as needed. Preventing waste in the kitchen. Love it!


Potato Salad With Pickled Red Onion

14 Jul

Sure, I’m saving pennies in the kitchen with potatoes and eggs. But all spruced up in a nice bowl with fresh herbs and pickled red onion? Now we’re talkin’ haute cuisine.

Pickled red onions are showing up in nearly every restaurant these days. And it could not be easier to make them at home. Thin slices of red onion taking a dip in some apple cider vinegar and salt. Done.

I was having a tough time deciding whether to make the salt and vinegar potato salad from Tracy and Joy’s blogs or the classic all-American potato salad from Deb. So I combined the two. I’ve got the pickled onion and green beans AND the eggs with the creamy dressing.

Fresh basil and lots of cracked pepper.

With a grilled chicken apple sausage in a bun (grilled in the cast-iron skillet).

Someone ring the dinner bell!

Potato Salad With Pickled Red Onion

Adapted from SmittenKitchen

Makes about 4-6 servings

1 1/2 lbs red potatoes (I used about 4 large red potatoes); washed

3 eggs, hard-boiled, peeled, chopped (see recipe below)

optional: 8-10 green beans (you could use celery, too)

1/3 cup mayonnaise ***NOTE: I used a ratio of about 1:2 parts nonfat plain yogurt to mayo

1 tablespoon Dijon mustard

1 tablespoon apple cider vinegar

about 1 tablespoon basil, cut into ribbons (I did this to taste rather than measure)

salt and pepper, to taste

pickled red onion, to taste (see recipe below)

The first step is to get the pickled red onion started (see recipe below) because it takes about an hour before it is ready to use.

Next, get the potatoes boiling. If your potatoes are big, you can slice them in half for quicker cooking. Place the potatoes in a pot and cover them with water. Bring to a boil, then reduce the heat to a simmer. Check the potatoes after about 15 minutes of simmering (mine took about 30 minutes to be fully done). Insert a fork or sharp knife into a potato, if it meets just a bit of resistence, the potatoes are almost done cooking. If you are using green beans, place them in the water about 3-5 minutes before your potatoes are done cooking. Once everything is done, drain the water.

While the potatoes are simmering, you can prepare the dressing. In a large bowl, whisk together the mayo/yogurt mixture, the mustard, and the vinegar. I added a dash of salt and pepper here.

Once the potatoes are cool enough to handle but are still pretty warm, chop them up into bite-sized chunks. Chop the green beans into tiny rounds. Have your chopped hard-boiled eggs ready. Toss the potatoes and green beans together with the dressing. Add the eggs in. Add some basil ribbons and the pickled red onion. Finish with another few dashes of salt and pepper.

Quick Pickled Red Onion

From Shutterbean and JoytheBaker

1 red onion, cut in half and very thinly sliced

1/4 cup apple cider vinegar

1/2 teaspoon salt

Combine the onion slices, vinegar, and salt in a bowl. Toss everything together and let the mix sit for about 1 hour at room temperature, stirring occasionally. That’s it.

You can store leftovers in an airtight tupperware container or jar in the refrigerator.

Hard Boiled Eggs

eggs

Place the eggs in a pot. Cover them completely with water. Place the pot on the stove and heat until the water comes to a boil. Once boiling, shut off the heat and cover the pot. Wait 10 minutes, then drain the water out and place the eggs in a bowl of ice water to stop them from cooking more.

Peel and go!