
My life is going to change soon. In just a few months, I won’t be living in Berkeley anymore, I won’t be living in CALIFORNIA anymore. I know it sounds crazy, but I need a change. And as we all know, change can be scary.
After 4 years in Berkeley I have finally made a dent here, especially in the food scene. I have compiled a restaurant list for the Bay Area (soon to become a blog post!). I am friends/friendly with and have previously worked with many chefs/restaurant owners/managers at most of my favorite restaurants here. A large part of me is ready to experience the east coast, ready to dive into something new and spontaneous. Yet, a hefty chunk of me has this nervous feeling, this unsettling anxiety about the fact that I have little if any restaurant connections on the other side of the country. There really is nothing else like the freshness of California Cuisine, the laid-back atmosphere of a neighborhood restaurant.
I remember coming into college, I had just finished reading Alice Waters’ and Chez Panisse. I had a goal and that goal was to work in her restaurant. I was determined to slip into the Bay Area food scene, and that I did.
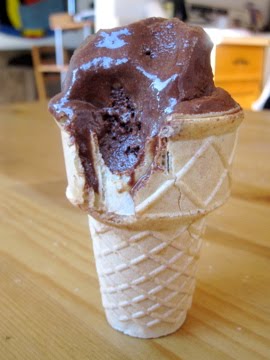
Looking back on some food memories of my Berkeley beginnings, I will never forget one of my favorite vendors at the Berkeley farmer’s markets, the Three Twins Ice Cream ice cream stand. All I had to do was sample one of their most famous (and my absolute favorite) flavors, “Dad’s Cardamom,” and I was completely hooked (a comforting note, Three Twins is sold at some grocery stores on the east coast…).
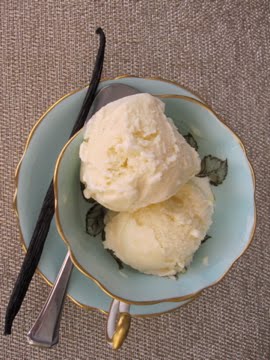
Below you will find my recipe for Cardamom Ice Cream. I used a basic vanilla bean ice cream recipe and just added cardamom to it. Many moons ago a friend gave me a big bag of cardamom pods from Israel. Making this ice cream was the perfect excuse to use the pods.

Kudos to nostalgia, love, good food, and scary/exciting change.
Cardamom Ice Cream
adapted from David Lebovitz’s Vanilla Bean Ice Cream Recipe in Ready for Dessert
makes about 1 quart
1 cup whole milk
pinch of salt
3/4 cup sugar
1 vanilla bean, split lengthwise
6-10 green cardamom pods, split open and seeds crushed in a mortar and pestle (or about 2-3 teaspoons ground cardamom)
2 cups heavy cream
5 large egg yolks
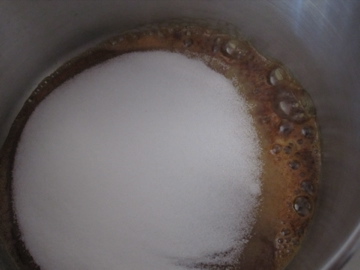
In a medium saucepan, warm the milk, salt, and sugar, stirring to dissolve the sugar. Scrape the seeds from the vanilla bean and add them to the saucepan, then drop in the pod. Add the cardamom. Cover, remove from heat, and let steep for 30 minutes (sometimes I just get lazy/impatient and don’t steep for a long time…eh, my ice cream still comes out amazing).
Pour the cream into a medium bowl and set a mesh strainer across the top.
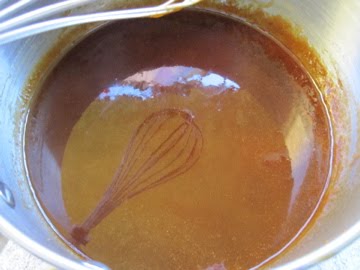
Reheat the milk mixture until it’s warm. In a separate bowl, whisk the egg yolks, then gradually add some of the warm milk mixture, whisking constantly as you pour. Pour the warmed yolks back into the saucepan (this is called “tempering”). Cook over low heat, stirring constantly and scraping the bottom of the pan with a heatproof spatula.
Pour the custard through the mesh strainer into the heavy cream. You can rinse your vanilla pod and save it to use again in another recipe.
Set the bowl containing the custard over a larger bowl of ice water. Stir the custard until cool. Freeze the chilled custard in an ice cream machine according to the manufacturer’s instructions.
***WANT MORE CARDAMOM RECIPES? Pistachio Cardamom Cake with Slivered Almonds


