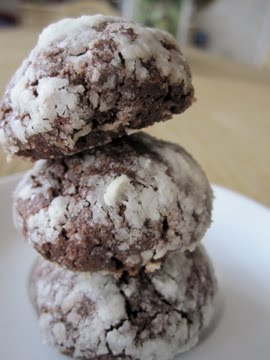
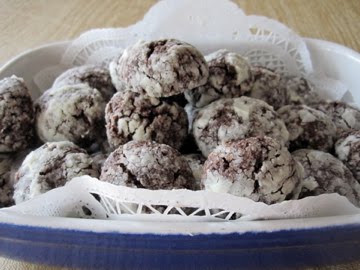
These cookies are addicting. No matter how hard you try, you simply cannot just have one. I think it is impossible.
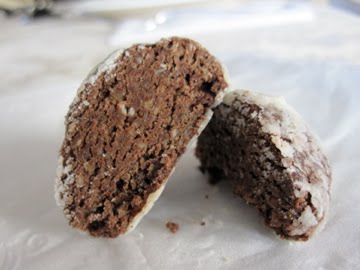
I call them biscotti but they are softer and chewier than the typical hard and crumbly biscotti. Whatever the name, these little guys are so so so so so darn good! I believe that this may be my favorite type of cookie batter to lick the bowl with. Mmm, so buttery and lemony and comforting!
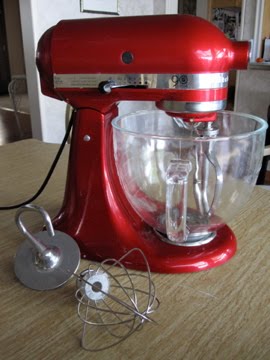
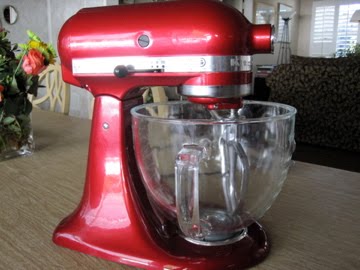
And using my new KitchenAid mixer makes everything so much easier; I can just plop my ingredients in the mixer and it does all the work for me.
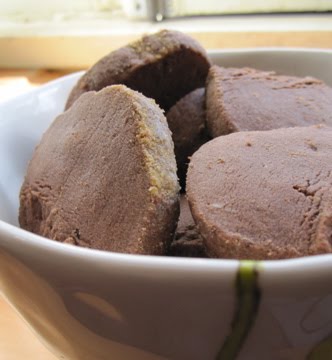
This recipe makes a LOT of biscotti, I was overwhelmed and froze half of the cookies for my family to eat when I go back at school.
Here is a link to an interesting article about twice-baked cookies, mandelbrot vs. biscotti.
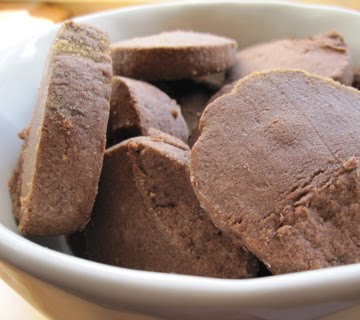
With a twice-baked cookie, you first make your dough, roll it out into several long logs, bake, slice, and bake again.

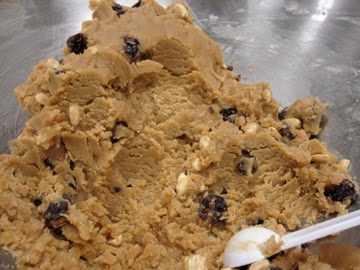
I chose to add lemon zest, walnuts, and cranberries (I added golden raisins and dried blueberries, too!), but feel free to add in whatever you like: chocolate chips, pistachios, hazelnuts…
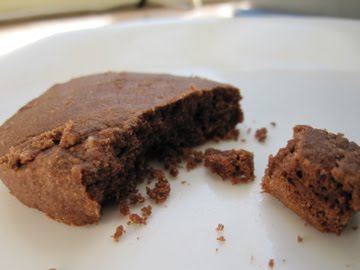
I also really like the texture that the cornmeal lends to the cookie. Soft, chewy, with a little added cornmeal crunch! Very nice.

makes a LOT of cookies, I would guess about 6 dozen
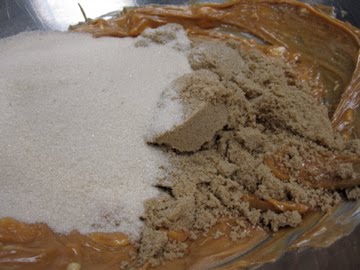
2 sticks cold butter, cubed
4 eggs
2 1/2 cups sugar
1 teaspoon salt
1 Tablespoon baking powder
4 cups all purpose flour
3/4 cups cornmeal
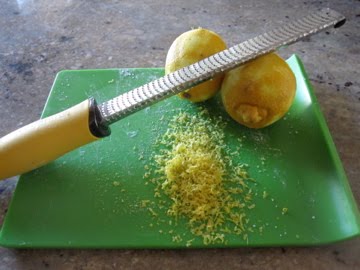
zest of 2 lemons
dried fruit combo, about 1 cup
toasted nuts, about 1 cup
In the bowl of an electric mixer fitted with a paddle attachment, mix together the butter and sugar unitl nice and smoothe and fluffy. Add your eggs one at a time.
Combine the rest of your dry ingredients and add them to your butter, sugar, egg mixture. Stir in the lemon zest, dried fruit, and nuts.
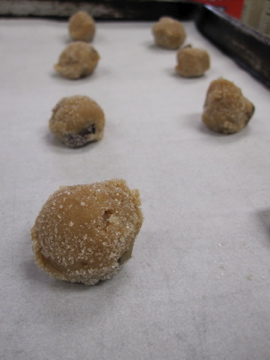
Divide the dough into 6 even pieces. Lightly flour a clean surface and roll each piece into a nice, even log. Place on a baking sheet lined with parchment paper (I ran out of parchment so I just lightly greased the cookie sheet).
Bake at 350 degrees F for about 25 minutes, rotating the baking sheets at least once. Take the logs out of the oven and let them cool for about 5 minutes. Using a serated knife, slice your logs into individual cookies and place the cookies cut side down. Bake for another 15 minutes or so, you will have to watch them.
This make a LOT of cookies, which are great for freezing, storing, or giving as gifts!